How To > Conductive Materials > Tutorial
Haunted House Pt. 1: Intro to Pressure Sensors
Written by: Jill Dawson
Tricks & Switches!
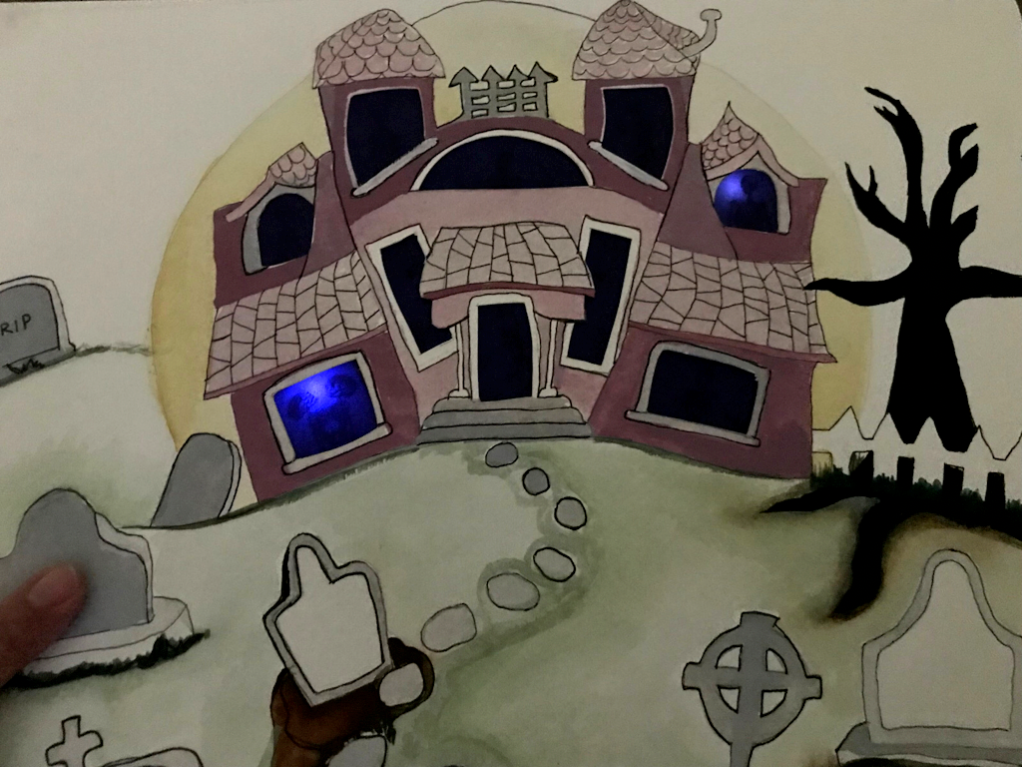
In this tutorial, inspired by K-Fai Steele’s interactive work, Tickytown, we will teach you how to use flaps of pressure sensitive conductive plastic to add special effects your paper to circuit projects. When you touch the gravestones near this haunted house, different LEDs will gently fade on and off.
In Haunted House Pt. 2: Light Colors in Sequence, we’ll use the same artwork created in this tutorial with a new circuit behind it, one using a pressure sensor switch to light the house up one color at a time!
Tutorial Video
Inspiration
Several years ago I attended a circuitry exhibit called “Paper Curiosities” at MIT. While there, I had an opportunity to interact with K-Fai Steele’s inspiring work, Tickytown, an illuminated neighborhood perched upon the back of an itchy dog in which the secret lives of residents are gradually revealed as a viewer strokes the dog’s fur.
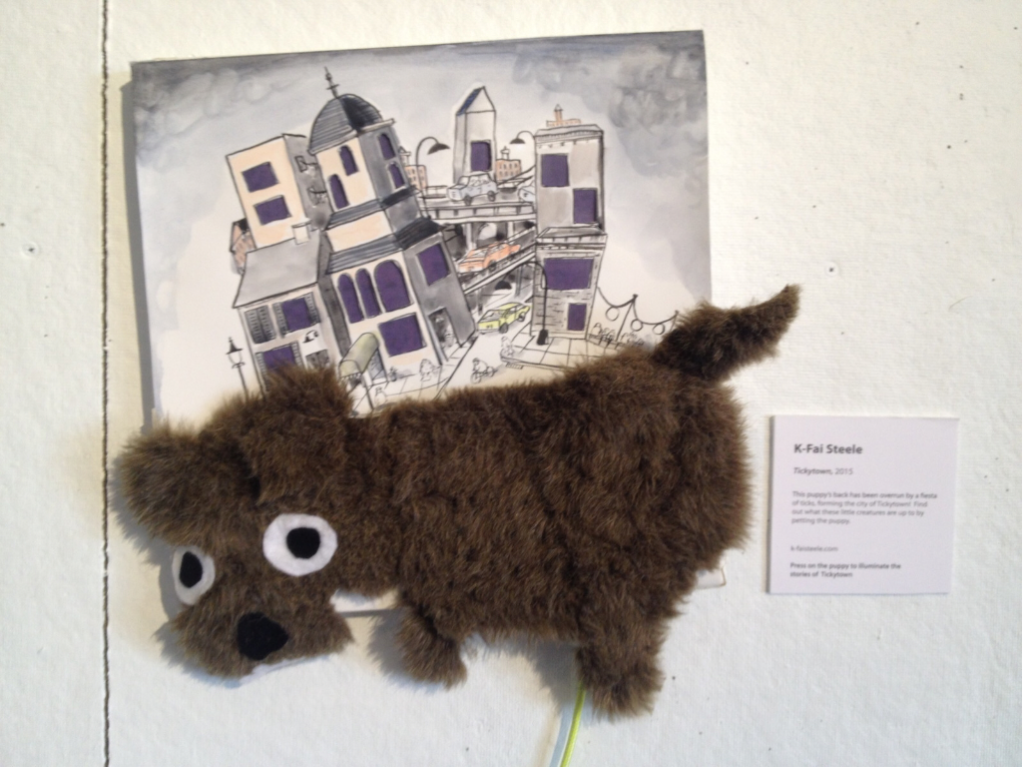
Since I found myself wondering how the piece had been constructed, I recently reached out to K-Fai and asked her a few questions. I was most interested in knowing what materials she’d used to create the stroke sensor effect. Had she used conductive thread, resistive plastic, or something else?
Generously offering a few photos, a window into her artistic process, K-Fai gave me permission to do a bit of sleuthing.
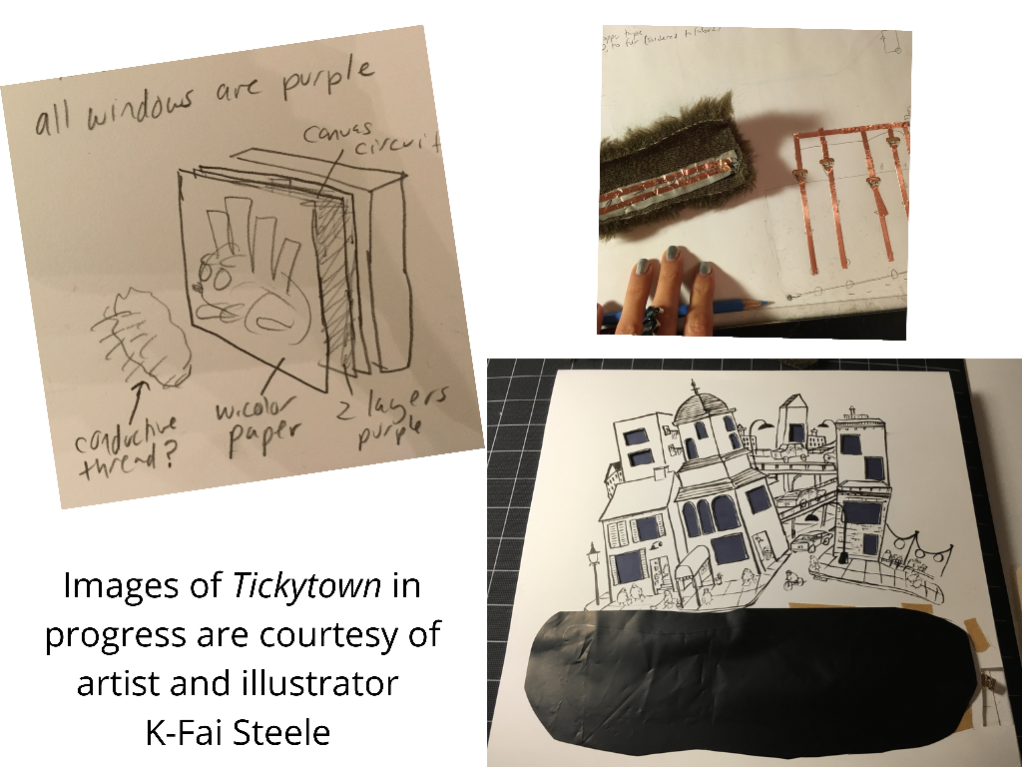
Unlike K-Fai, who used both conductive fabric and a pressure sensitive conductive plastic (Velostat/ Linqstat) for her special effects, I decided to see what I could do with a resisitive plastic on its own.
The tutorial that follows was inspired by what I learned!
Materials and Tools
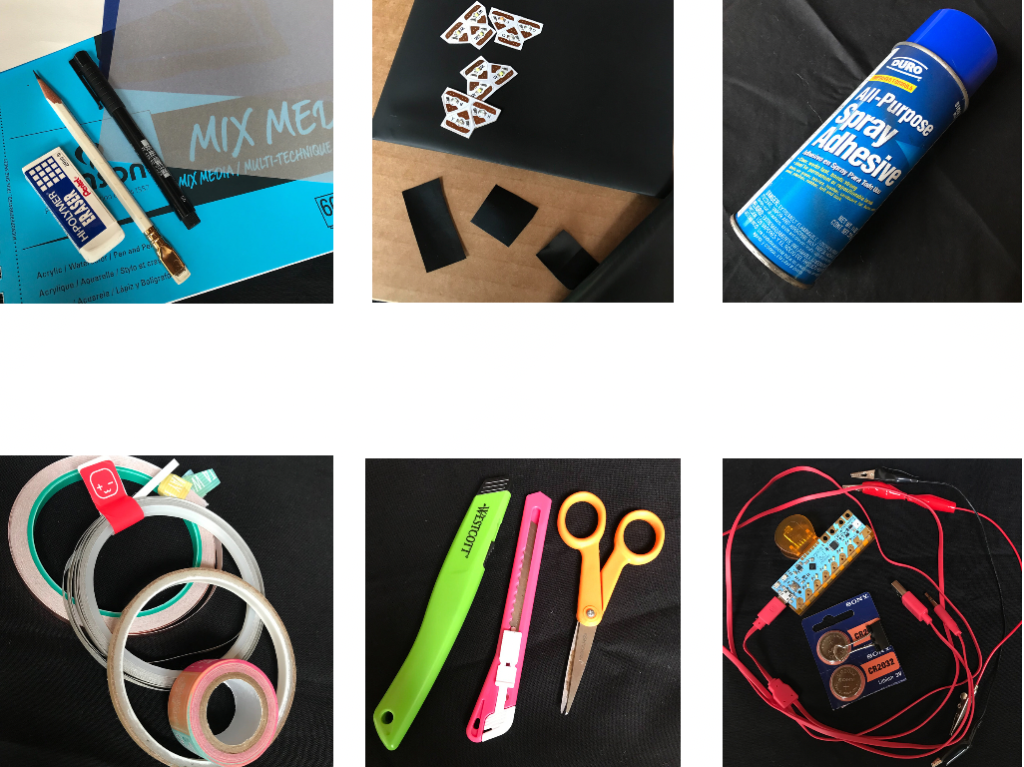
- drawing paper
- printer paper
- Pressure Sensitive Conductive Plastic (aka: resistive plastic)
- Note: Standard pressure sensitive conductive plastics, sometimes marketed as Velostat and Linqstat, are not as conductive as the product we sell at Chibitronics. We are in the process of transitioning the type of resistive plastic that is currently tucked into our STEM Starter Kit to the more conductive version.)
- Circuit Stickers
- copper tape or conductive fabric tape
- 2 X 3V coin cell batteries (OR a 5V power source such as a Chibi Chip and two alligator clips)
- white vellum
- purple vellum
- cardboard
- washi or Scotch tape
- double stick tape
- scissors
- pencil
- black pen
- craft knife
- computer and printer
- adhesive spray
- art supplies of your choice
- (optional) Japanese screw punch
Directions
Step 1: Brainstorm an Idea
Tickytown reveals a few narrative details at a time, as viewers interact with the piece. I liked the idea of characters being revealed as lights turned on inside of darkened windows, so I decided to create a haunted house with interactive gravestones.
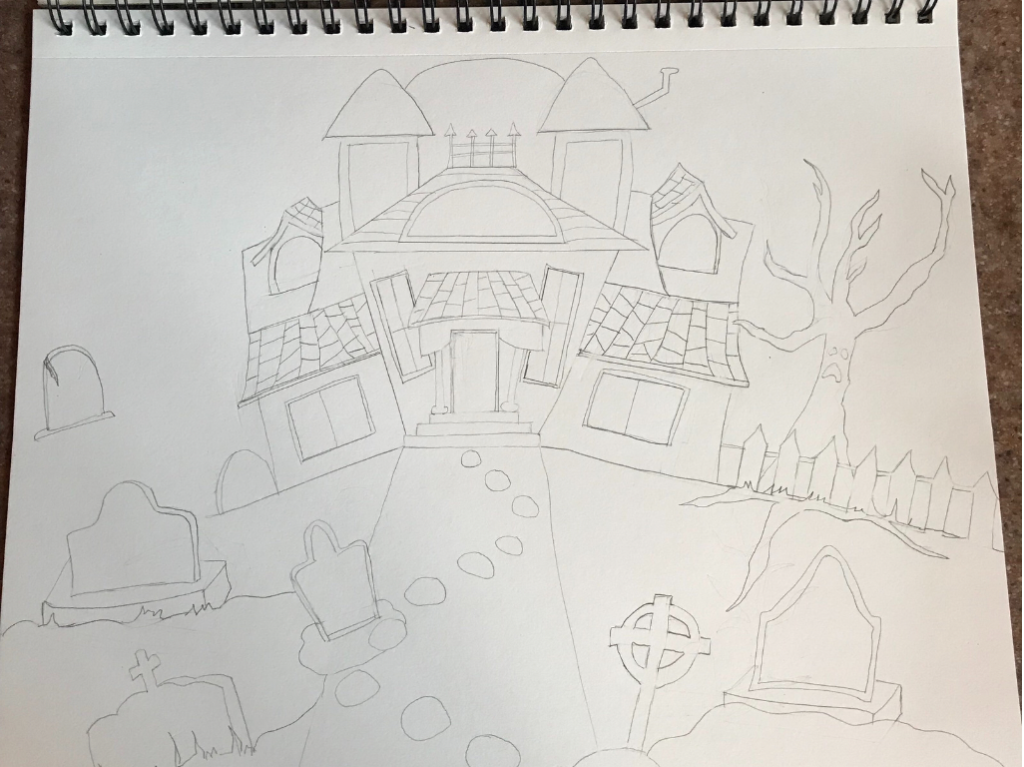
Step 2: Sketch the Scene & Cut Out Openings
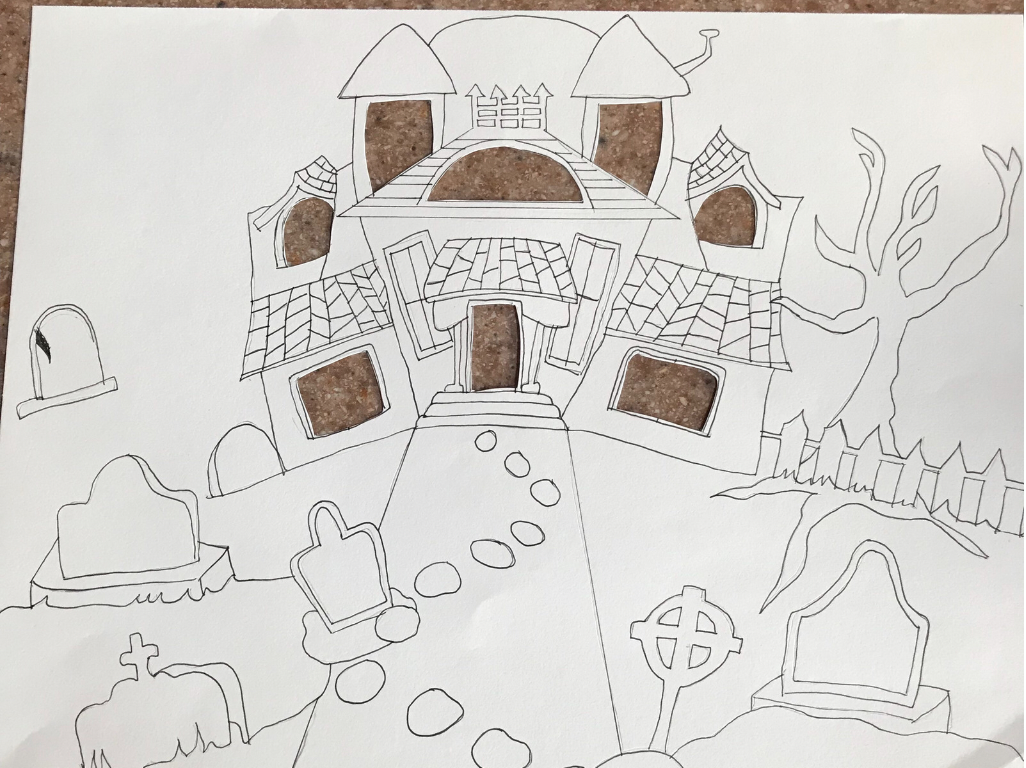
Using a variety of online tutorials for inspiration, I sketched a haunted scene with a pencil and experimented with different design elements. In my first attempt, I sketched an owl on a tree branch and poked holes in the paper for the LEDs to shine through. I wasn’t happy with the holes in my paper and thought that the effect might be better if an owl (or monster) was merely suggested rather than sketched. I drew several gravestones, thinking that each stone would serve as a switch, connecting to a window. Once I had a sketch that I was happy with, I went over it with a black pen.
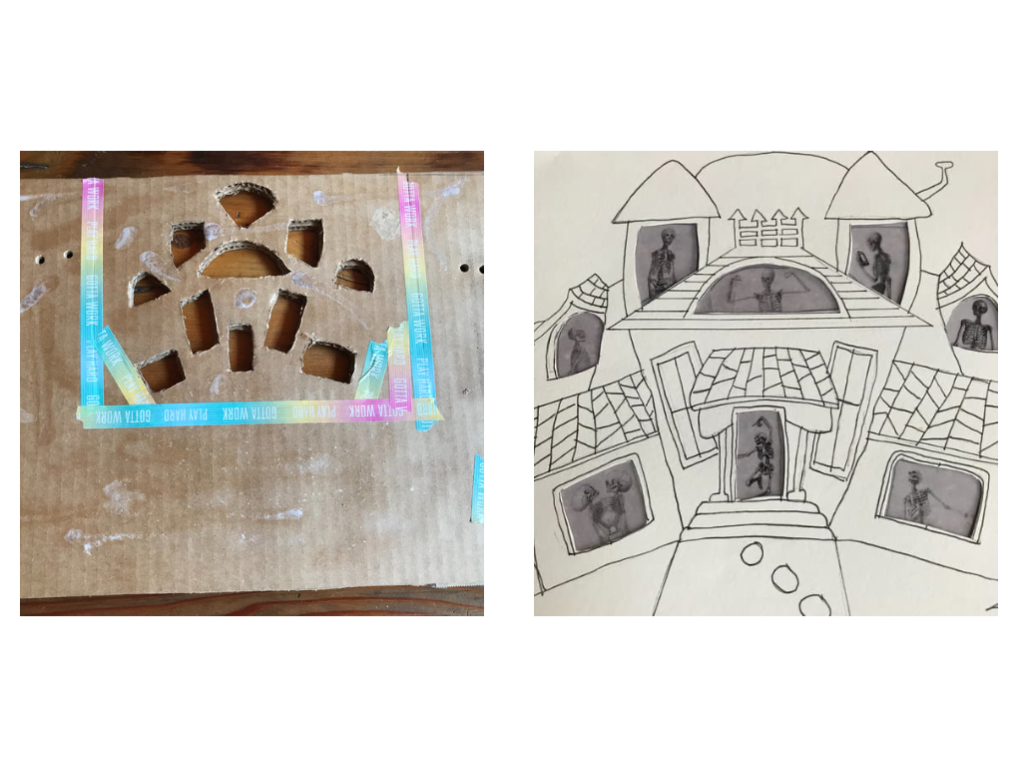
I cut the windows and doors out of my house using a craft knife. Afterward, I placed my drawing onto a piece of cardboard, traced the openings onto it, and cut them out in the same way.
Step 3: Prepare Illustrations
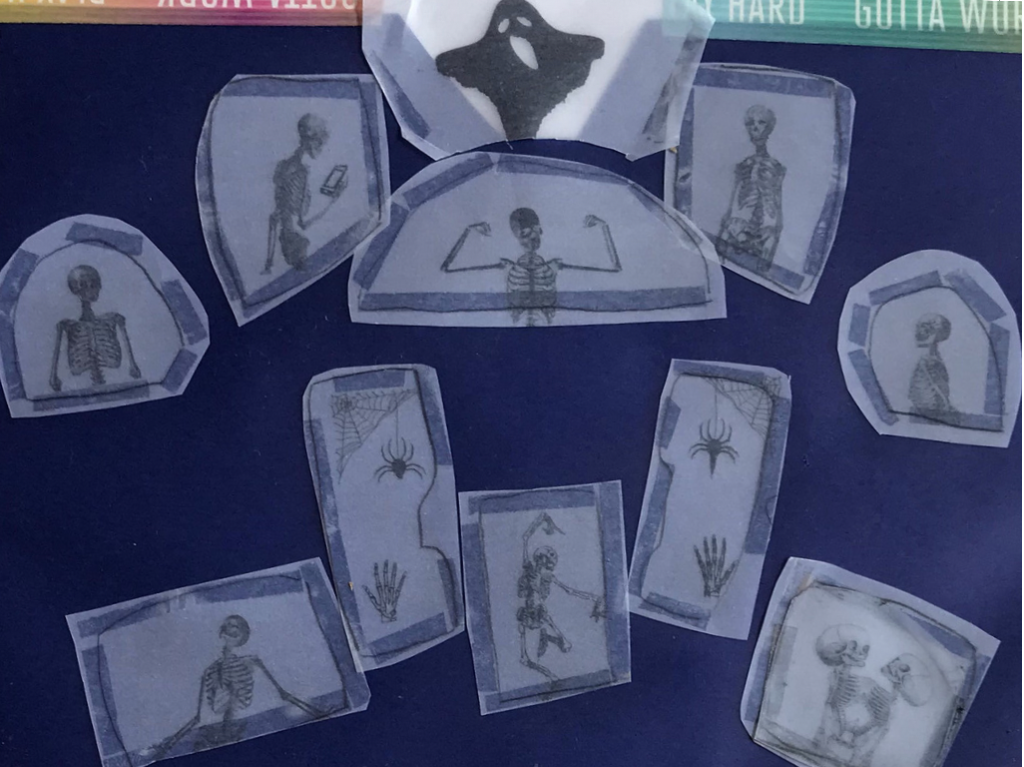
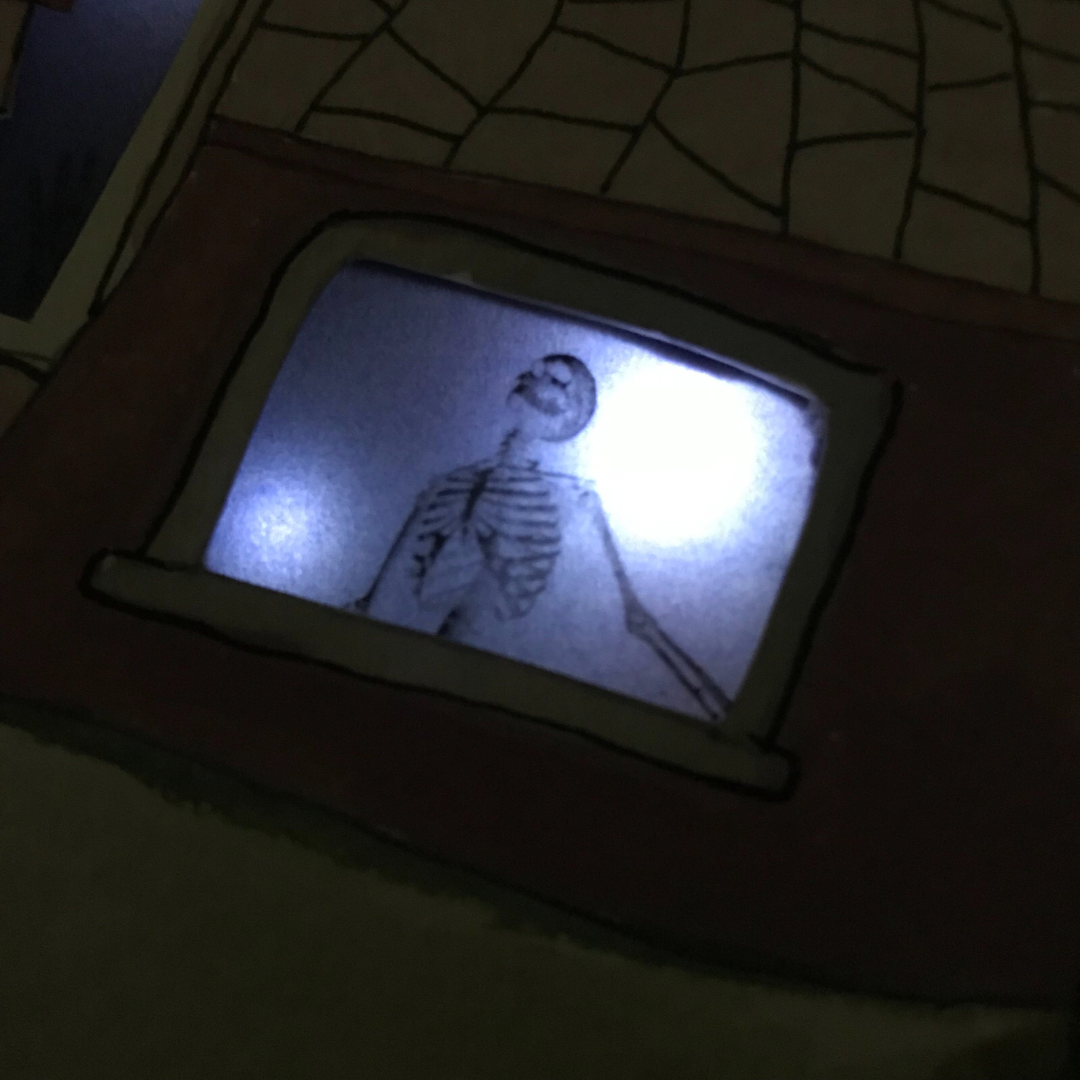
K-Fai sketched characters, light fixtures, and architectural elements for each room that she lit up; this added a lot of dimension to her artwork. I used a different approach. I found copyright friendly illustrations of skeletons that I then edited, resized, and printed onto white vellum paper. Getting them to fit the spaces that I’d cut out took a little experimentation. If you try this method, you may want to do a few test prints on printer paper before making a final print on vellum.
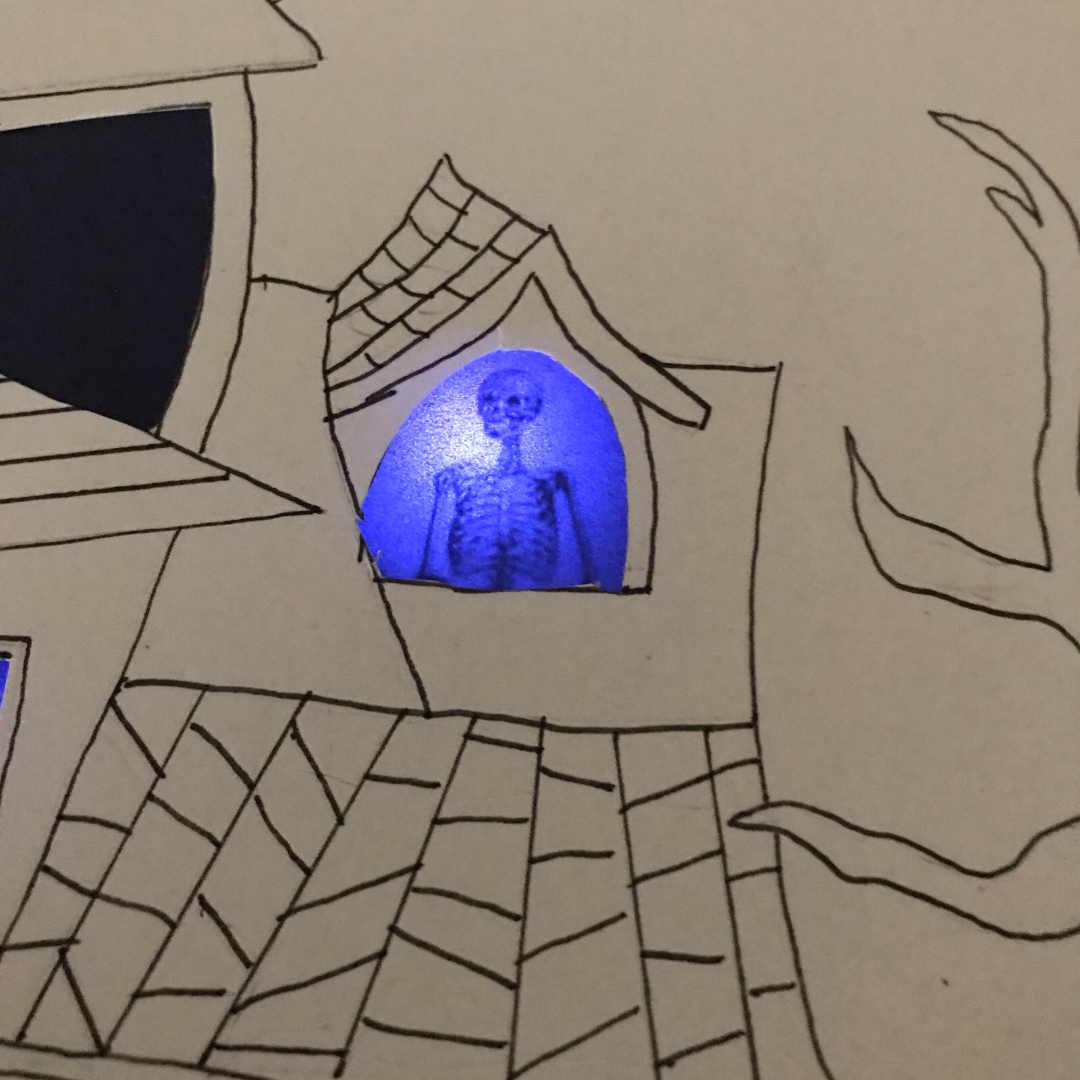
To get an idea of how each skeleton would look in the openings I cut out, I held my sketch up against a glass window, positioning each skeleton illustration in front of them. I then traced an outline slightly larger than each window cutout onto the vellum, leaving a border around each image for narrow strips of double stick tape. It’s important to avoid getting tape on what will be the exposed part of the vellum cutouts, as it may be visible when the images are backlit.
Step 4: Start Layering
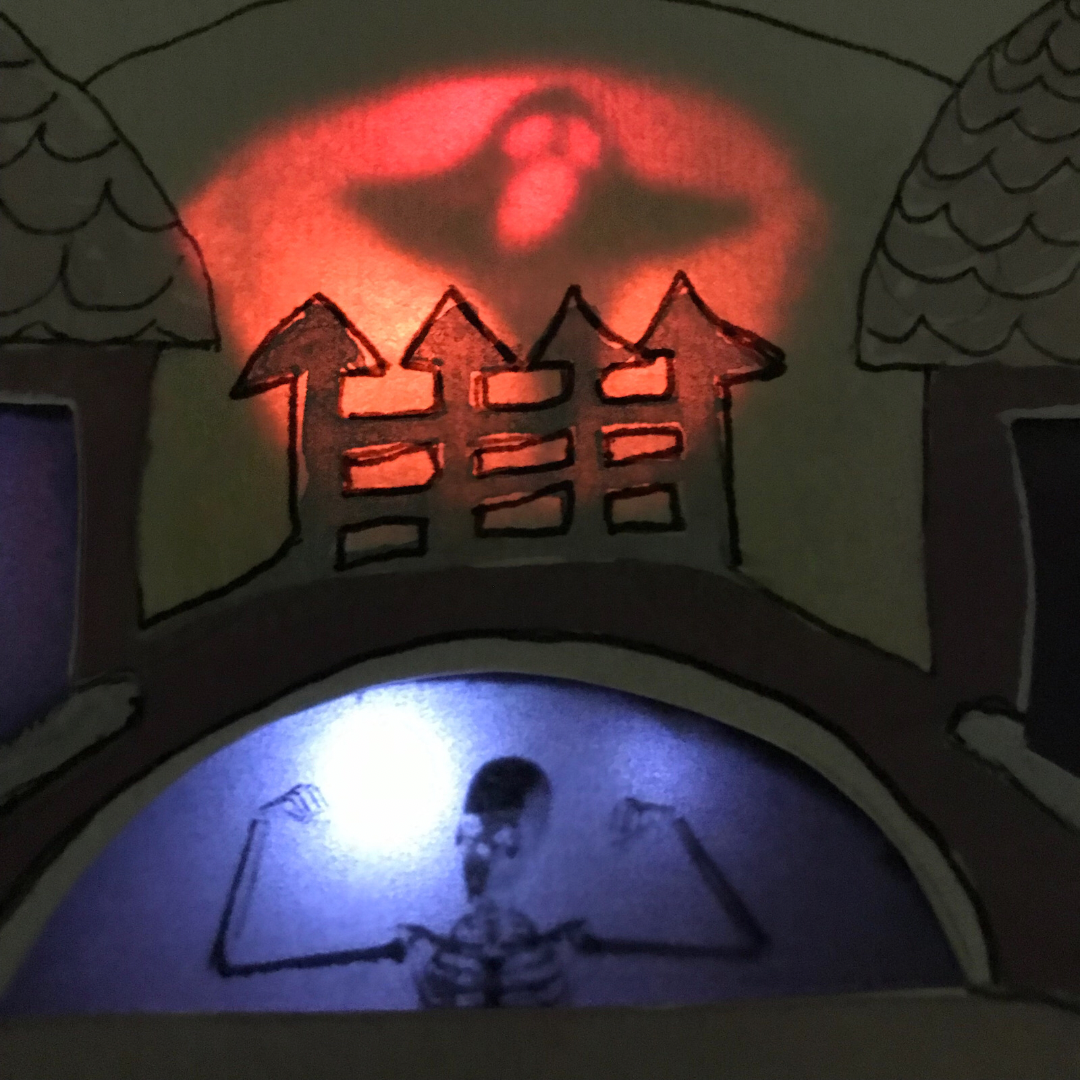
I taped one sheet of purple vellum to the back of my haunted house sketch. I then cut and adhered the skeleton illustrations (printed on white vellum) to the back side of that. I used a Japanese screw punch to poke holes in the cardboard, so that a silhouette of eyes would peek through when lit up. I also added a silhouette of a ghost to the back side of my sketch (requiring me to make an additional cut-out in the cardboard).
Step 5: Plan & Construct Your Circuit & Switches
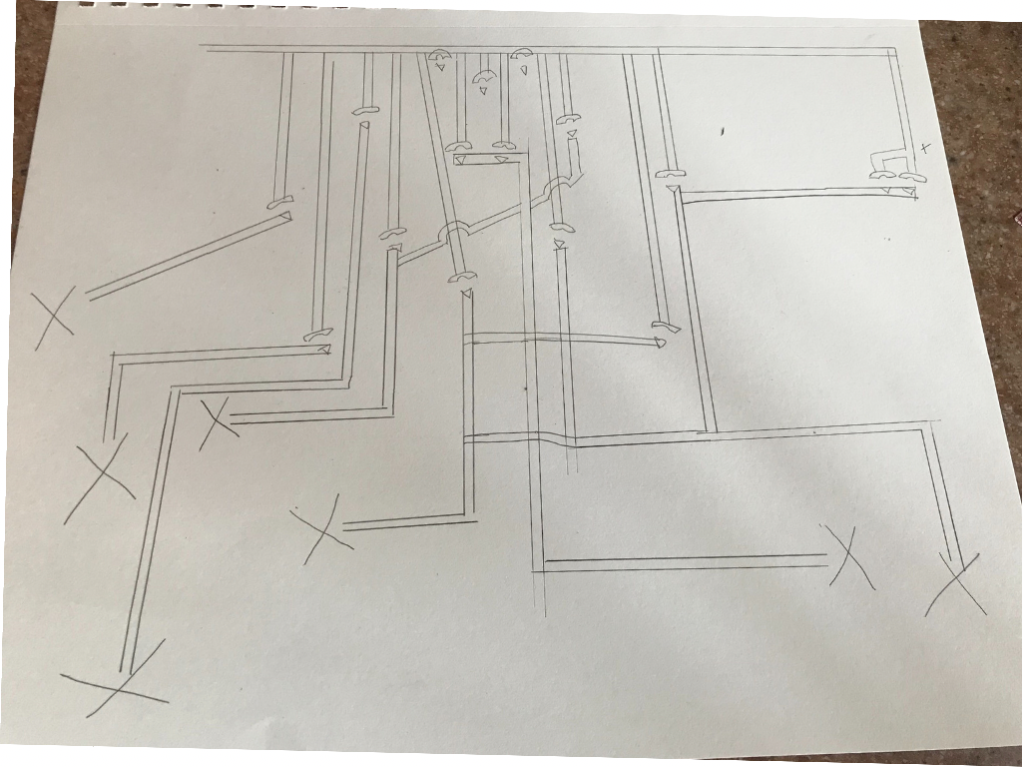
Using a second piece of drawing paper and your sketch with the illustrations taped to it, determine where you want each LED to go. Mark each of those spots with a pencil.
When planning your circuit, it’s helpful to sketch out a positive (+) and a negative (-) trace that spans the length of your sketch. It’s also helpful to draw an “X” in each spot where you want to create a switch, an area where you will be adding a pressure sensor to close your circuit to light an LED.
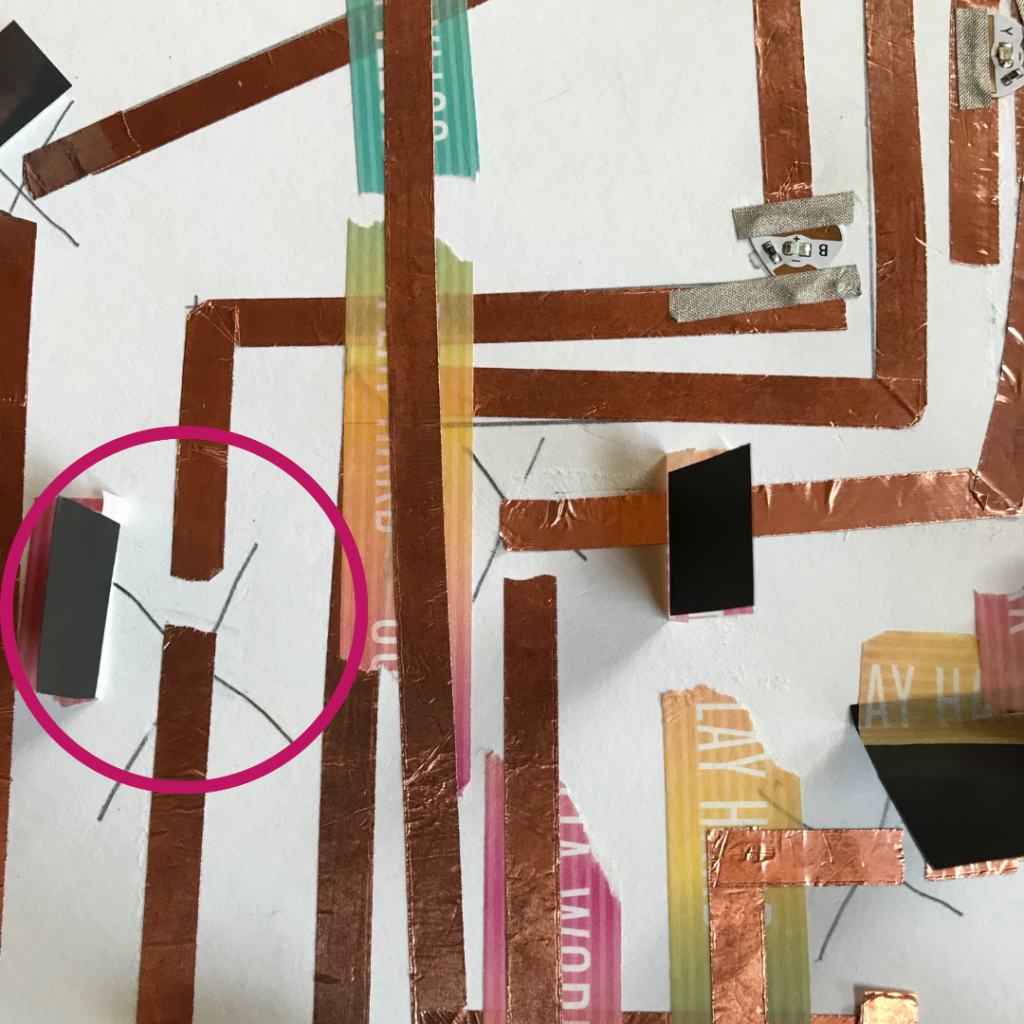
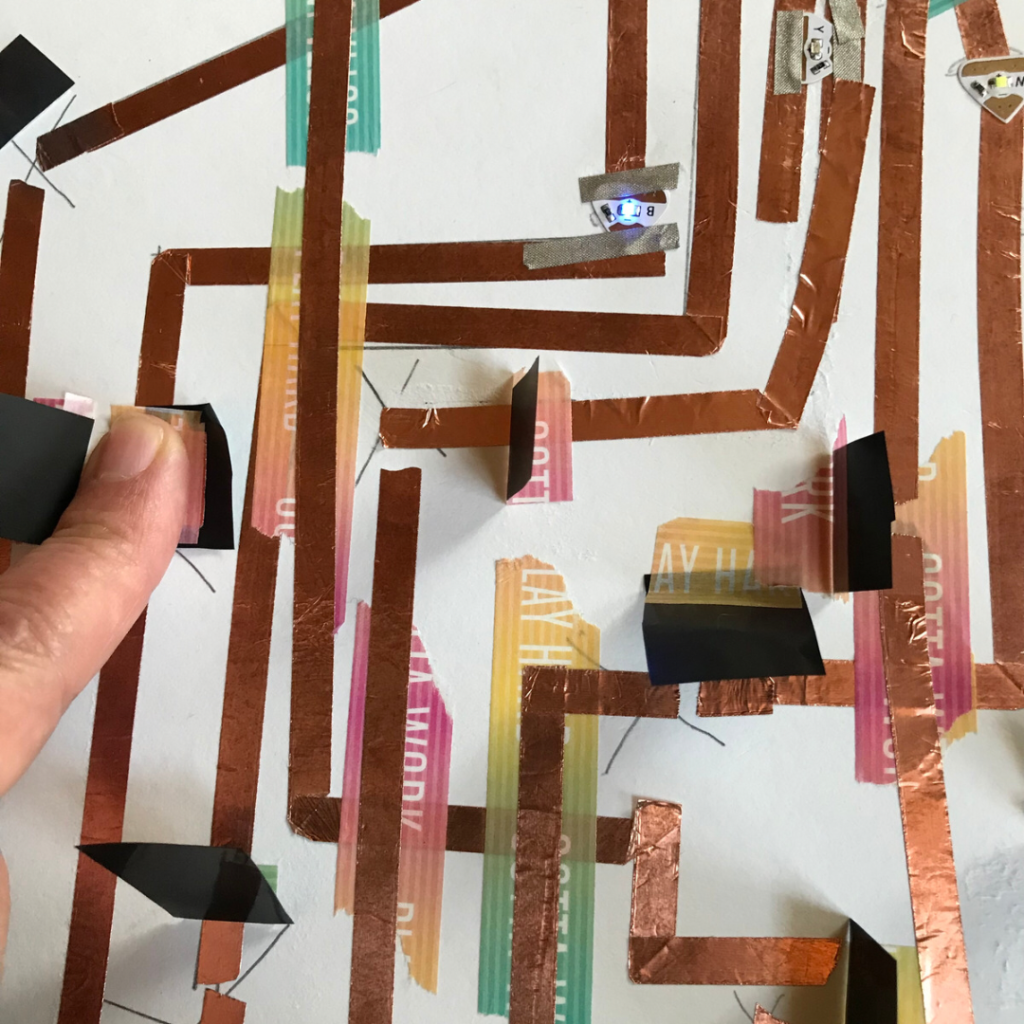
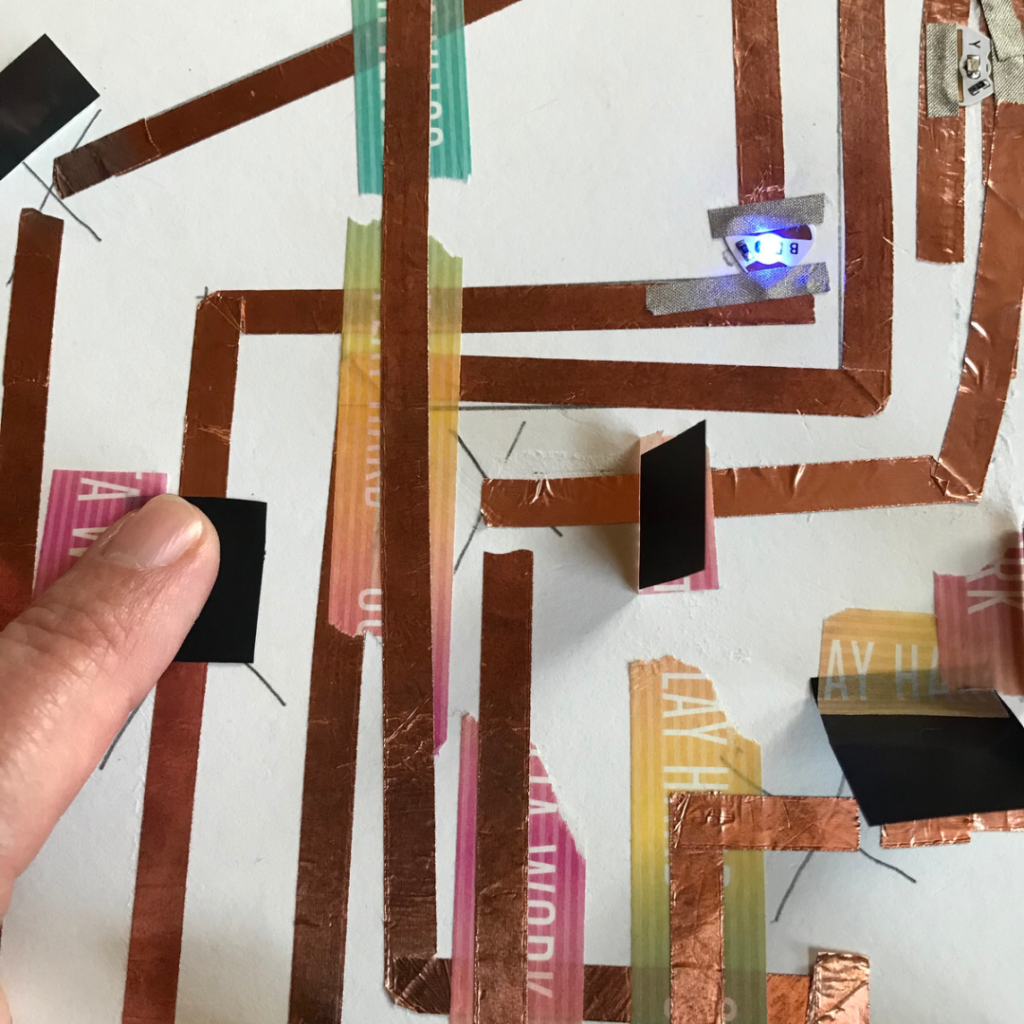
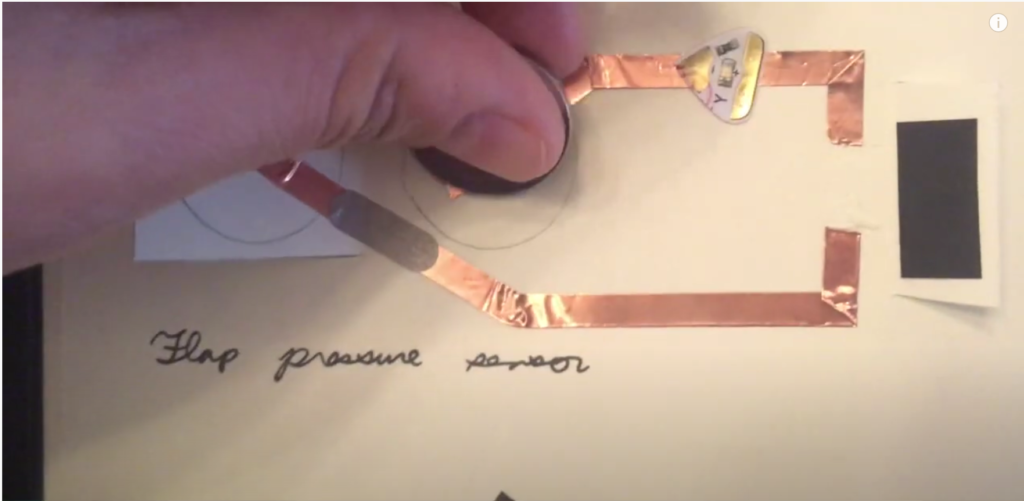
I went about creating my pressure switches by leaving small gaps in my copper tape circuit that I carefully covered with flaps of Pressure Sensitive Conductive Plastic. This “flap pressure sensor” type of switch is the second example featured in the video tutorial Chibitronics: 6 DIY Pressure Sensor Circuits.
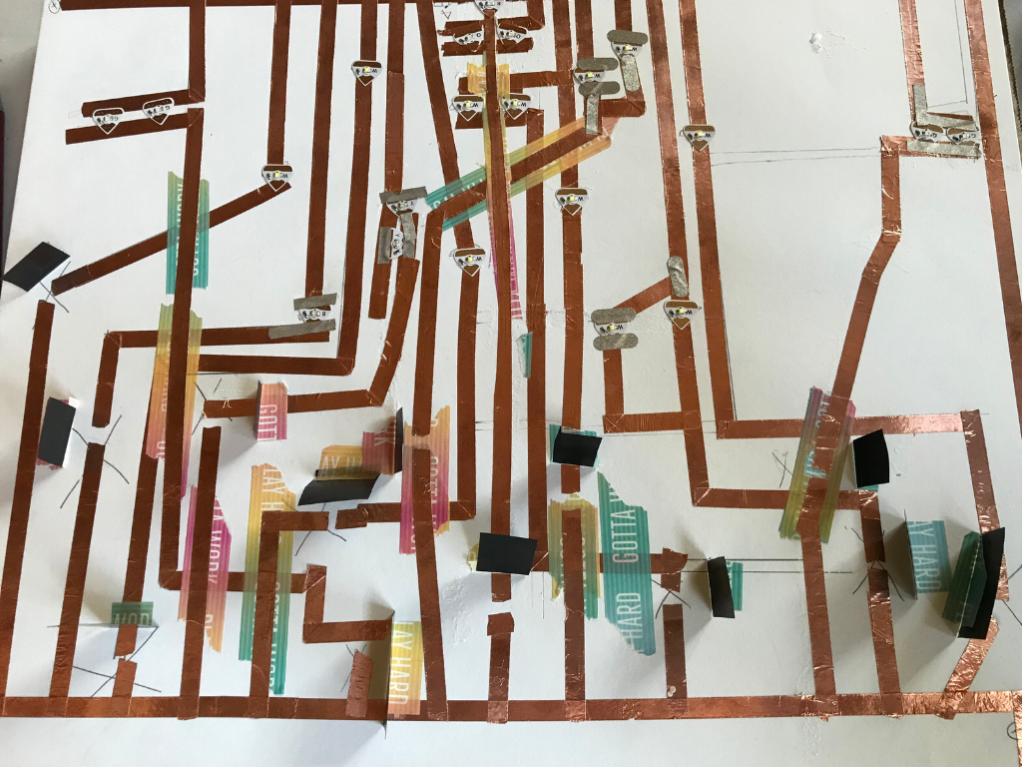
Since the conductive plastic is sensitive to pressure, pressing it down firmly over the switch gap not only closes the switch, but it also alters the resistance in the circuit. As you add pressure to a conductive plastic flap by pushing it down over the switch gap, the resistance in that part of the circuit will (in most cases) visibly decrease, resulting in a noticeable increase in the brightness of the LEDs! Of note, I found that large gaps were not as effective as narrower ones, so I had to go in and add copper tape in some places.
Flap Sensor
Each of my gravestones has a switch nearby. When planning my circuit, I thought it would be interesting if a gravestone on one side of my drawing connected to a window on the other side. I was able to achieve this, but I had to place insulating bridges (washi tape) on my circuit in places where positive and negative traces needed to cross.
In hindsight, I wish that I’d spread my gravestones out a bit more, so that my switches would have had more space between them. I wish I’d done this, because the cardboard that I used to back my illustration is less pliable than the fabric K-Fai used in Tickytown. This means that I sometimes triggered multiple LEDs in my circuit when I’d only intended to trigger one. This didn’t end up being an insurmountable problem, however, because the resistance in the circuit still varied, creating a spooky effect as the lights faded on and off.
Out of curiosity, I ended up creating a second circuit for my house. The functionality and special effects are different, but it was equally fun to make. If you’d like to see how to light your haunted house with a different circuit, one that lights colors in sequence with a single switch, visit the Haunted House Pt. 2: Light Colors in Sequence tutorial.
Step 6: Test Your Circuit
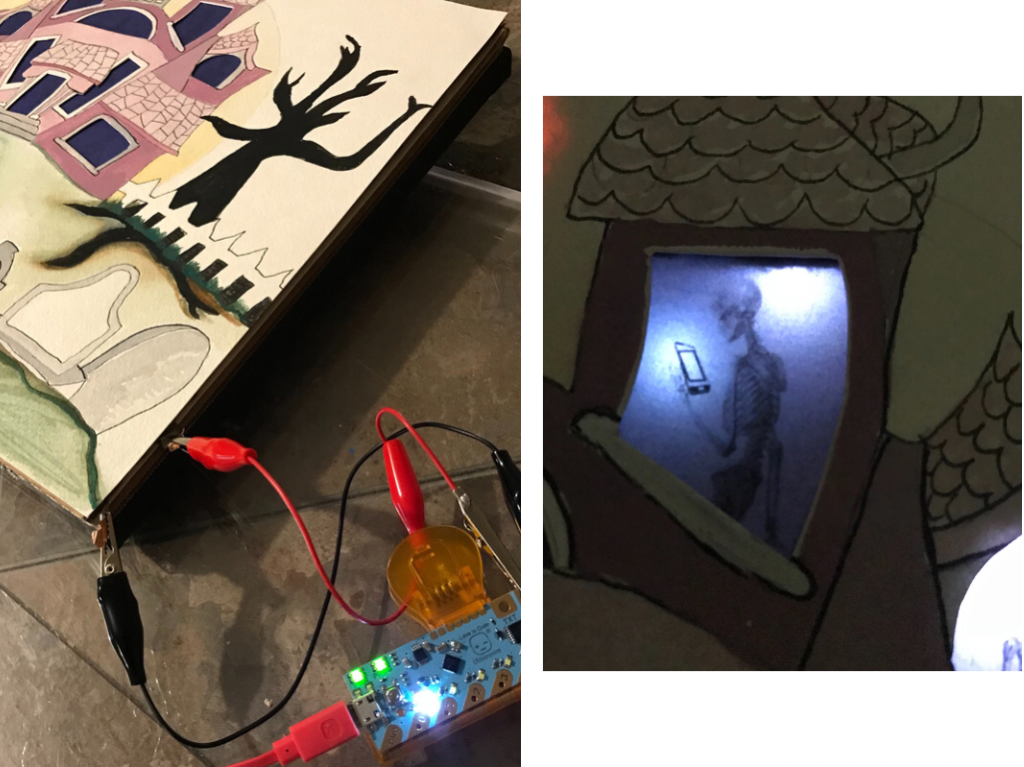
Once you’ve laid down your conductive traces and placed conductive plastic flaps over the gaps you left in your circuit, connect your circuit to power and ground to ensure that your connections work, the LEDs are placed where you want them, and the pressure sensor switches are working correctly. I added pieces of conductive fabric tape to the ends of my positive and negative leads so that I could easily clip them with alligator clips and power my artwork with a Chibi Chip. If you don’t have a Chibi Chip, but you like the idea of powering your project through USB, you may want to check out the USB Powered Paper Circuits: An Alternative to Coin Batteries tutorial. Alternatively, you can use two 3V coin cell batteries, a couple of magnets, and alligator clips; visit this Variable Power Supply tutorial to learn more.
Tips, Tricks & Call-outs
The Pressure Sensitive Conductive Plastic sold by Chibitronics is more conductive than many of the resistive plastic products on the market. There were a couple of places in my circuit where I noticed that my Circuit Stickers were encountering more resistance than I expected, resulting in a much dimmer LED effect than I wanted, even with firm pressure. When I swapped out the standard resistive plastic that I had been using on the troublesome switches, substituting a square of Chibitronics version of the conductive plastic, the LEDs brightened up considerably. I did, however, discover that by sandwiching a piece of the less conductive plastic between the copper tape switch and the more conductive Chibitronics flap that I got a wider range of brightness values (and a more dramatic fading effect) when pressing on the switch than using only the more conductive material. (This effect is similar to what happens in the DIY Pressure Sensor example in Chapter 5 of the Circuit Sticker Sketchbook (Template 5).
Step 8: Assemble & Display Your Art
I created a final version of my sketch on watercolor paper, adding details with gouache paint. Once it dried, I adhered the sketch to the cardboard with the cutouts using a spray adhesive and briefly placed it under weights. I also used spray adhesive to mount the paper with my circuit onto another piece of cardboard. I then positioned the artwork layer on top of the circuit layer, adding a narrow strip of craft foam at the top of the circuit layer to minimize contact between the art layer and the circuit layer. In order to maintain access to the circuit layer, I created a taped hinge at the top of my piece rather than adhering the art layer permanently to the circuit layer. After connecting alligator clips from the negative and positive leads of my project to the 5V and ground pins of my Chibi Chip, I could light up the windows in my project by pressing down on the gravestones!
Gallery


Related Project Tutorials
Haunted House Pt. 2: Light Colors in Sequence
In this tutorial, we will teach you how to use pressure sensitive conductive plastic to make a haunted house light up, one color at a time, mimicking the visible light spectrum of a rainbow.
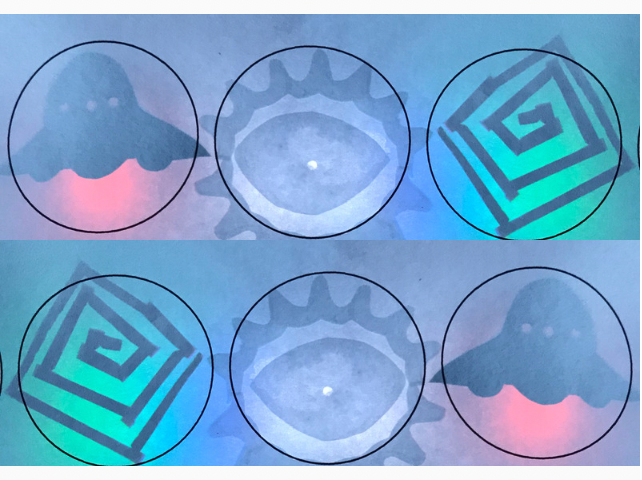
Shadows & Silhouettes
In this activity, you’ll make swatch cards to experiment with different paper and light effects and ponder possibilities for using the properties of both for art and engineering.
6 DIY Pressure Sensor Circuits
This video tutorial demonstrates a variety of pressure circuit techniques using Pressure Sensitive Conductive Plastic (velostat/ linqustat).
Similar Posts You Might Enjoy
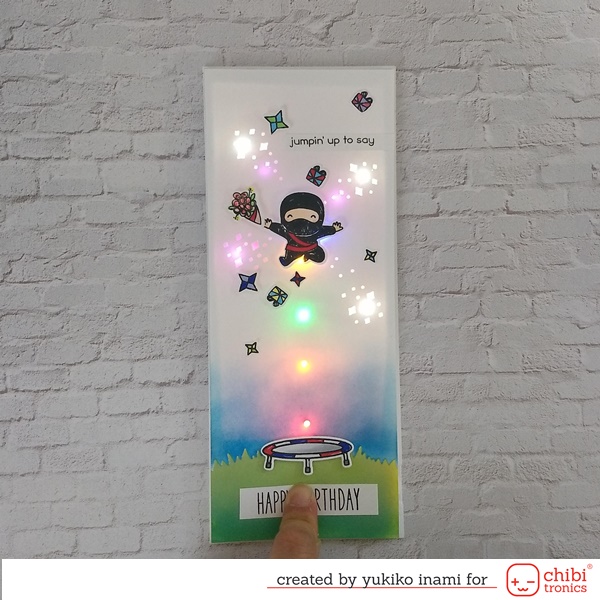
Jumpin’ Up to Say “Happy Birthday!”
Learn how to make a pressure sensor that lights up fireworks in a staggered burst of color!
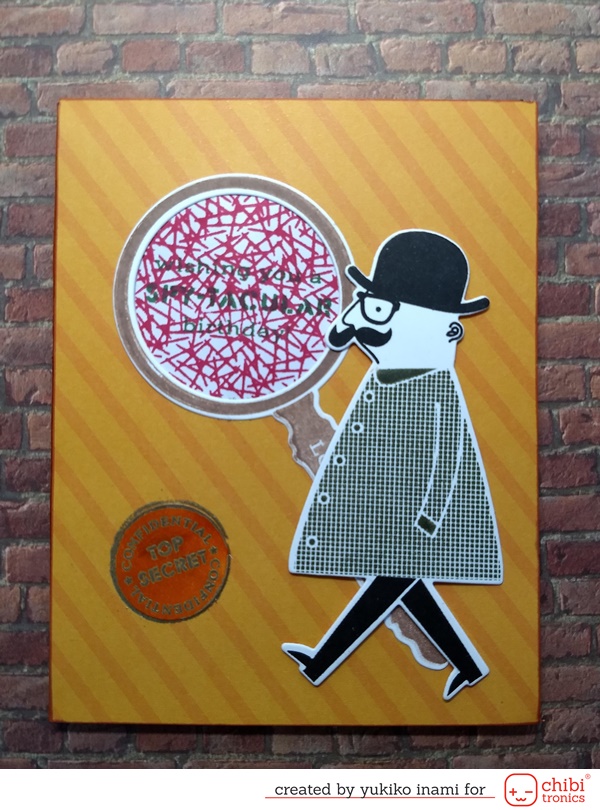
Private Eye With a Secret Message
A top secret message becomes clear with a little help from Pressure Sensitive Conductive Plastic.
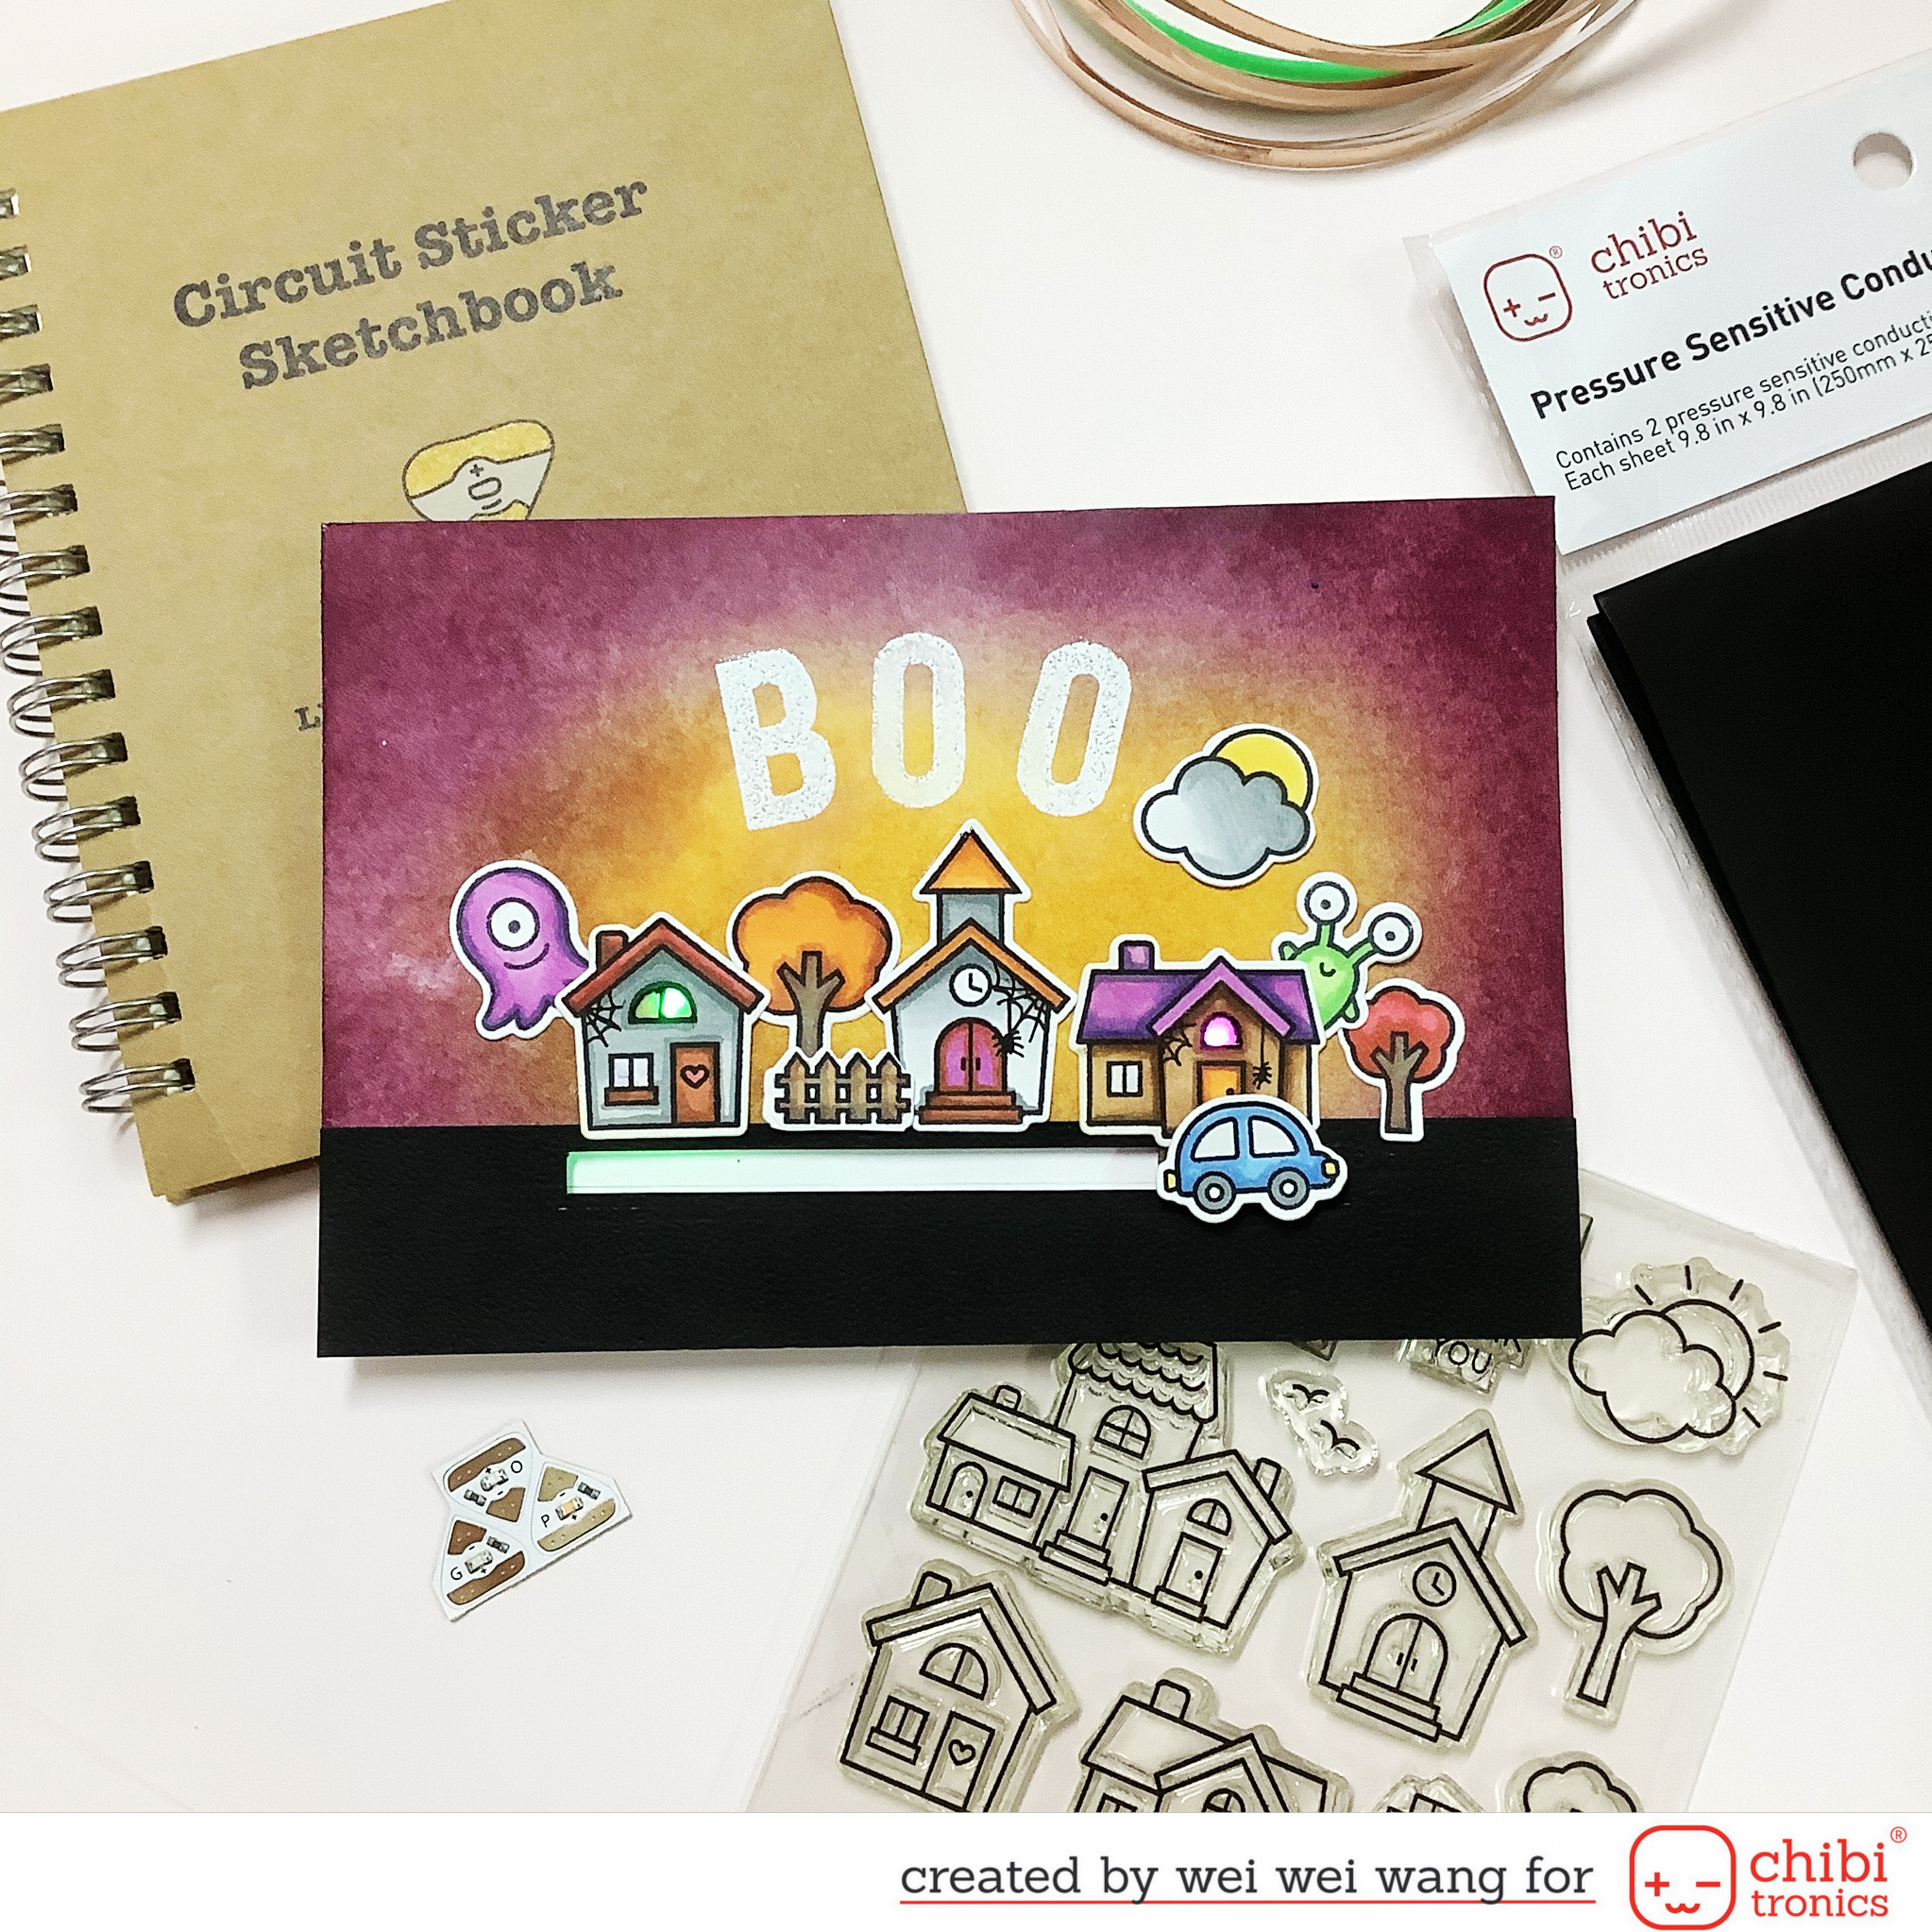
Halloween Light Up Card
Add a gentle fade in and fade out effect with Pressure Sensitive Conductive Plastic.
Featured Products
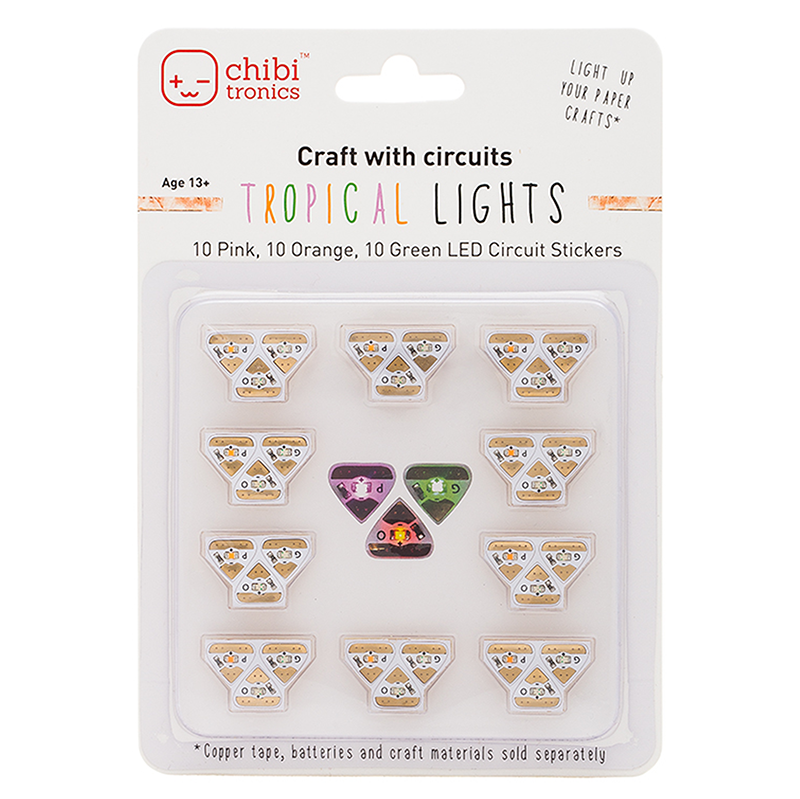
Circuit Stickers
Chibi Lights
$35.00
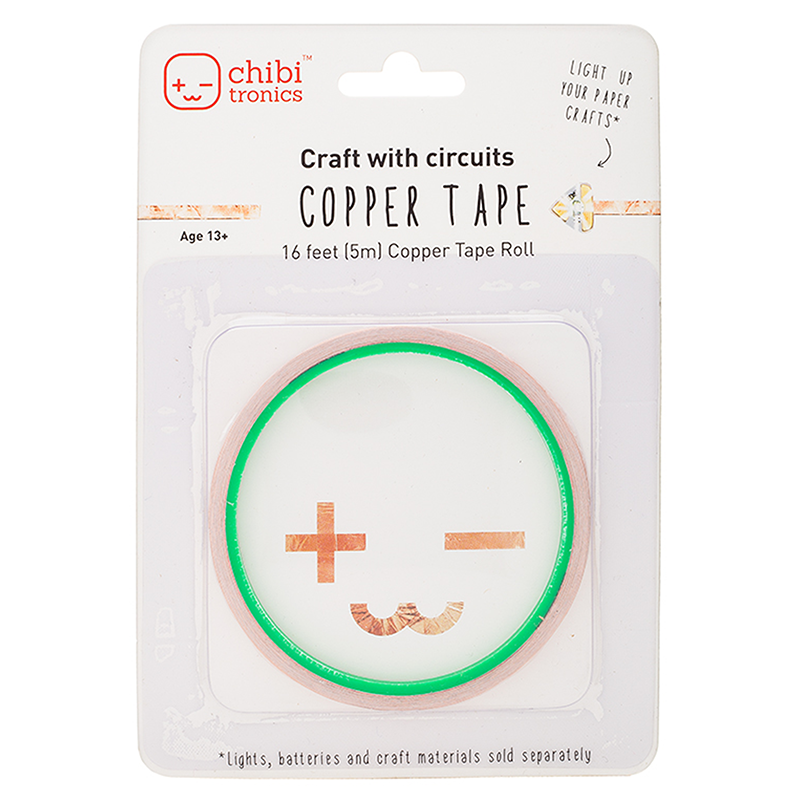
Copper Tape
Copper Tape
$10.00
Conductive Fabric Tape
Conductive Fabric Tape
$10.00

Pressure Sensitive Conductive Plastic