How To > Projects > Sensors & Switches > Tutorial
Illuminated Tunnel Book (with a Tilt Sensor)
Project Design & Tutorial by: Jill Dawson
Tilt Sensing Tunnel Book
In this tutorial, I’m going to show you how to use Circuit Sticker LEDs and a tilt switch/sensor to add lighting and interactive effects to create an Illuminated Tunnel Book.
Video Tutorial
Introduction
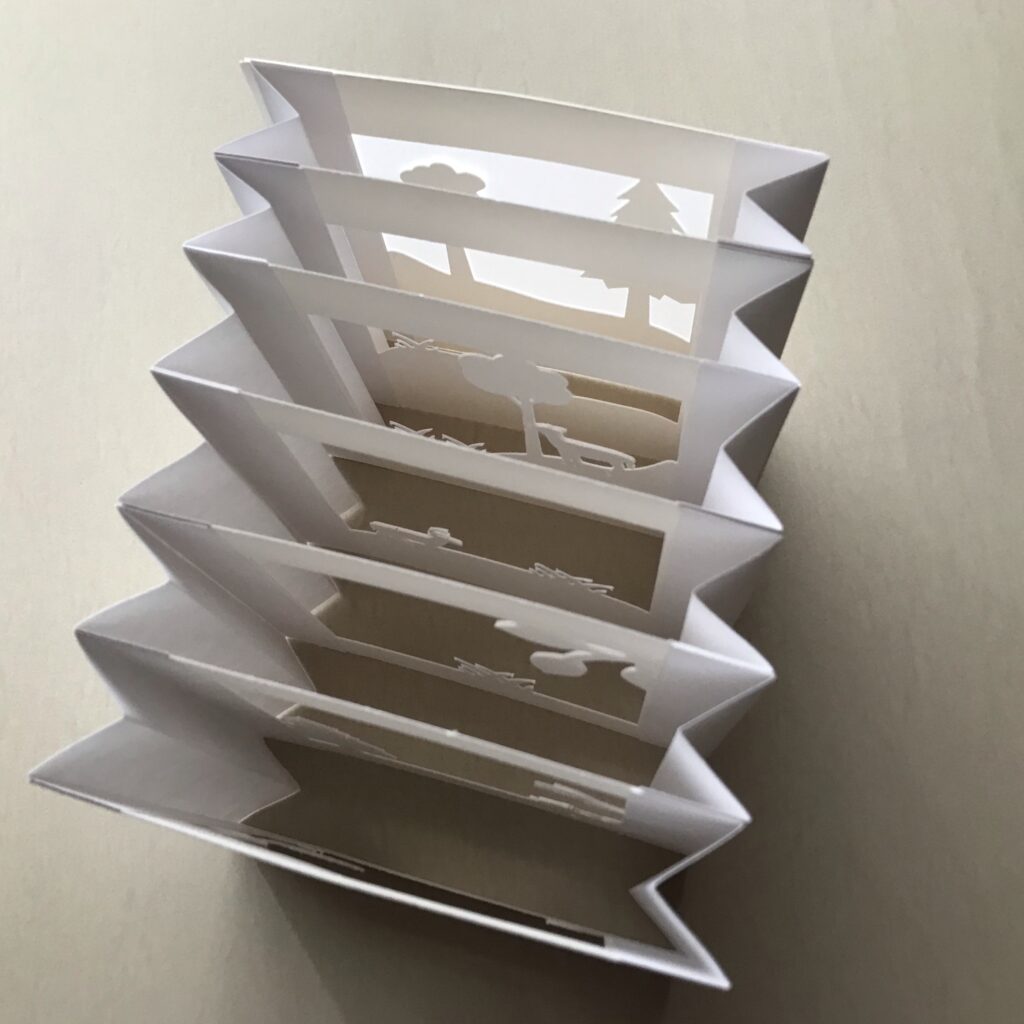
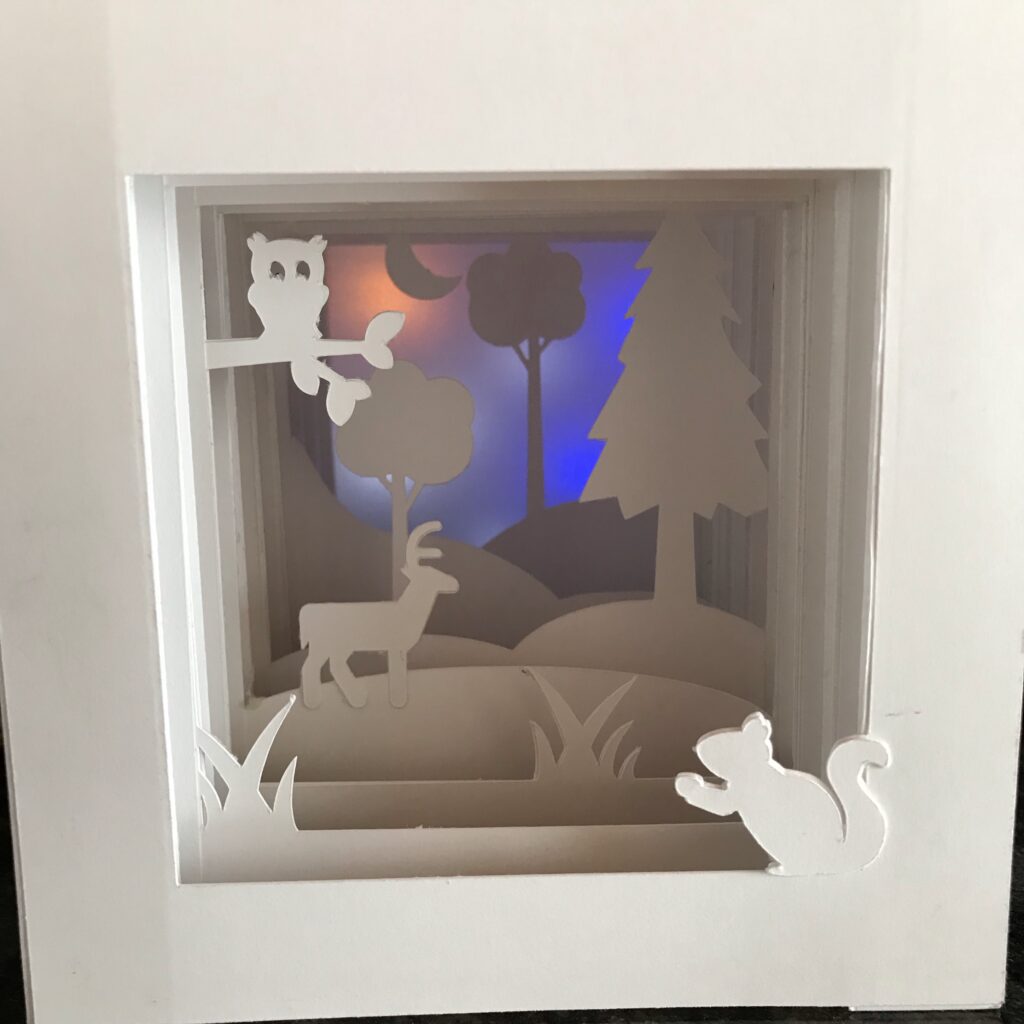
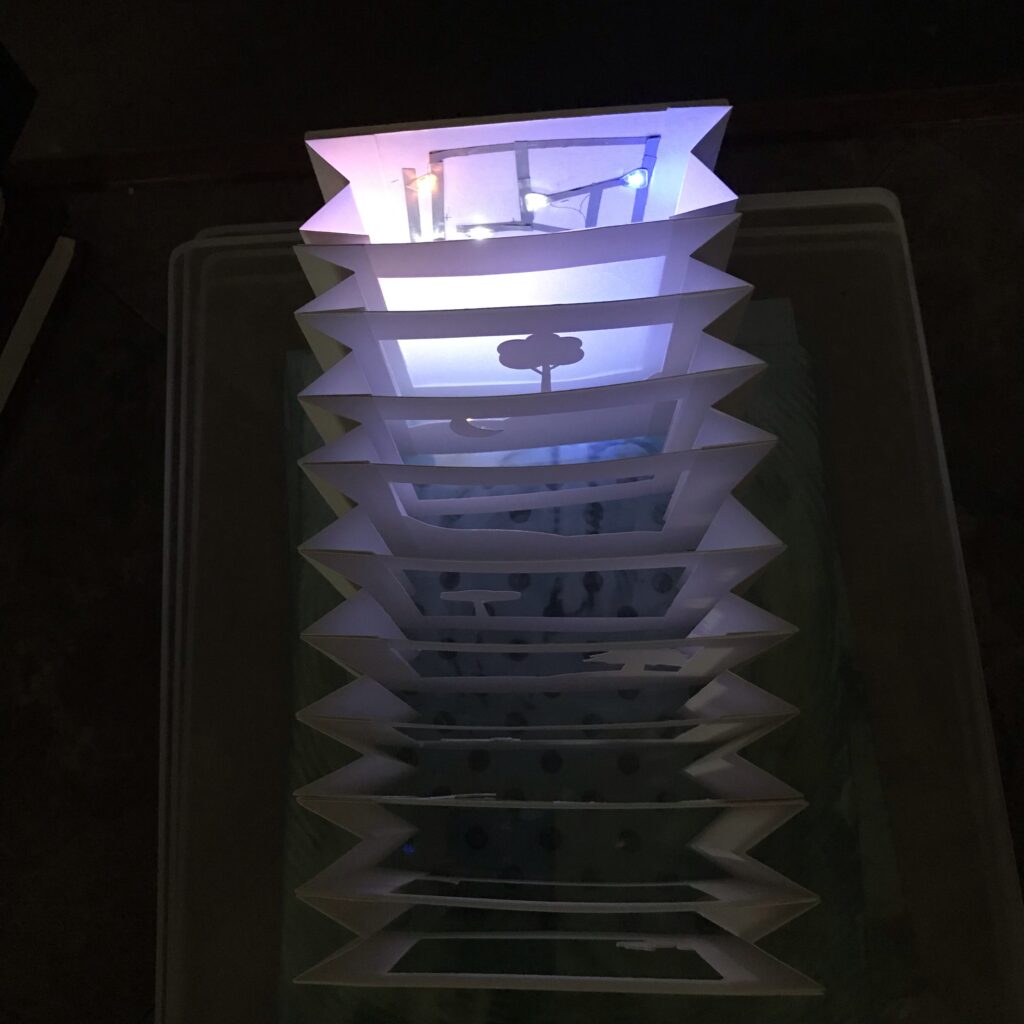
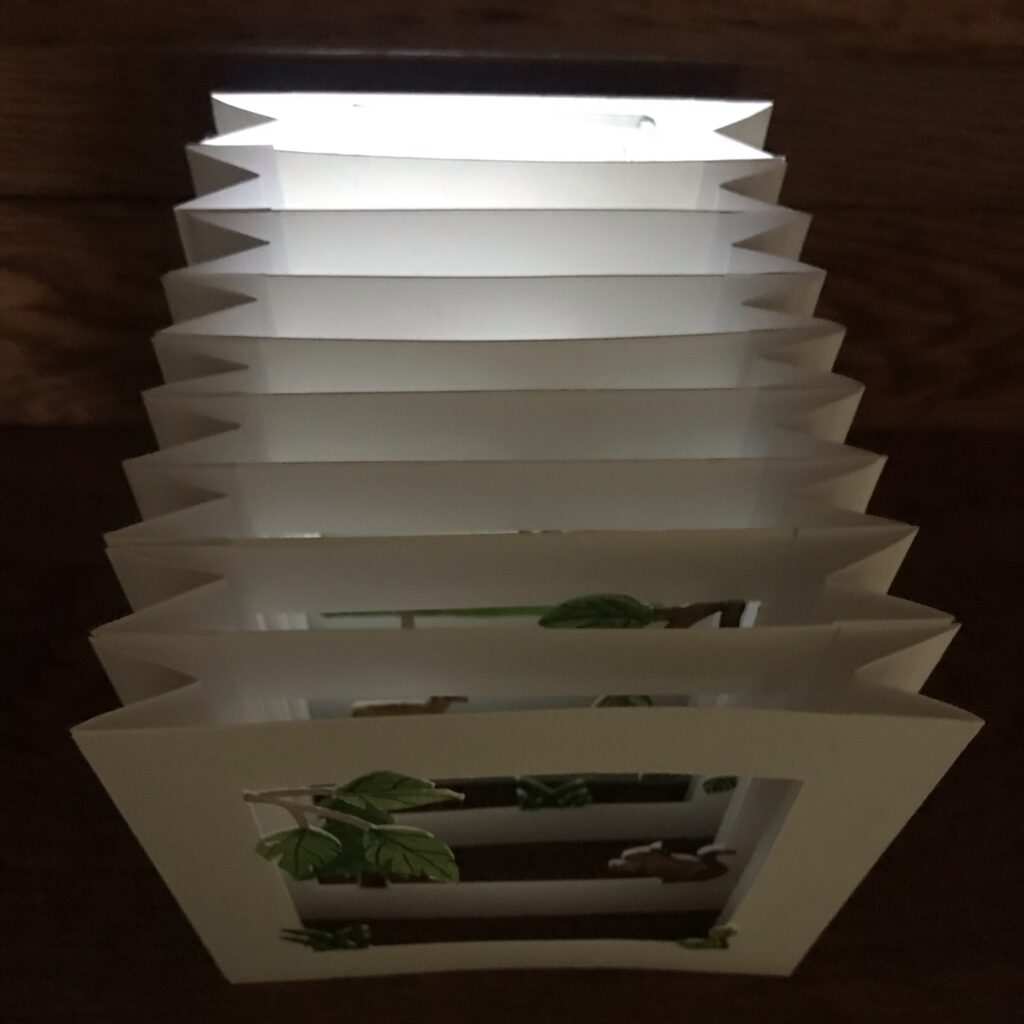
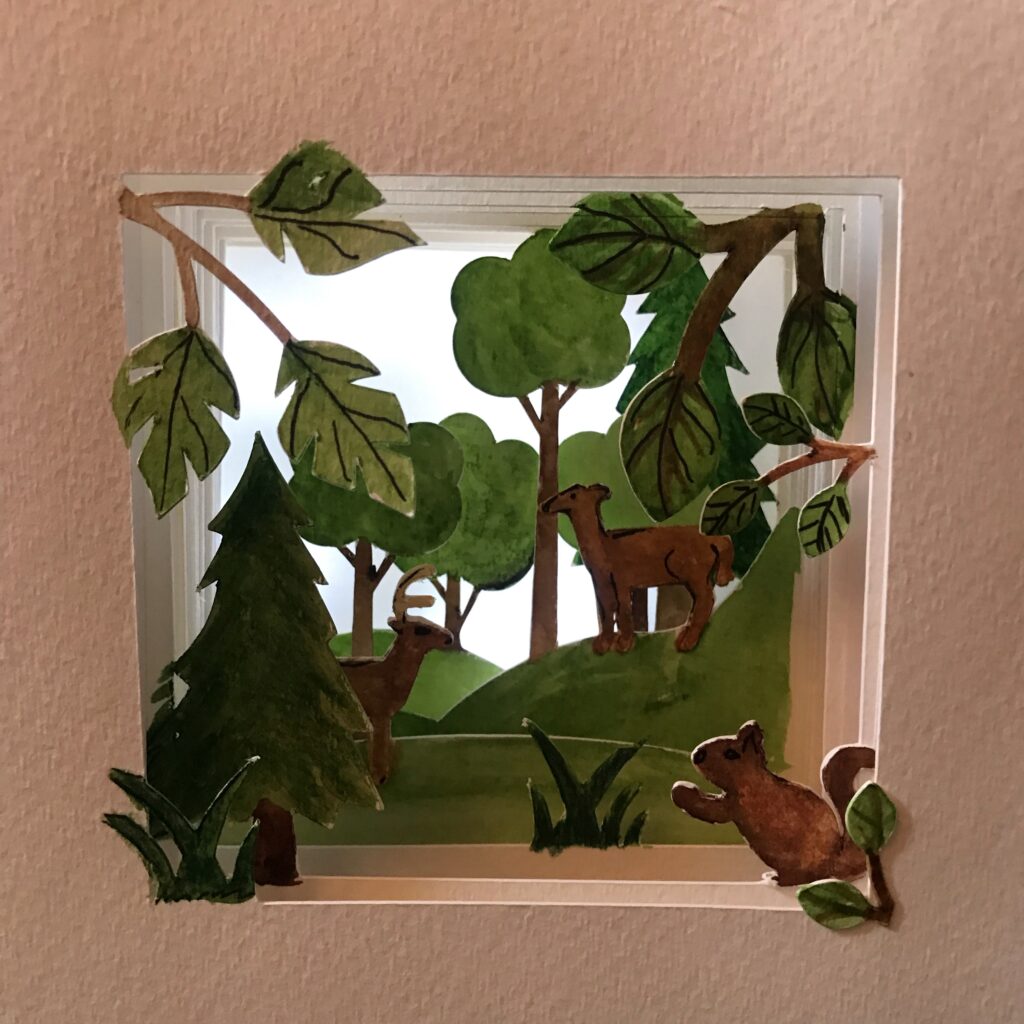
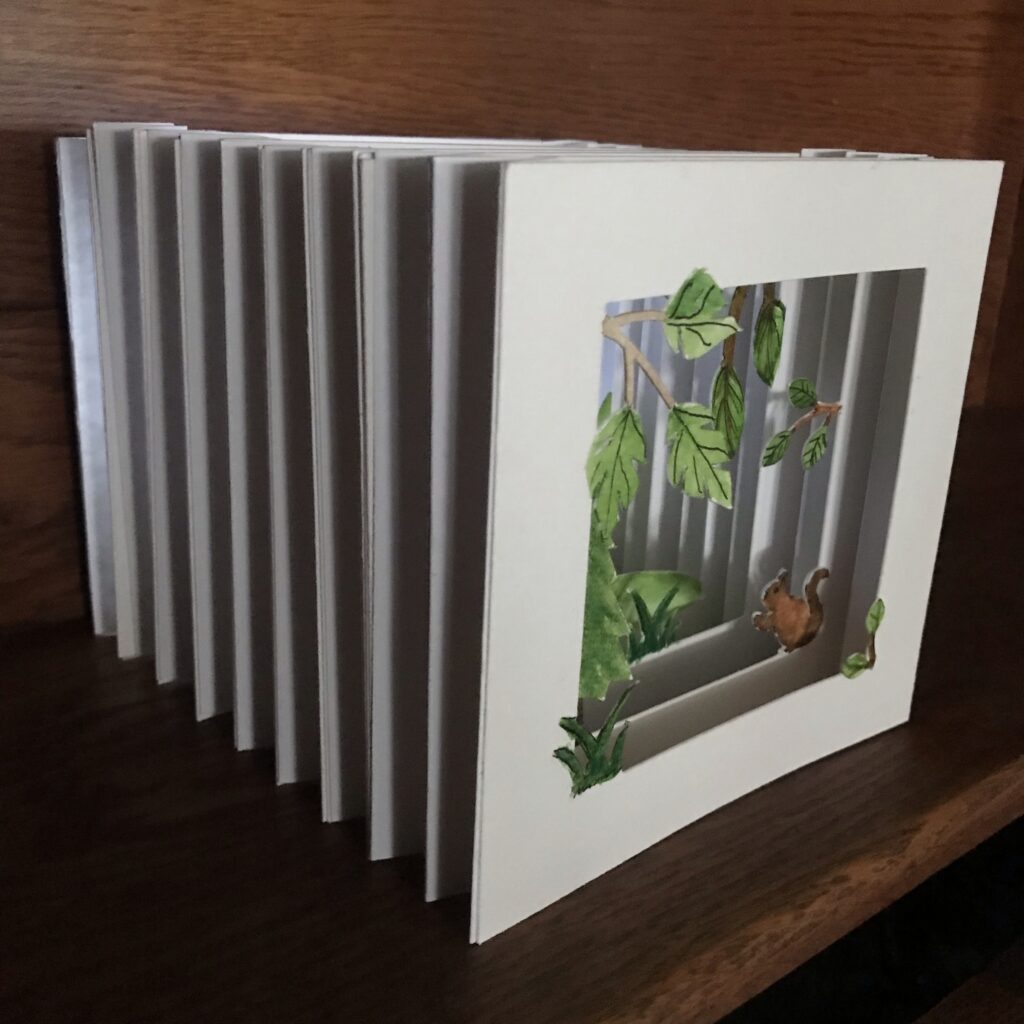
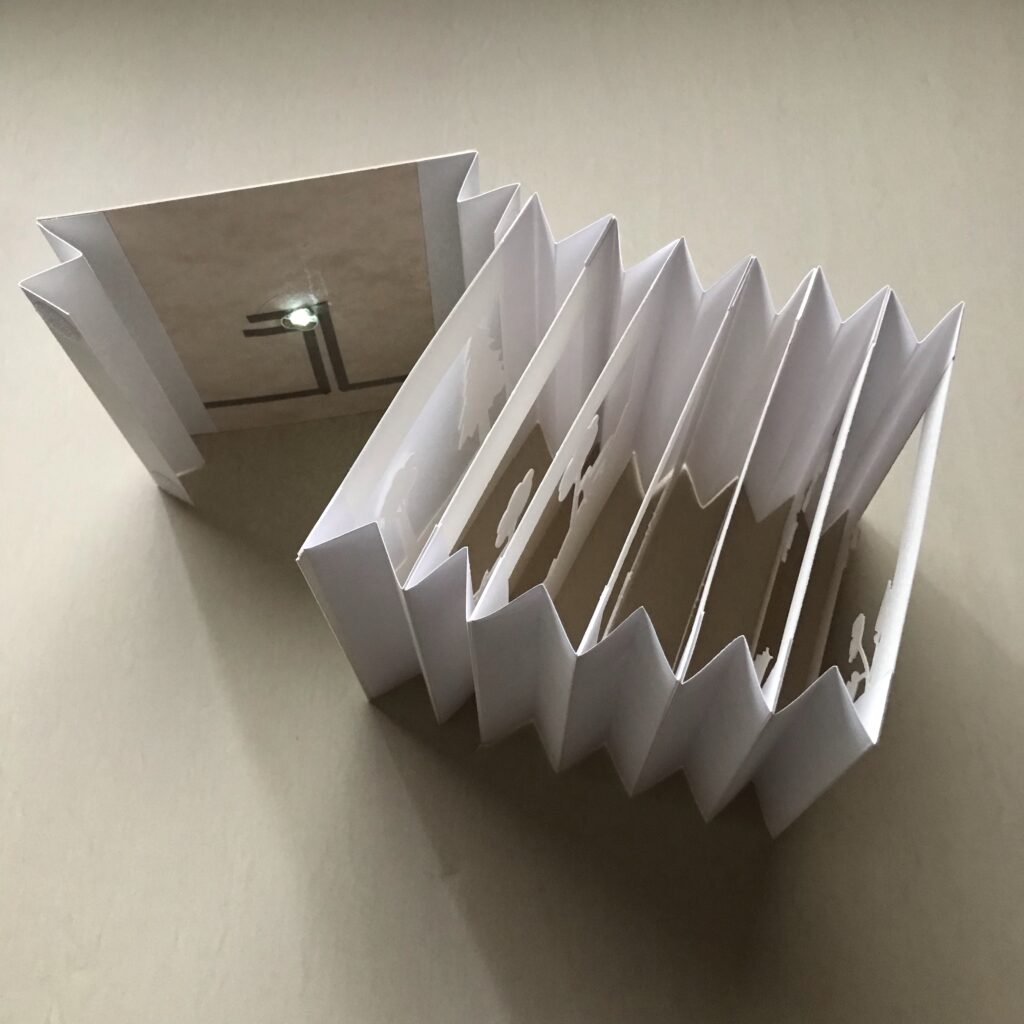
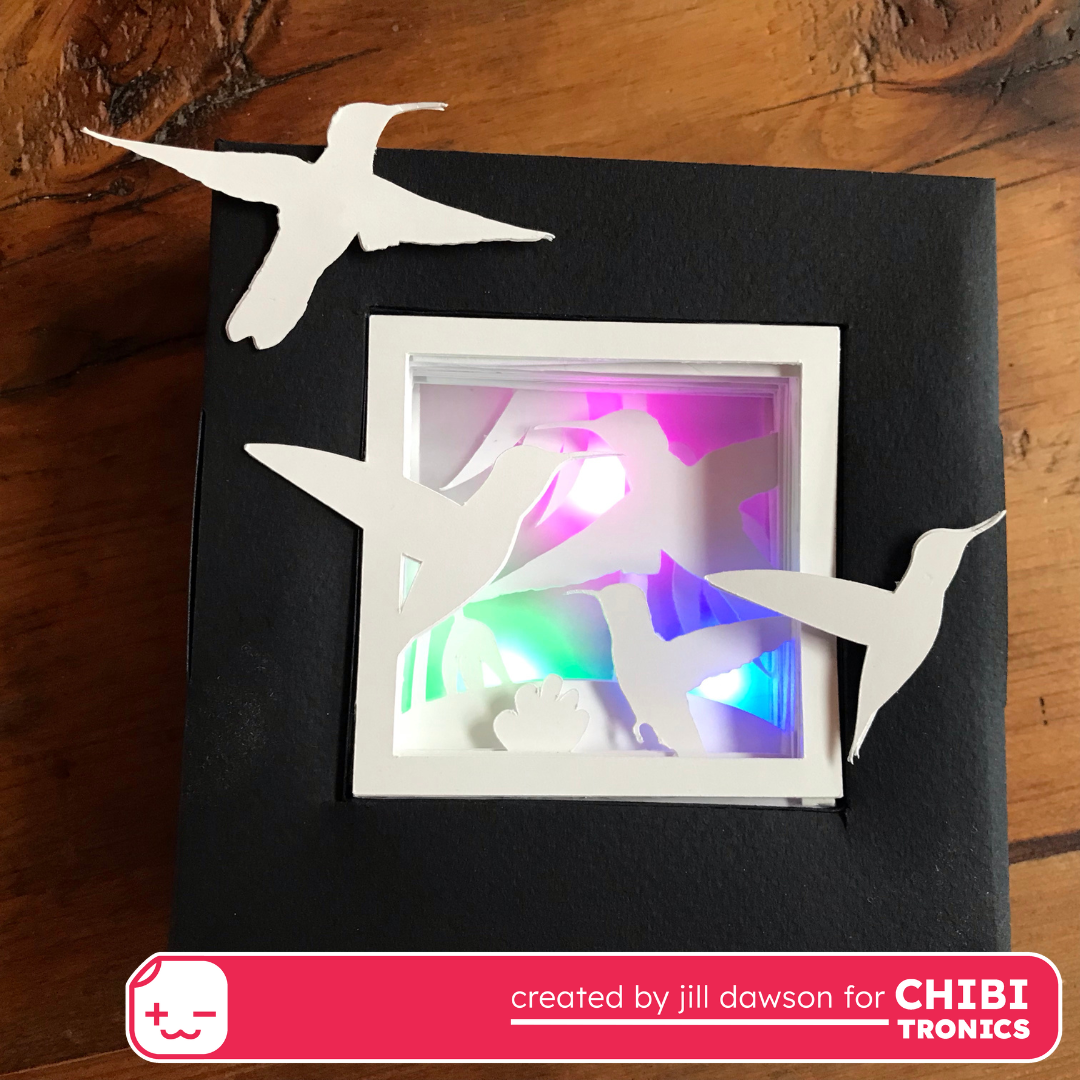
Tunnel books are three-dimensional works of art that feature cut paper images in the foreground, middle ground, and background. When viewed through the front cover, which sometimes contains a small opening or peep-hole, the layers appear to unite as part of a cohesive scene. Designed to create a sense of depth, perspective, and wonder, tunnel books are often engineered by layering decoratively cut paper panels between folded paper hinges, allowing them to move in and out like the bellows of an accordion.

When combined with paper circuitry, adding light effects and sensors, a tunnel book can become a highly engaging STEAM project, as well as a useful tool of self-expression.
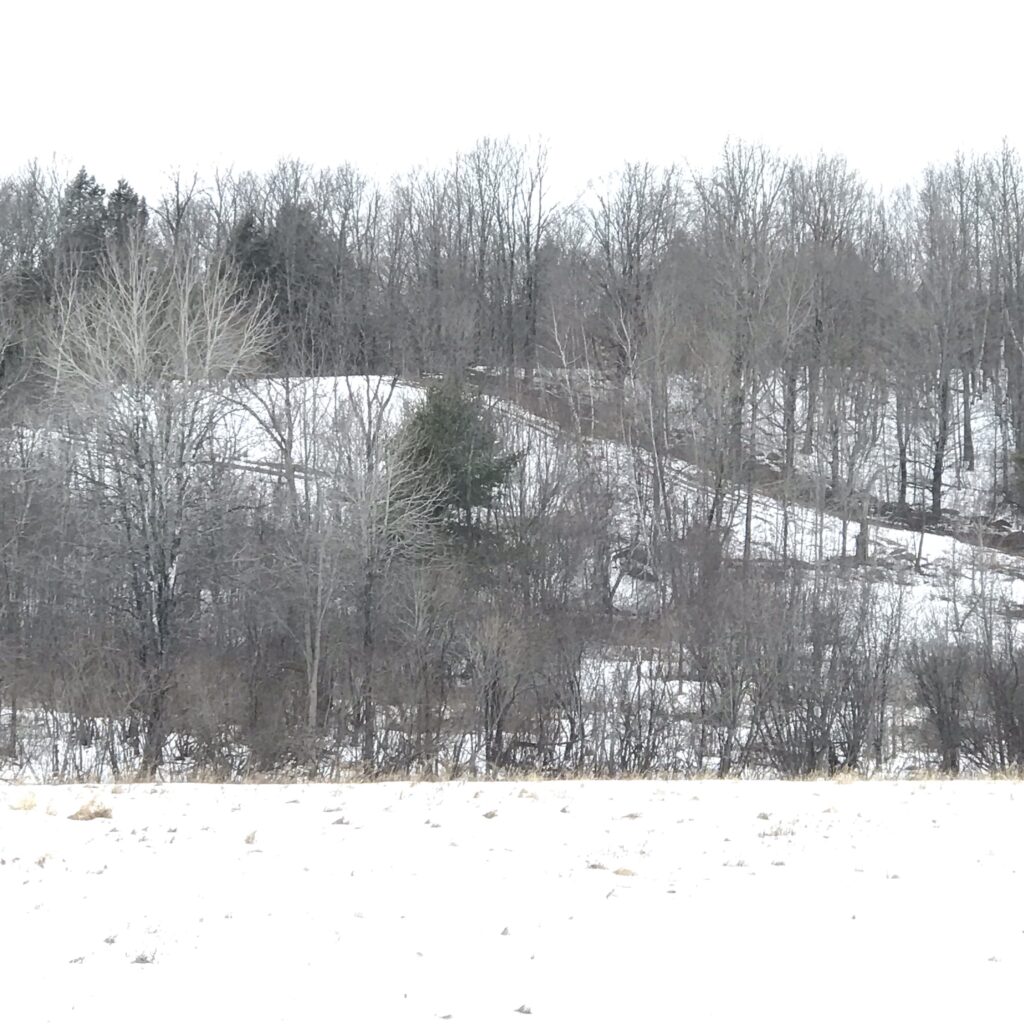
Tunnel books are terrific for helping to set a scene, whether real or imagined. I drew inspiration for my tunnel books by looking out my window, where I often spot wild deer grazing at the foot of a forested hillside.
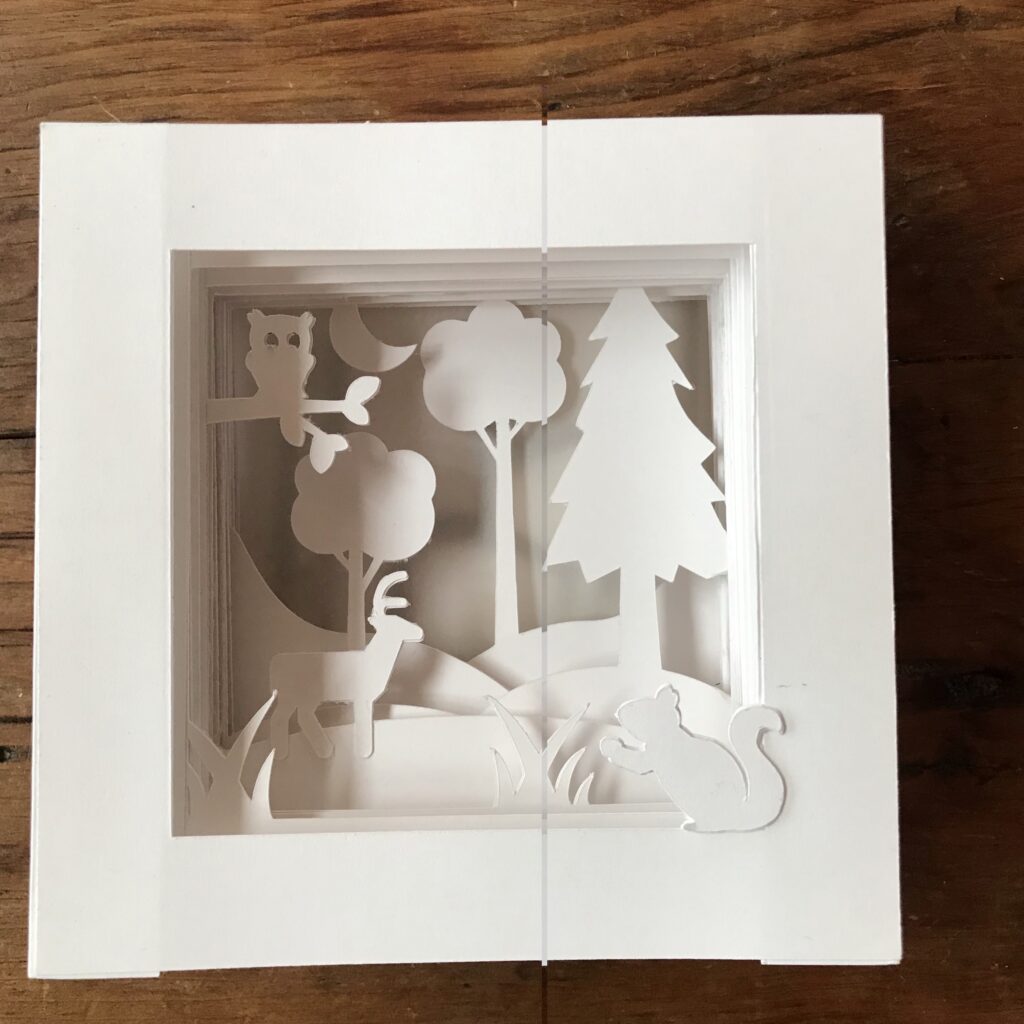
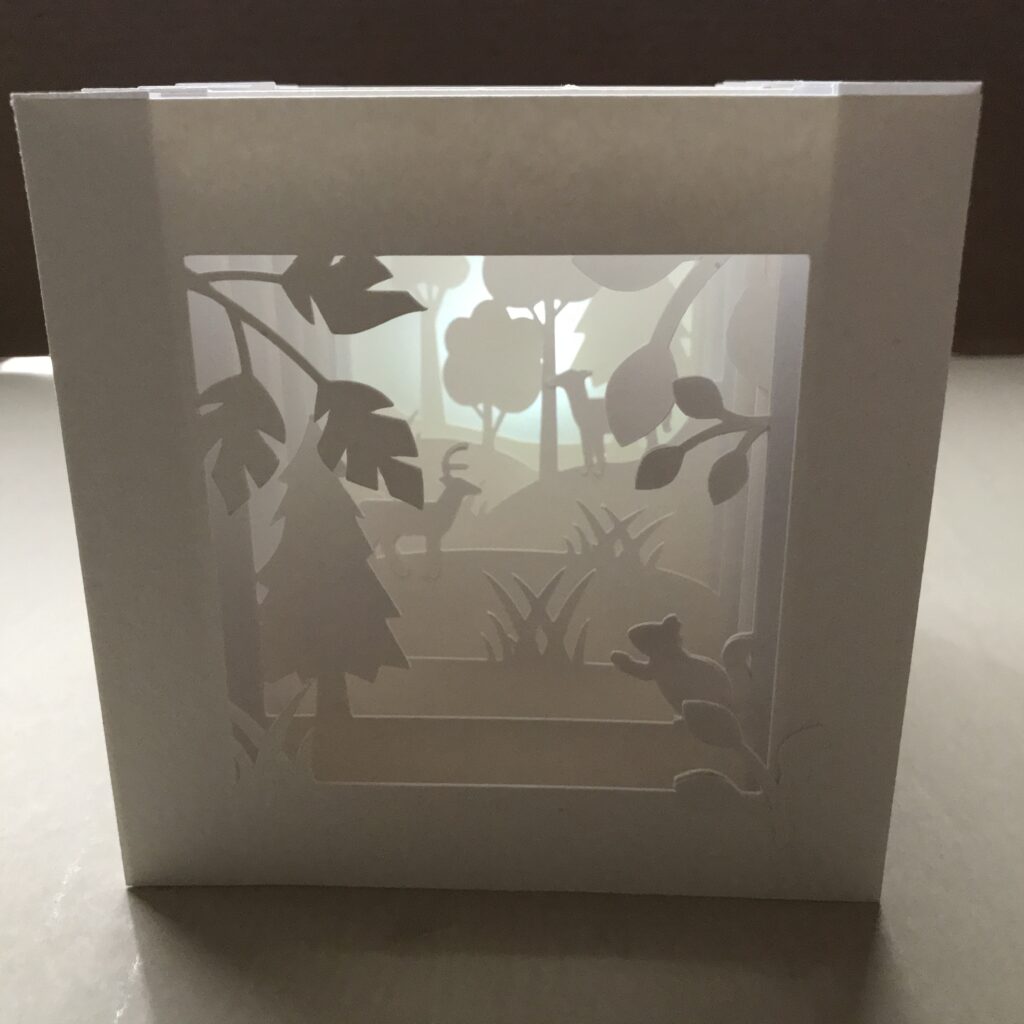
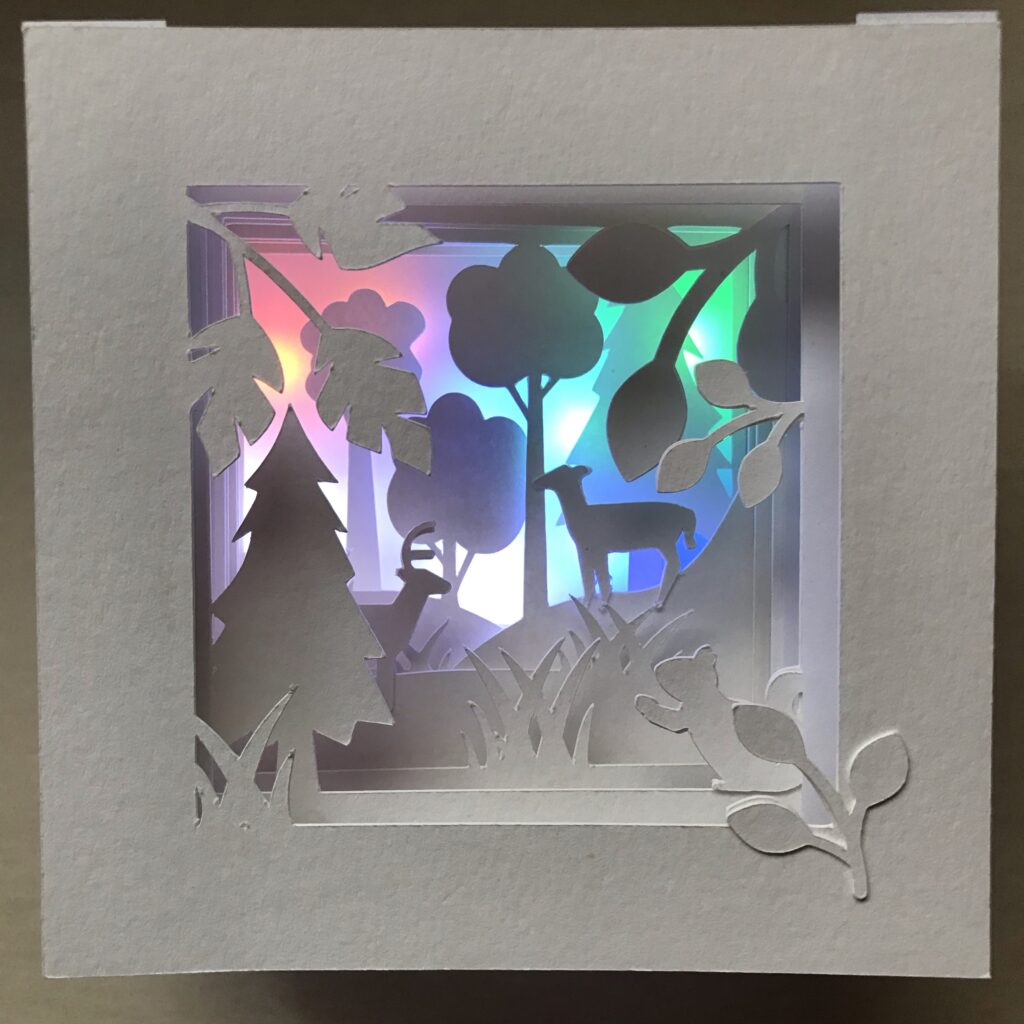
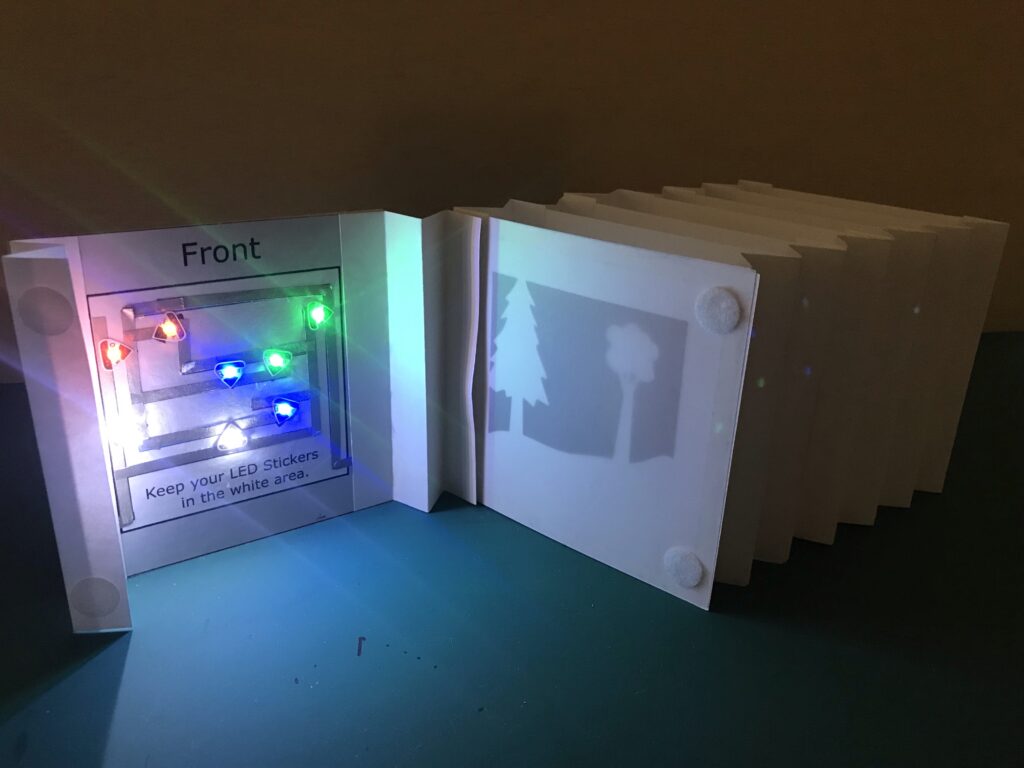
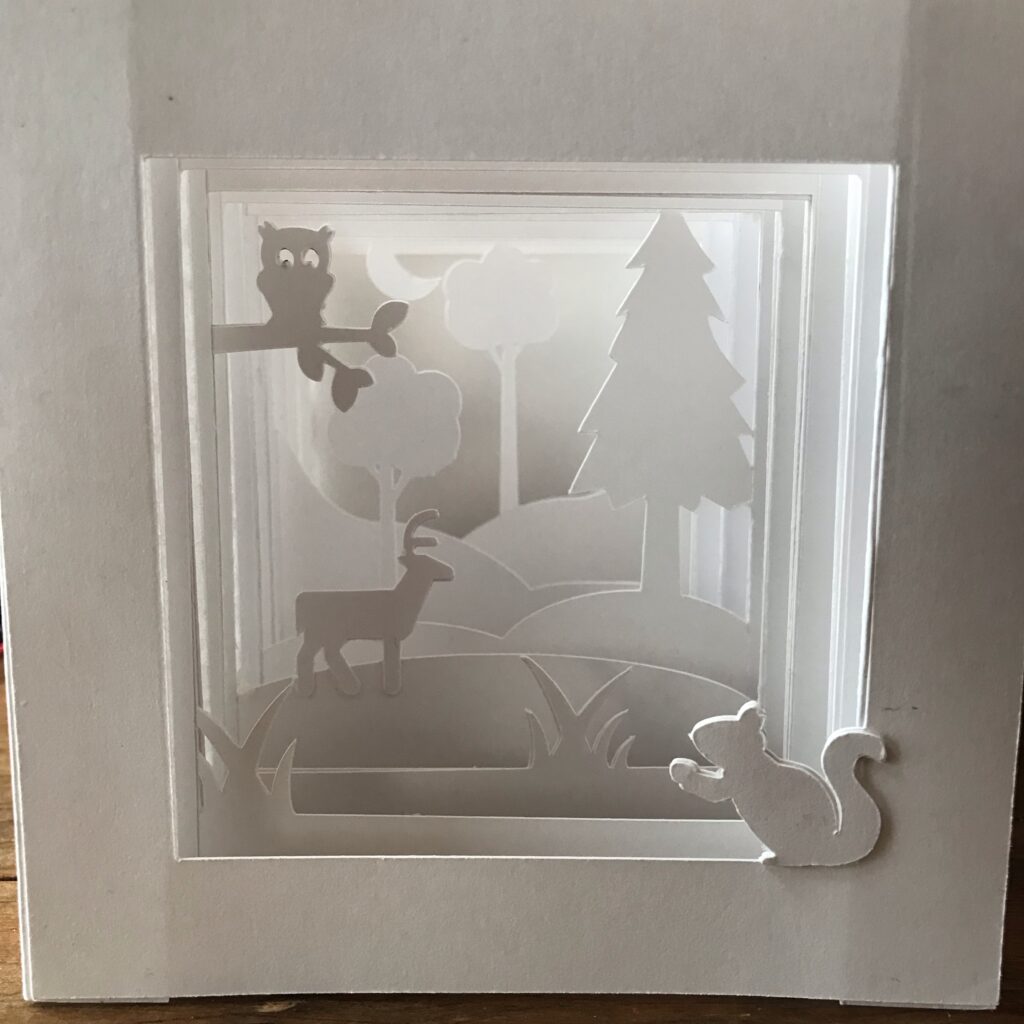
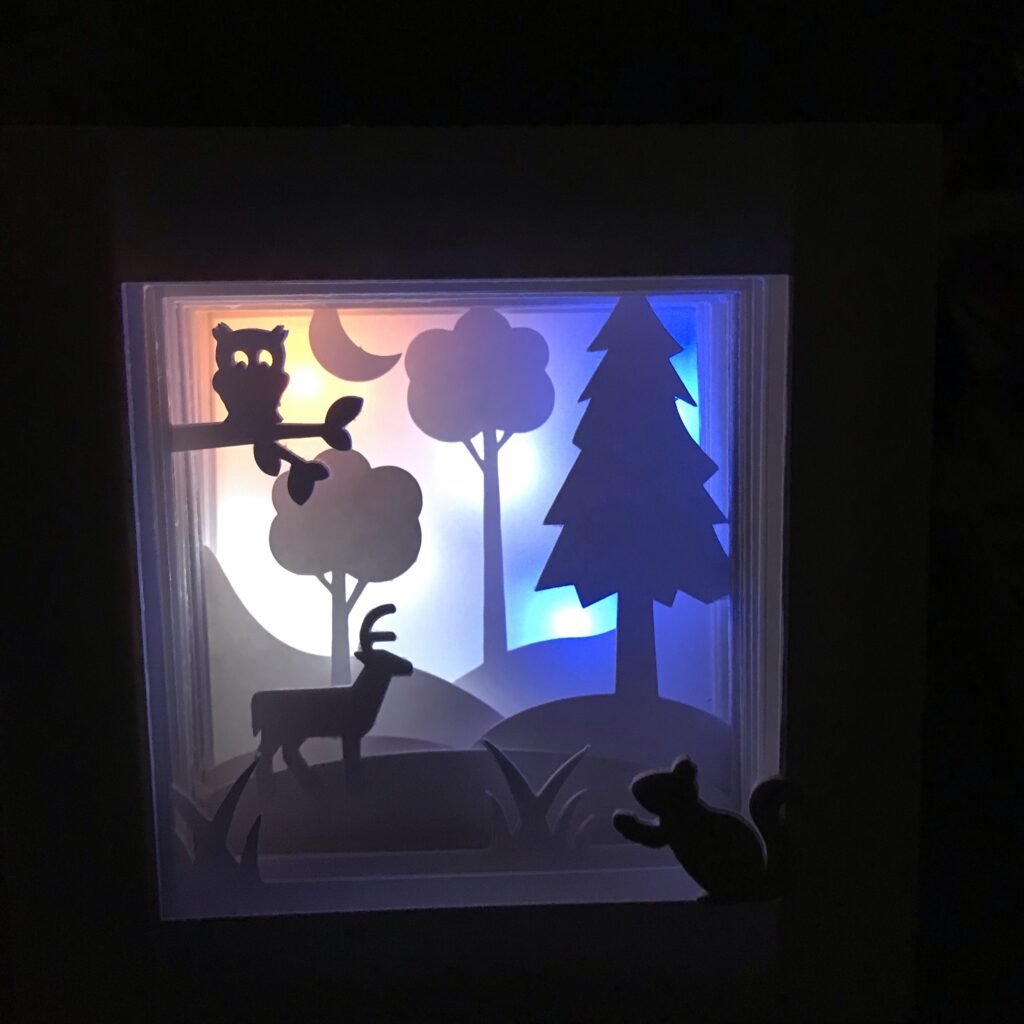
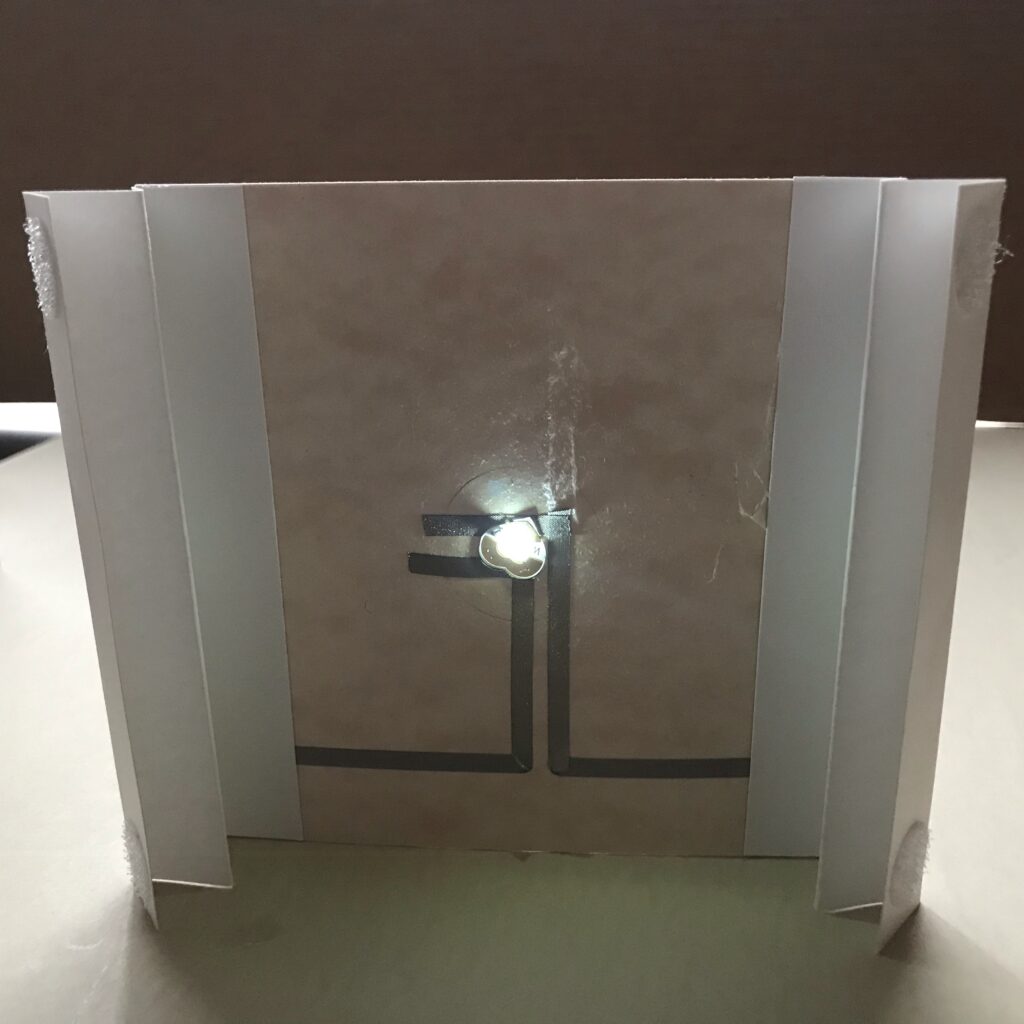
In these side by side comparisons you can see how my first prototype looks with the battery removed, and in place at different times of the day. To turn an ordinary tunnel book into an Illuminated Tunnel Book, I attached a tilt sensing circuit to the back of it using Velcro dots, making it easy to remove or switch out.
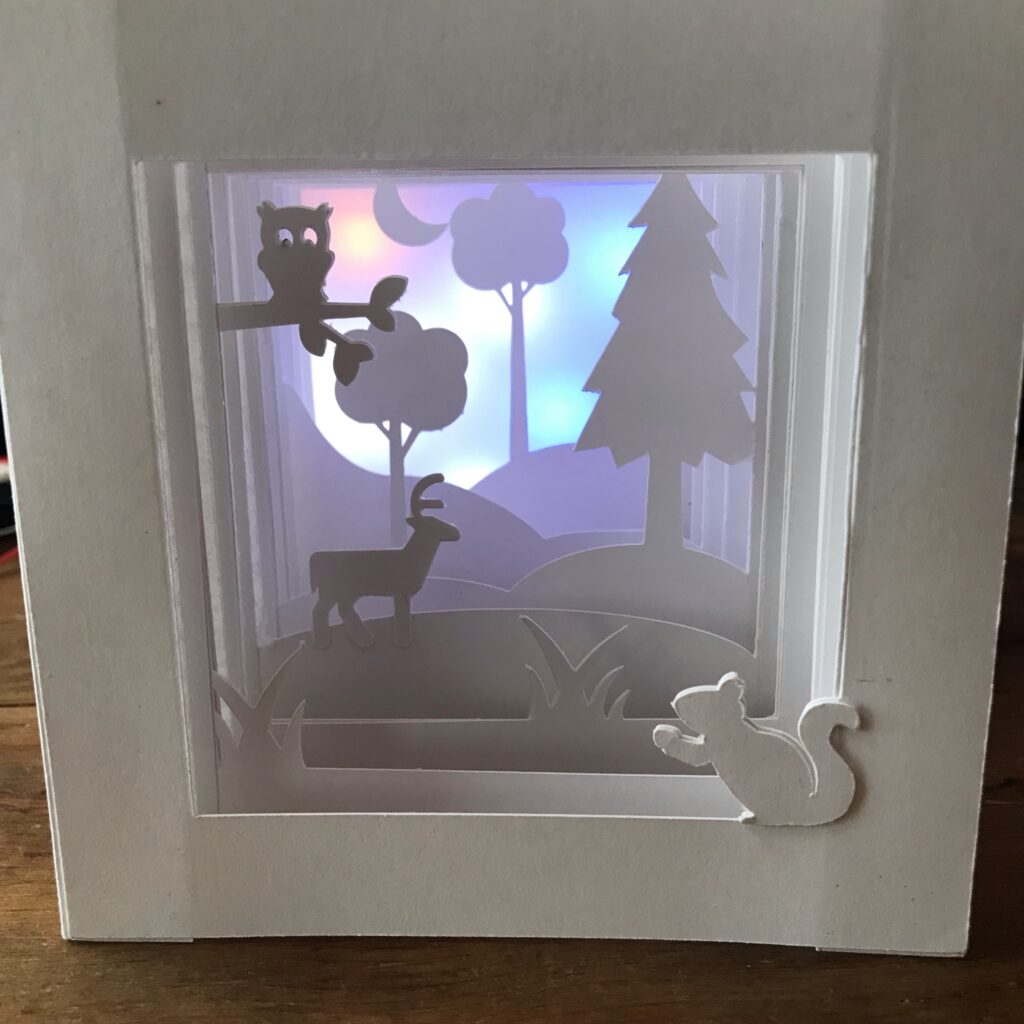
While there are different methods for constructing a tunnel book, the video tutorial will show you how to create an Illuminated Tunnel Book that lights up with Circuit Sticker LEDs and switches on and off with help from a tilt switch/sensor.
What is a Tilt Switch/Sensor?
Although tilt switches/sensors come in different forms (including this handmade one, constructed with a metal bead and sewn with conductive thread), I’ll be using a much more common type for this project.
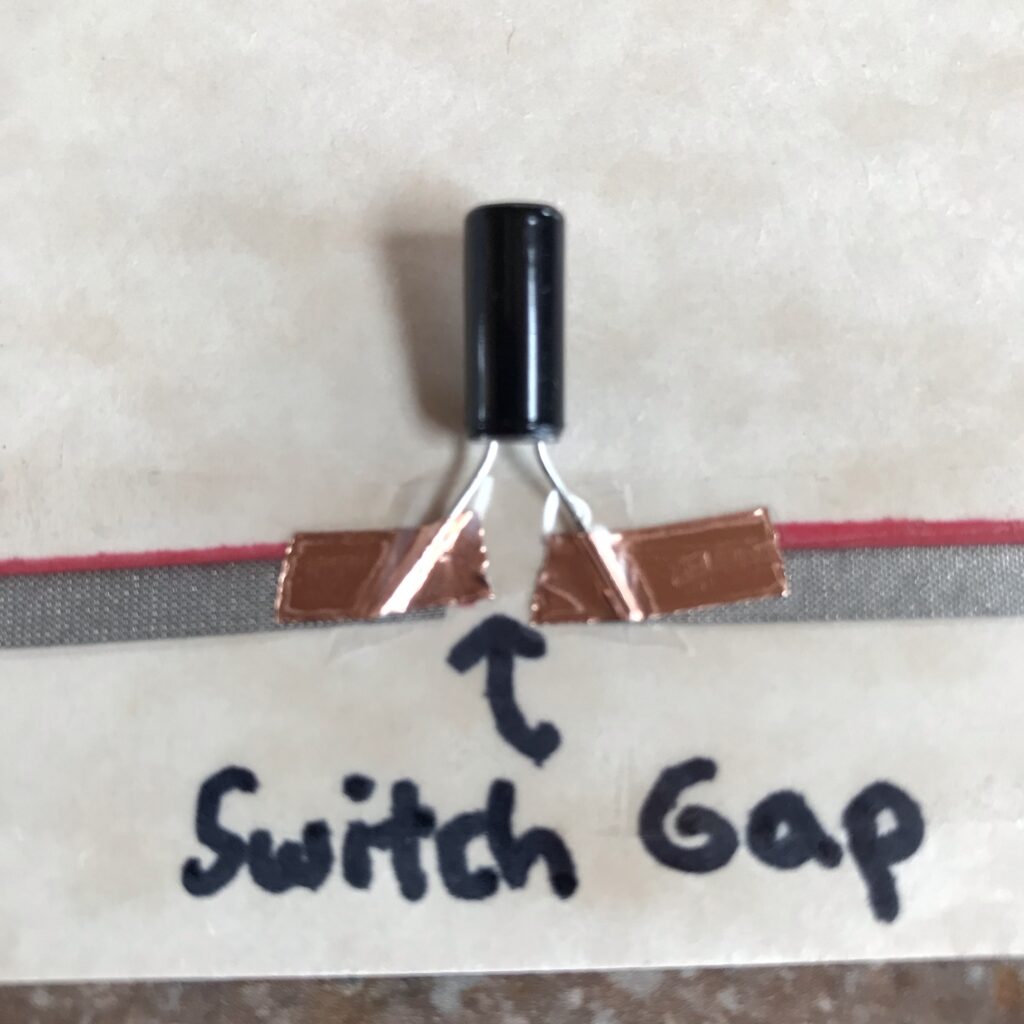
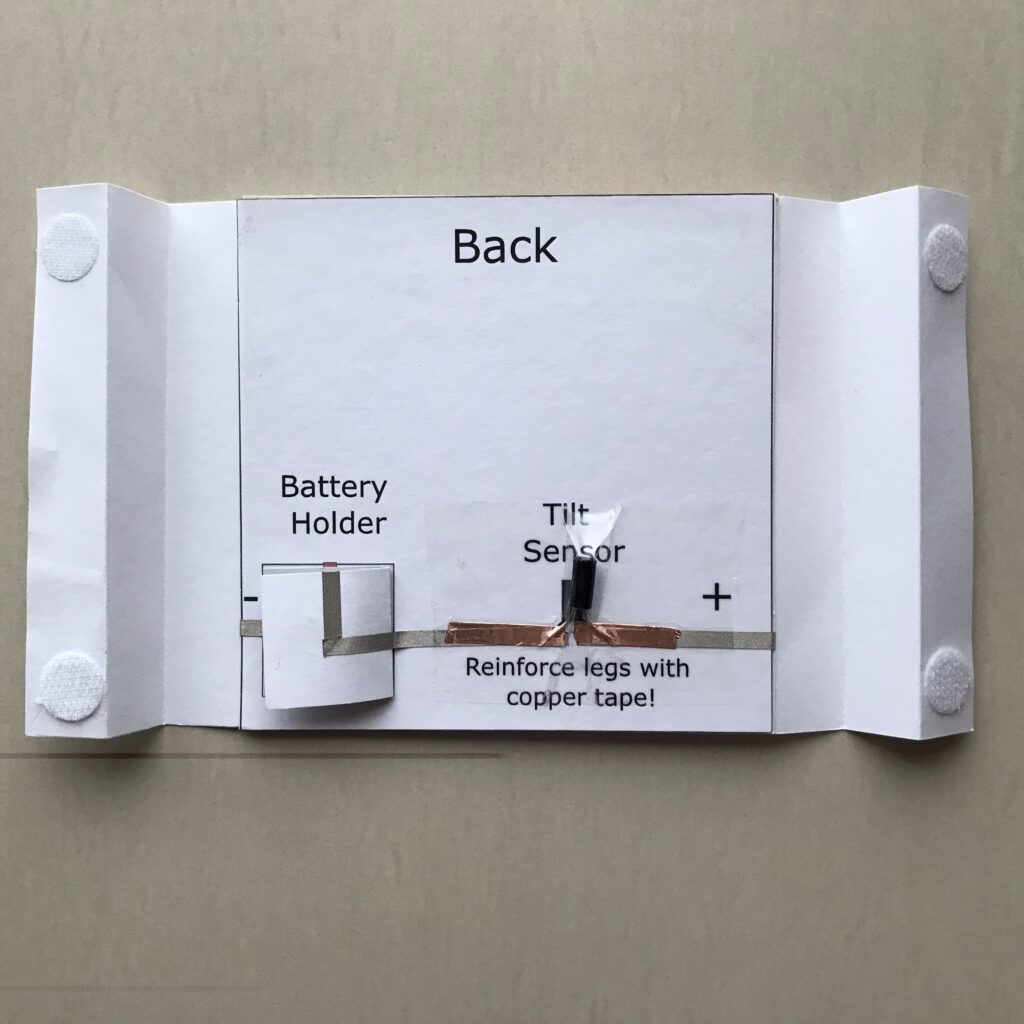
Traditionally used as a safety device, designed to flip a circuit on or off depending upon its orientation, a typical tilt switch is a metal cylinder, with two legs protruding from one end, that contains a ball bearing.
When the legs are used to bridge a gap in a circuit, the ball bearing inside of the cylinder works to open or close the circuit, depending upon which direction it rolls. If it rolls toward the end of the cylinder with the legs, the ball bearing bridges two metal contacts inside of the cylinder to close the circuit. If the orientation of the tilt switch causes the ball bearing to roll away from those metal contacts, the circuit opens.
Overview
One way that this concept could be useful is as a nightlight. This concept could also be applied to quickly light up (and turn off) a three dimensional art display, perhaps one consisting of many parts. One might even imagine a theatrical set with panels that turn off when flat and radiate light when propped up.
If you are planning to create your own Illuminated Tunnel Book design, rather than using the design I’ve shared, it’s helpful to do a little brainstorming to help you come up with an idea for your project. To see a broad range of examples, or to see some ideas for bringing tunnel books into the classroom, visit the Learn More and Classroom Extensions sections below.
Related
Categories
Materials & Tools
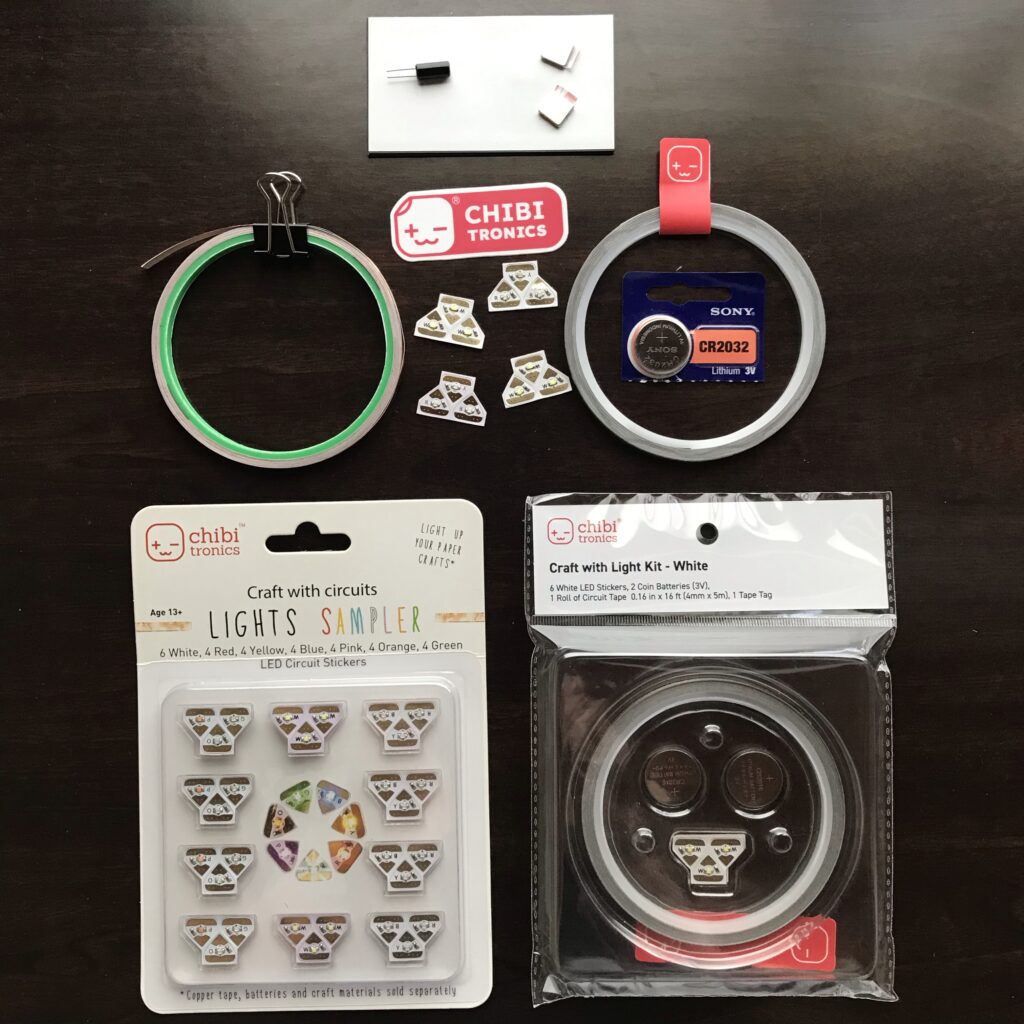
Electronic Supplies
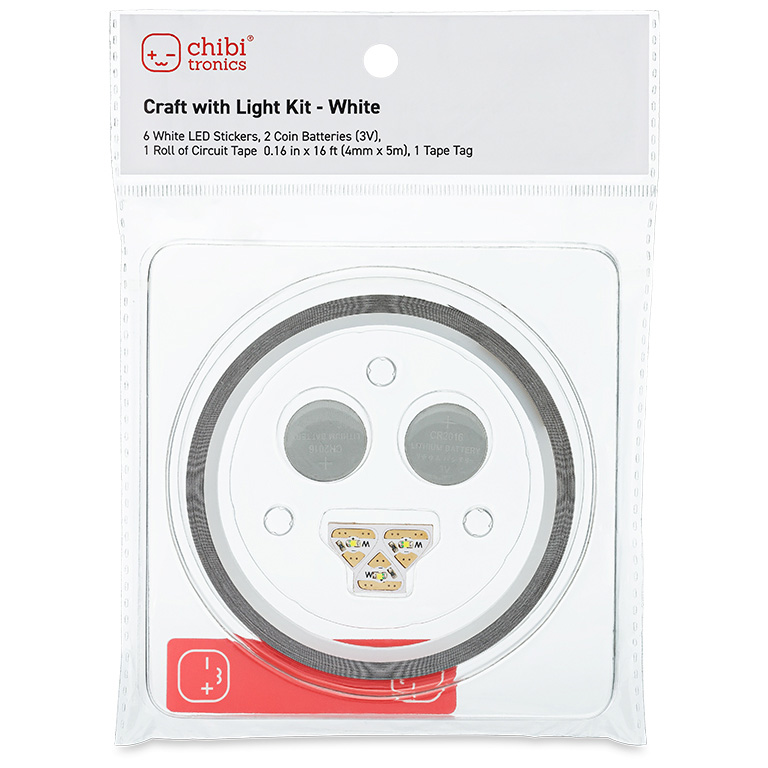
NOTE: A Chibitronics Craft with Light Kit contains most of the electrical components required for this project.
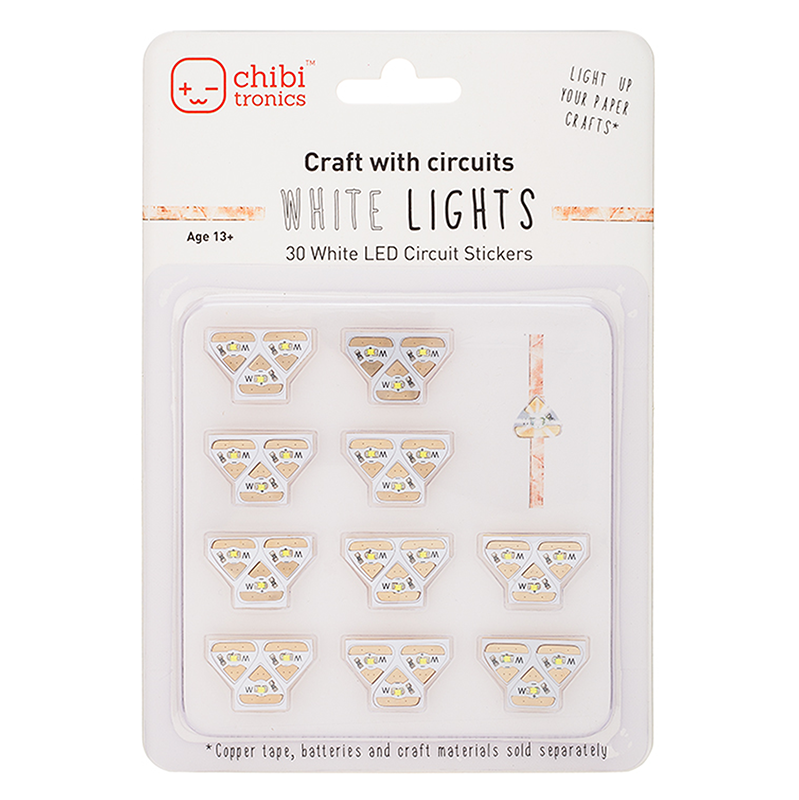
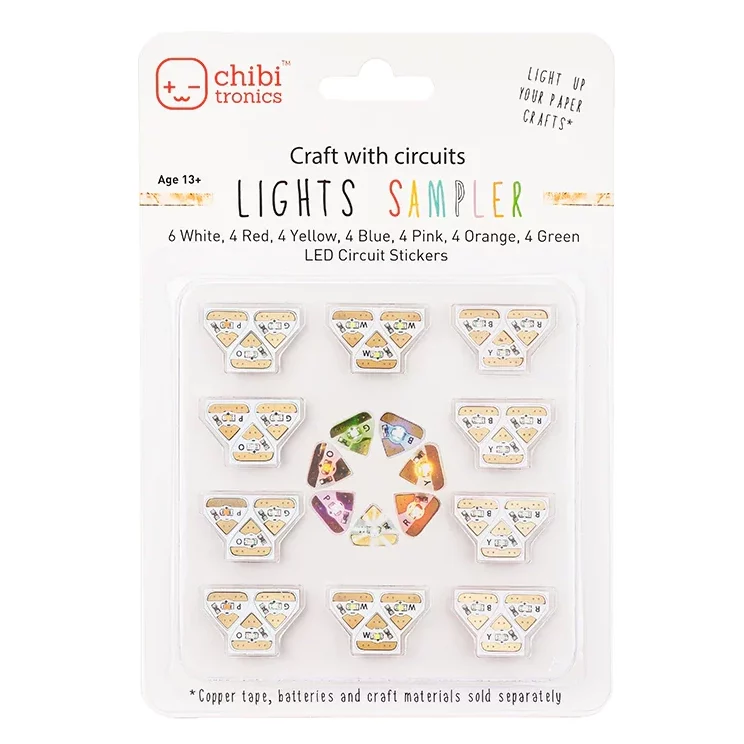
- Circuit Sticker LEDs (or Animating LEDs) in colors of your choice
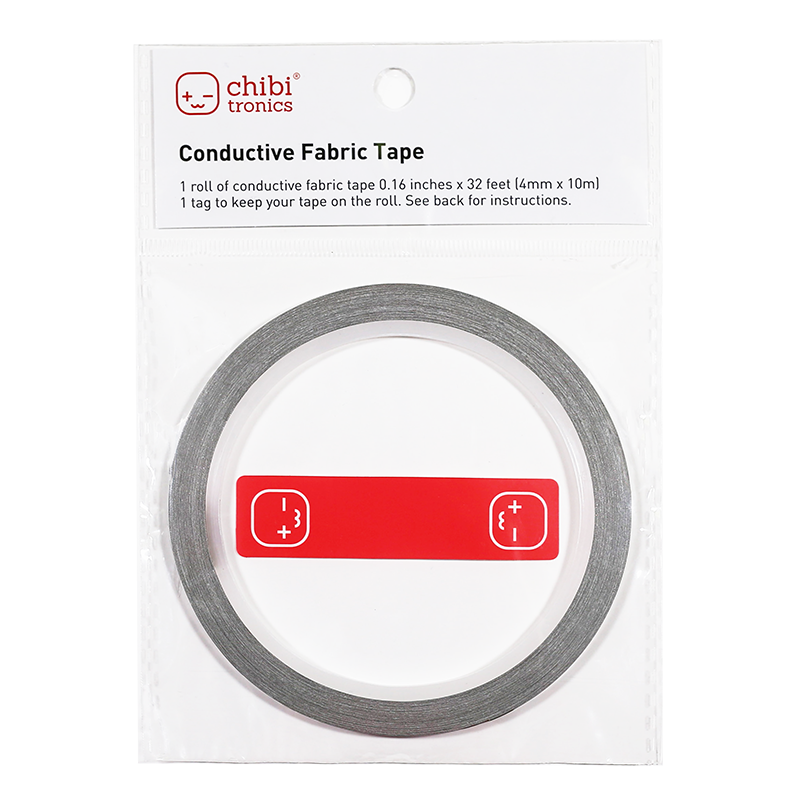
- Conductive Fabric Tape (suggested for constructing the circuit)
- Copper Tape (suggested for making the connections with the tilt sensor)
- 1-2 CR2032 or CR2016 Batteries
- 1 Tilt Switch/ Sensor (such as these)
- 2 Flat Magnets (for making an easy battery holder)
Other Tools & Supplies
- Sturdy paper (poster board, Bristol, cardstock, and watercolor paper work well)
- Translucent paper (such as glassine, vellum, or tracing paper)
- Your preferred adhesives (I use double-sided tape, Bearly Art Precision Craft Glue, and a UHU Glue Stick
- Scotch or postal tape
- Scissors
- Bone Folder
- Ruler
- Pencil with eraser
- Velcro Dots
- Art Supplies of your choice
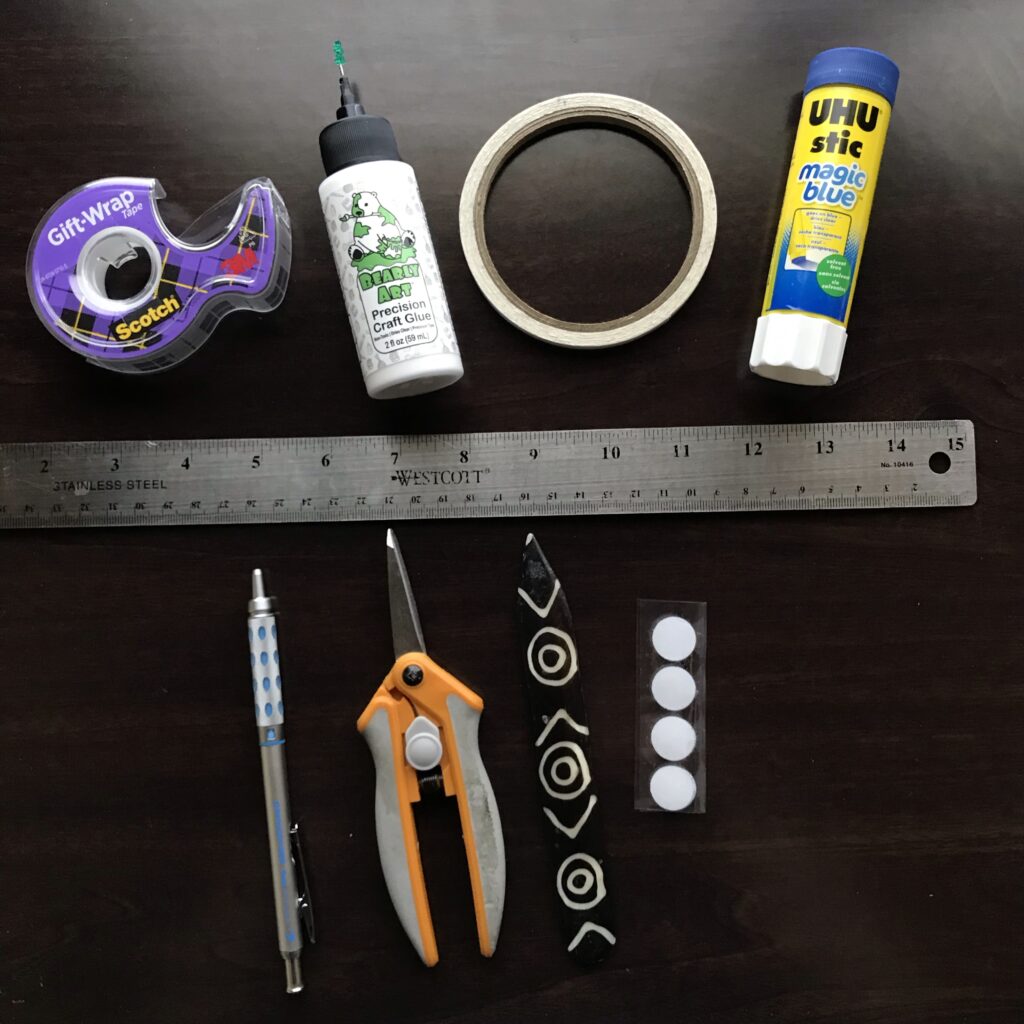
- If creating by hand: Pen knife, cork-backed steel ruler, self-healing mat, or paper trimmer.
- If cutting by machine: Access to design software (such as Inkscape or Adobe Illustrator) and the fabrication tool of your choice (ex. Cricut, Silhouette, or laser cutter)
Optional:
- Printer (if printing a Circuit Diagram)
Directions
Step 1: Prep Your Book Parts
If Using My Design
If you wish to follow along with the video, you are welcome to use and/or adapt my Woodland Themed design. The decorative layers and hinge parts may be cut out with craft machine, using the downloadable SVG below.
I designed the pages in my books to be five inch squares (including a ¾” wide frame all the way around), so that I could cut two pages from a sheet of 8 ½” X 11” cardstock.

You are welcome to download, use, and adapt my cut file for this project, or design your own.
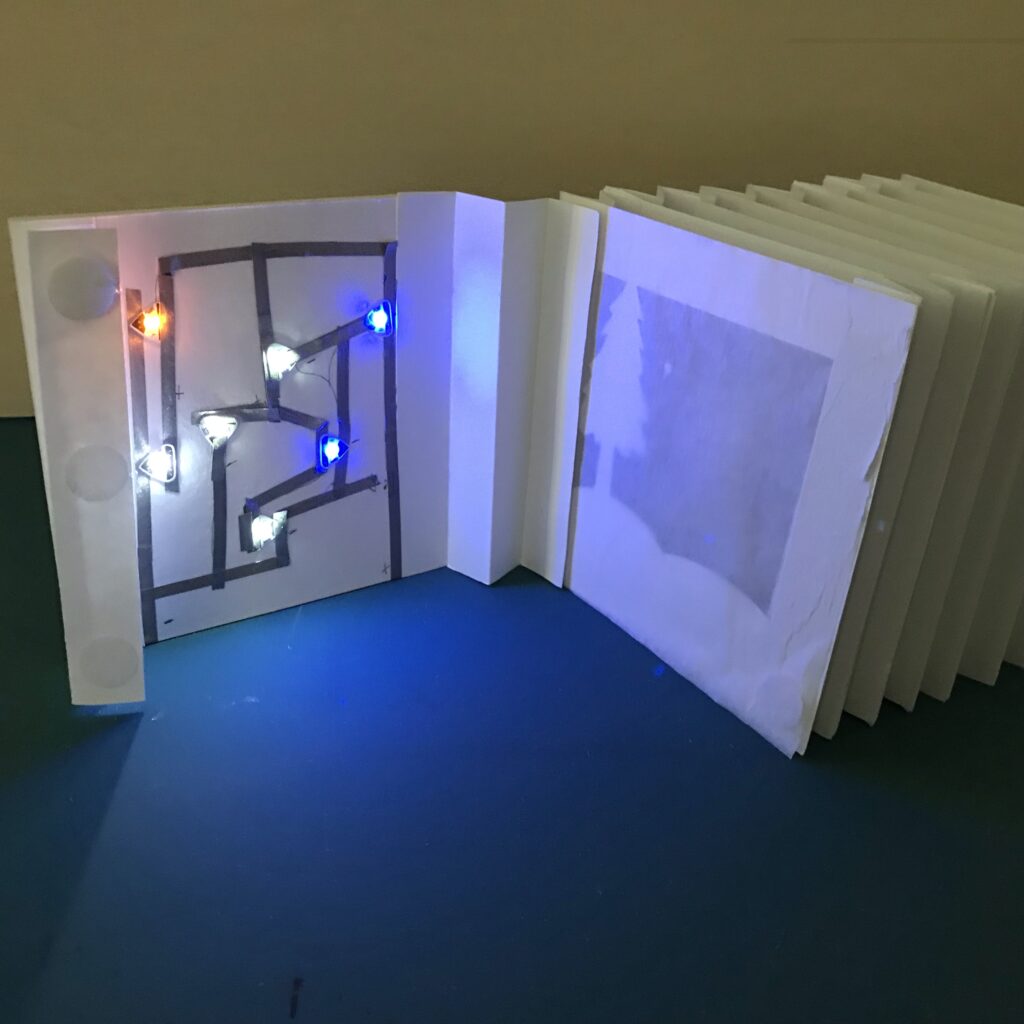
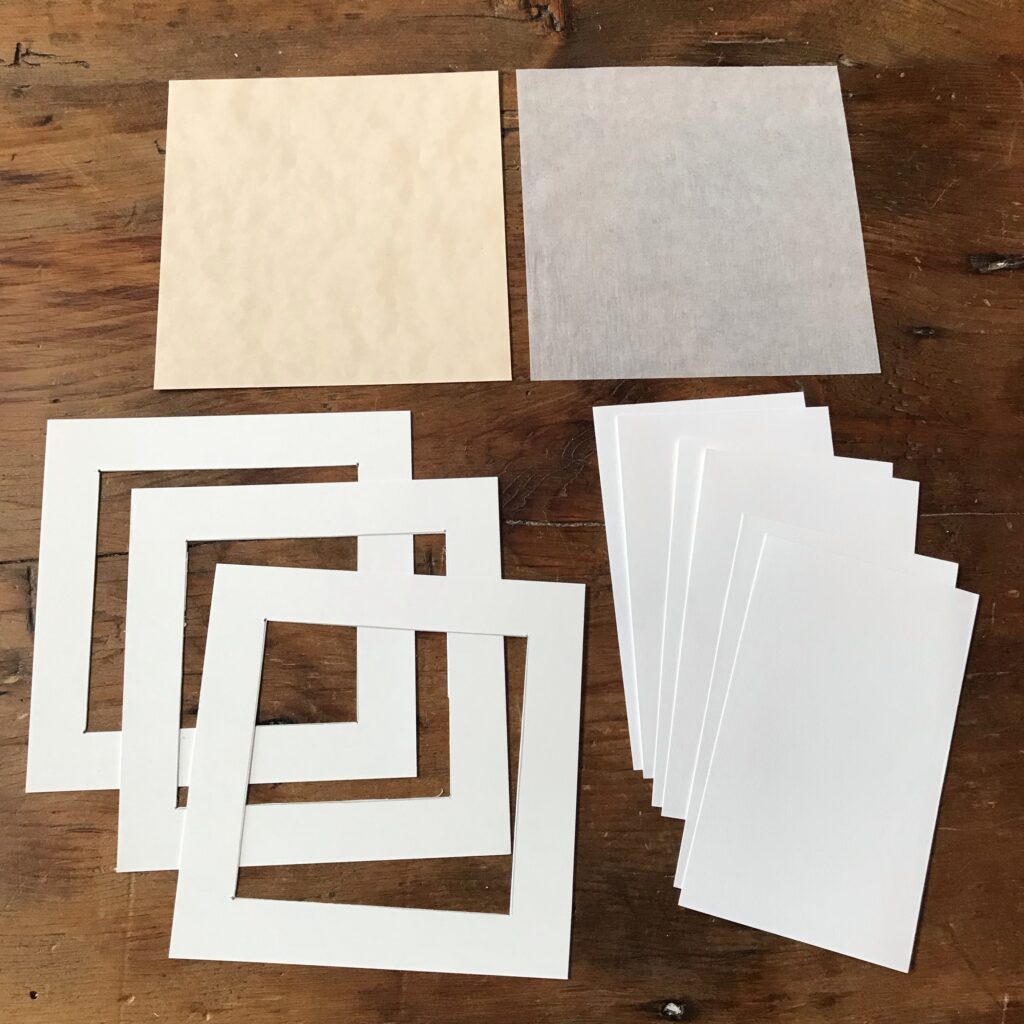
In addition to cutting the art layers for your book, you’ll need to cut a 5″ X 5″ square of mat board for the Circuit layer and a 5″ X 5″ piece of glassine to adhere to the back side of the Background layer. Since my project has eight distinct layers, you will also need to cut enough cardstock to make seven sets of hinges (14 total).
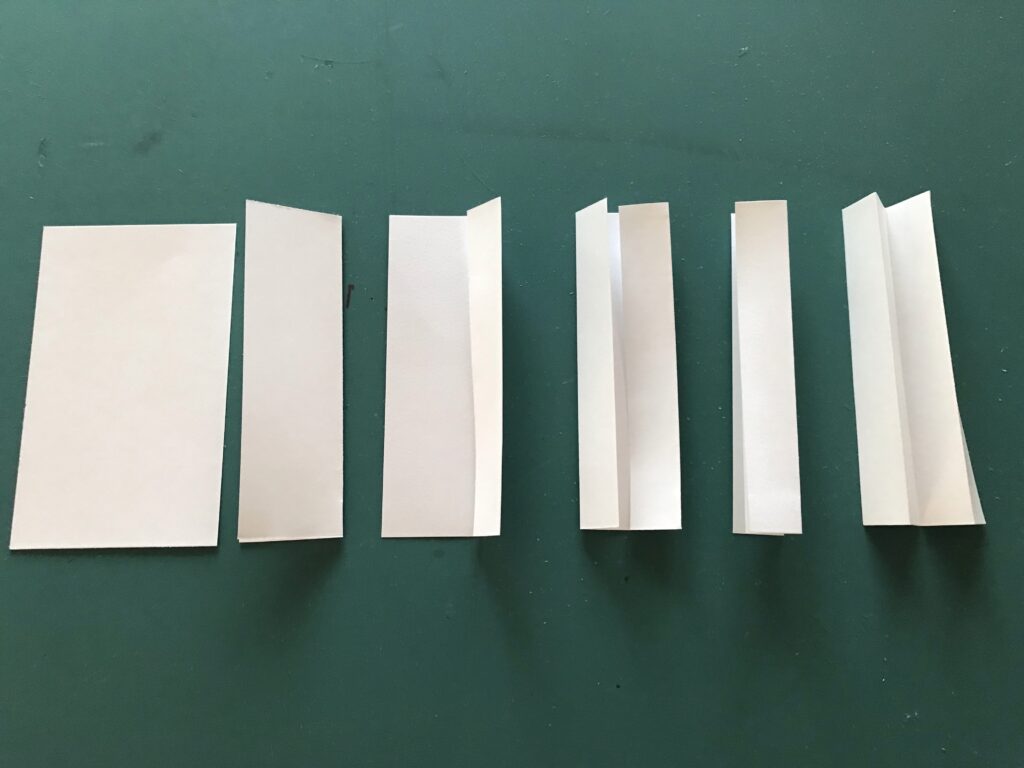
To create each hinge, cut a piece of paper measuring 3 ½” W x 5” H and fold it into quarters. When folded, the hinges should resemble “W’s” or “M’s.”
If Using Your Own Design
If you are planning to make your own tunnel book design, first determine what size you want your pages to be. Then, to make a basic tunnel book, you will need a minimum of four layers:
- Foreground
- Middle Ground
- Background
- Circuit (unframed)
To add detail and dimension, you can use as many layers as you need.
It’s also a good idea to prepare an unframed piece of translucent paper (such as glassine or vellum) to place behind the Background layer, to help diffuse the light from the Circuit layer.
If cutting by hand, it’s helpful to complete a rough sketch on a piece of scrap paper, to help you determine what items will be cut and/or pasted on each of your Foreground, Middle Ground, and Background layers. While thinking about the placement of each element in your design, it’s helpful to consider which areas you will be backlighting with your circuit.
To connect the layers together (usually done after you’ve created the artwork), you will need to create hinges, generally no wider than your book’s frame. Since your pages will be connected on two sides, you will need a pair of hinges in between each layer. A tunnel book with four layers, therefore, would require three sets (six) of hinges.
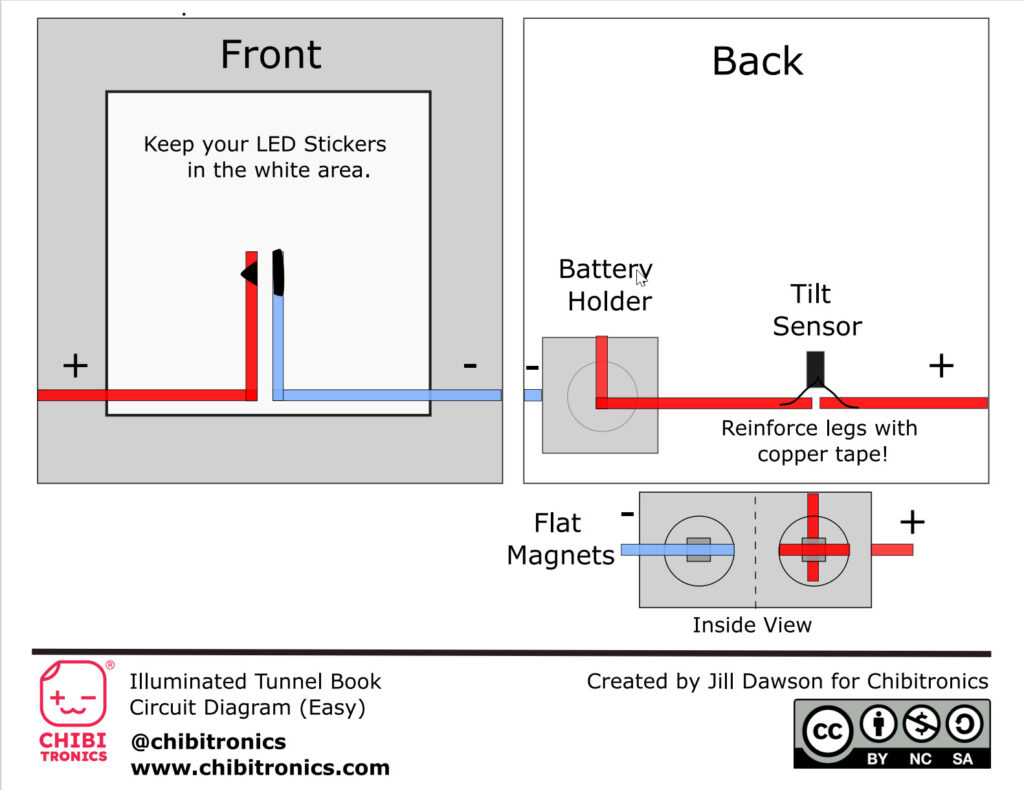
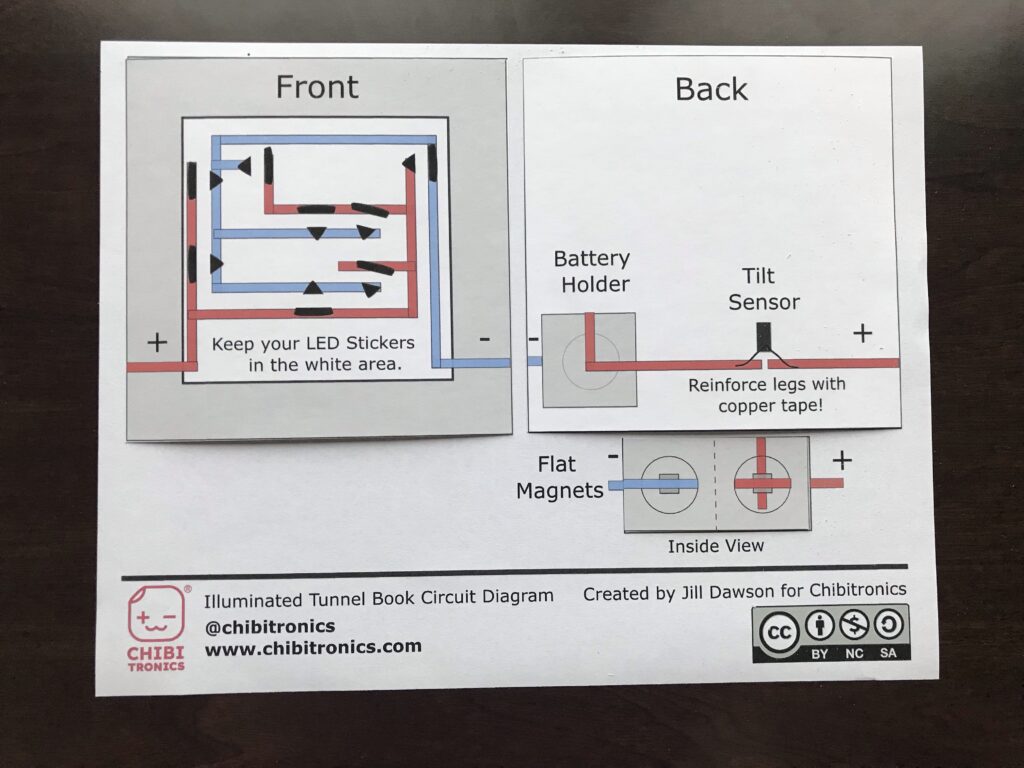
Step 2: Print Out a Circuit Diagram
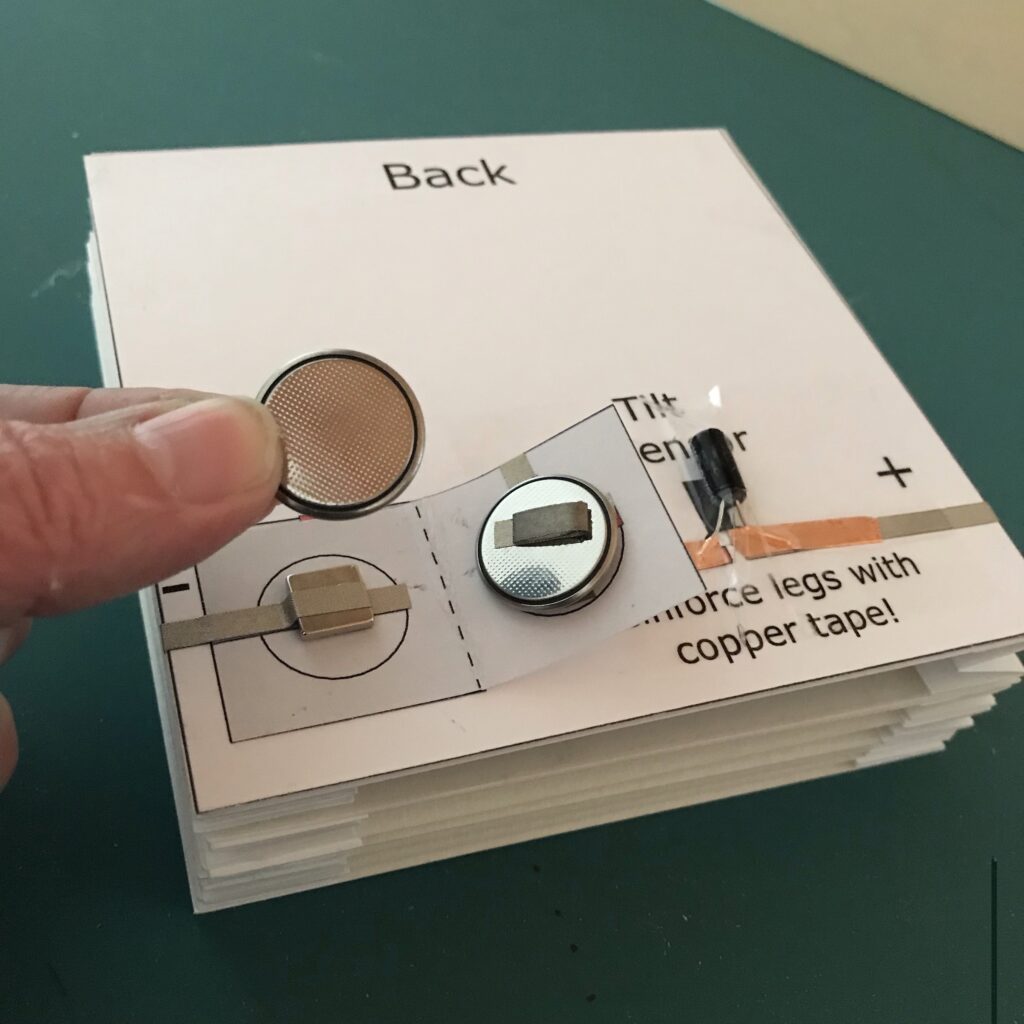
You might find it useful to print your preferred Circuit Diagram twice, once on text weight paper to use as a visual reference and a second time on a piece of cardstock. This will allow you to cut out the pieces and adhere them directly to both sides of the matboard or heavy paper you’ve prepared for your Circuit layer, which the video demonstrates. As a minimum, the battery holder flap should be constructed from a sturdy paper.
To see an example of a project created with a single, Animating LED (coming this summer), see the Gallery below .
Click to download the Circuit Diagram of your choice (PDF).
Step 3: Build Your Own
Once your Illuminated Tunnel Book parts are prepared, and your Circuit Diagram has been printed, the next step is to build your own. To see a full demonstration, watch the video tutorial to learn how to put everything together.
Tips, Tricks, & Call-outs To ensure a more robust physical and electrical connection at the points where the tilt switch/ sensor comes into contact with the rest of your circuit, we recommend using a copper tape with a conductive adhesive backing, such as that carried in our shop.
To minimize the development of wonky connections and torn copper tape, due to the shape of the switch, we recommend adhering a protective layer of Scotch or packaging tape over the entire tilt switch and copper tape connections.
Also, depending upon your personal preferences, stacking two batteries inside your tunnel book’s battery holder will increase the circuit’s brightness, especially if you plan to combine several multicolored Circuit Sticker or our new Animating LEDs.
Learn More
To help stimulate ideas, learn about the history of tunnel books, or explore a variety of free templates, consider visiting “Paper Peepshows: How People Experienced ‘Virtual Reality’ in the Nineteenth Century.” or watch “An Inside Look at Three Centuries of Tunnel Books.” For an educator-centric collection of resources for teaching tunnel books, visit Book Arts in the K-12 Classroom. You might also want to check out this resource, by educator Natalie Freed, who shares her circuit template and experience teaching Paper Circuit Tunnel Books at the Austin Book Arts Center.
Classroom Extensions
An innovative way to integrate art into curriculum, tunnel books have taken many shapes, incorporating a hodge-podge of materials and mediums to help students express themselves. Educators teaching within a variety of disciplines have discovered that tunnel book creation is a well-documented way to integrate STEAM into their instruction across content areas. Inviting students to add circuitry and a switch to a tunnel book is an easy way to add complexity, interactivity, and visual interest to a traditional tunnel book.
In Language Arts classes, educators have had students create poetry-inspired tunnel books, tunnel books that tell original stories, and those that capture themes and characters encountered in fiction. This middle school teacher devised an interesting design with folding panels to write upon (a design that could easily be iterated upon to add a circuit).
In Science classes, educators have invited students to create tunnel books to help students learn about endangered species, the water cycle, astronomy, and biological systems.
In Social Studies classes, educators have invited students to create tunnel books based upon current events, historic eras, architectural design, and concepts such as freedom, equality, and justice.
For a more open-ended assignment that allows students to drive their own content, Miss Arty Pants shares a fantastic collection of eighth grade tunnel books and the guidelines given to students who created them.
Gallery
Similar Posts You Might Enjoy
Happy House
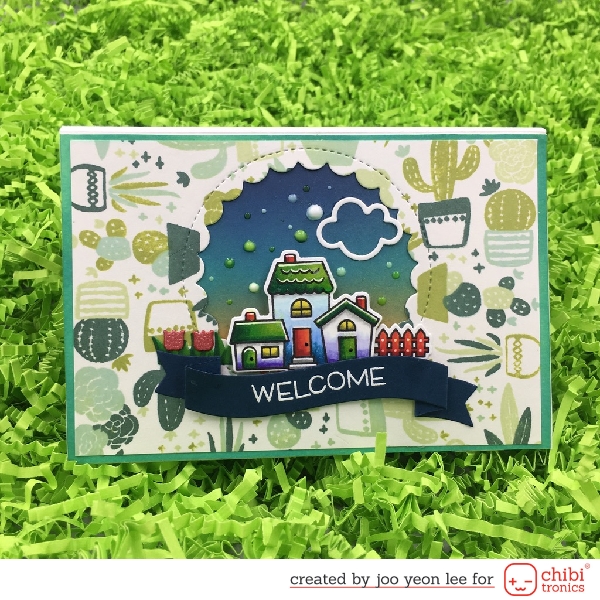
See how Joo Yeon Lee creates a Kirigami Pop-up Card that turns on with help from a tilt sensor!
Pop-Up Shop
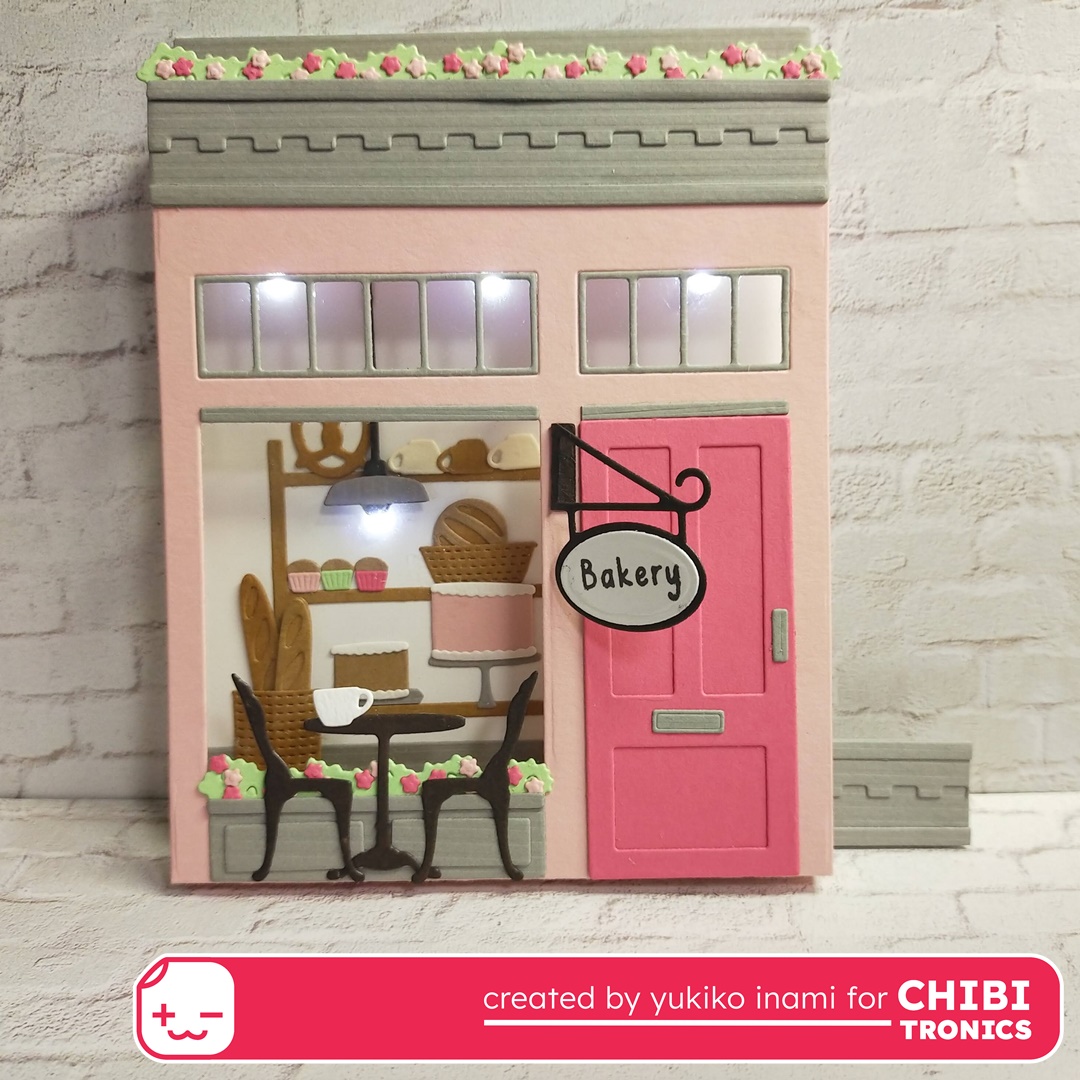
In this cute pop-up card by Yukiko Inami, you’ll learn how to create a sliding switch to light the bake shop’s windows!
Reed Switch Shadow Box
See how Jill Dawson uses reed switches to turn the lights on and off in a layered shadow box.