Hello, happy crafters!
Are you ready for this Halloween?
It is not so familiar in Japan, but I like to join it with this skeleton spinner card.
I love the wicked fun event there!
And I saw the Chibitronics website told about the conductive thread.
You can see many TIPS for using the conductive thread in your project here.
I used the conductive thread for the spinner card before1)2)3).
Eiko had the wonderful post telling step by step how to make the spinner card in 2017. When you want to make this card, I recommend that you check there!
It is the so fun card then I futured in it again for my monthly project!
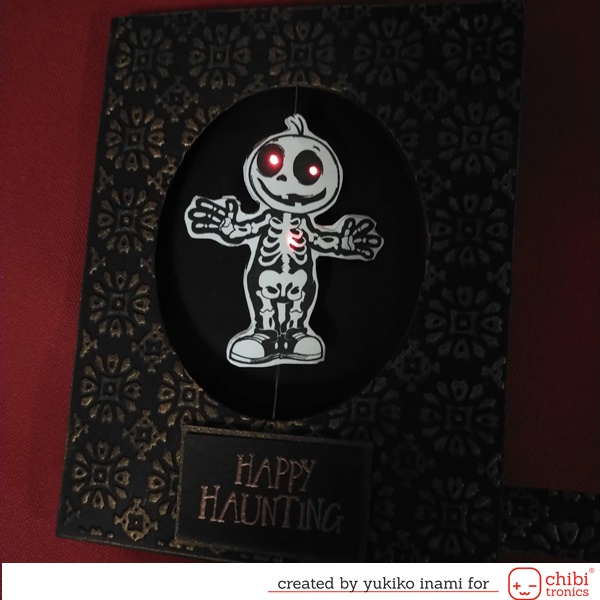
This skeleton will spin when you open the cover and he can glow his eyes and his heart begin its beat… SPOOKY!
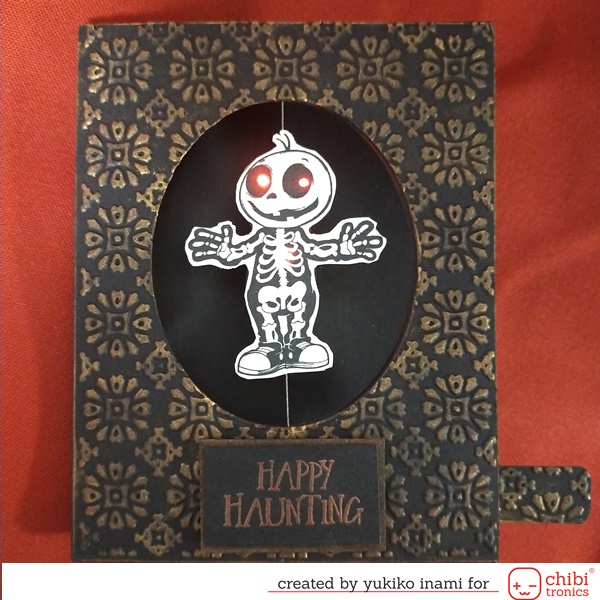
Happy Haunting !
1. Supplies
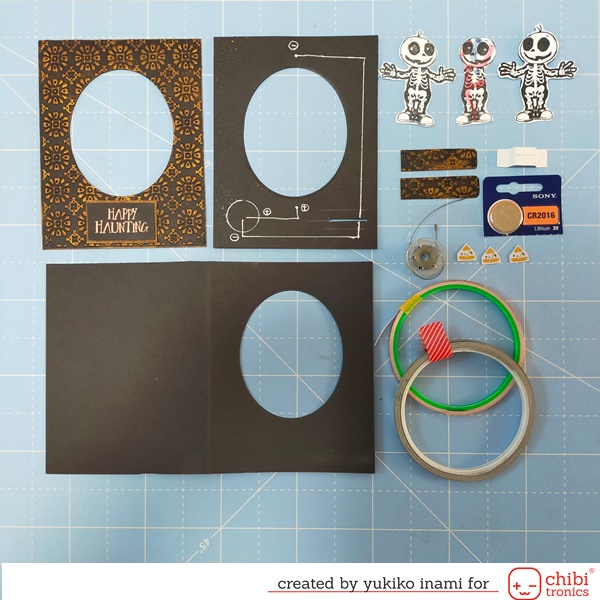
・Cover panel ; 4.25×5.5″ black card I cut out the oval hole for the spinner.
Then I dry-embossed with the embossing folder.
I inked copper color on the embossed surface.
・Circuit panel; 4.25×5.5″ black paper: I cut the oval hole on the same position as the cover panel.
・Card Base;8.5X5.5″ I scored and half fold then I made the oval hole on same position as above two panel.
・Pull tab parts; 1/2×2″ ;2 black paper, 1 acetate
・Switch parts; 1/4×1.5″; I folded on 1/4″montain,1/2″ valley,1 valley,1 1/4 “mountain
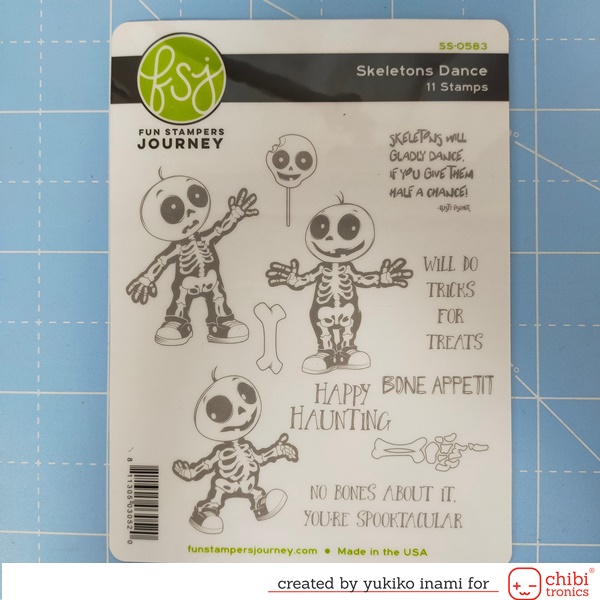
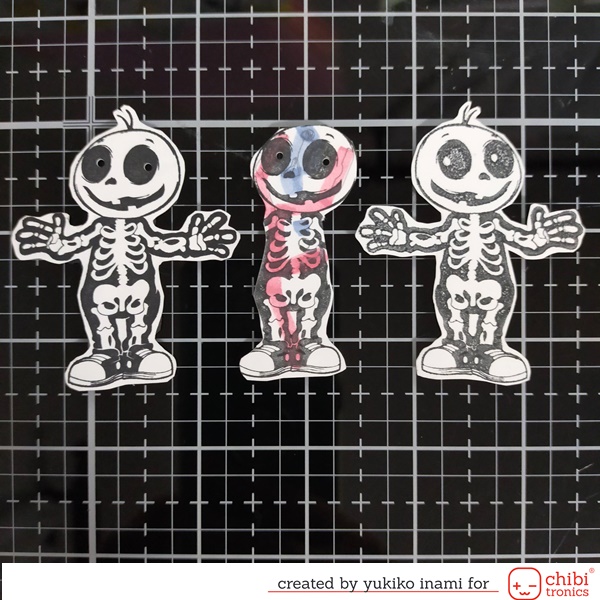
・Skeleton Parts; I stamped two copies of the skeleton image and stamped one mirror image using the silicone mat.
Skeletons Dance ; Spellbinders
You can see how to stamp the mirror image searching with “mirror image stamping” or “reverse image stamping”.
・Sentiment panel
・LED stickers; Chibitronics
・Copper tape; Chibitronics
・Conductive Fabric tape; Chibitronics
・Conductive thread Adafruits, Sparkfun
・Cell battery; CR2016; 3V
・Foam Tape; 2mm thick
2. Conductive Thread
Conductive thread is a fiber that conducts electricity. It useful for making the sewn circuit.
If you are interested in it, jump to Chibitronics official site, you can meet the experts telling about it and can see the examples using this material.
There are many types of conductive threads.
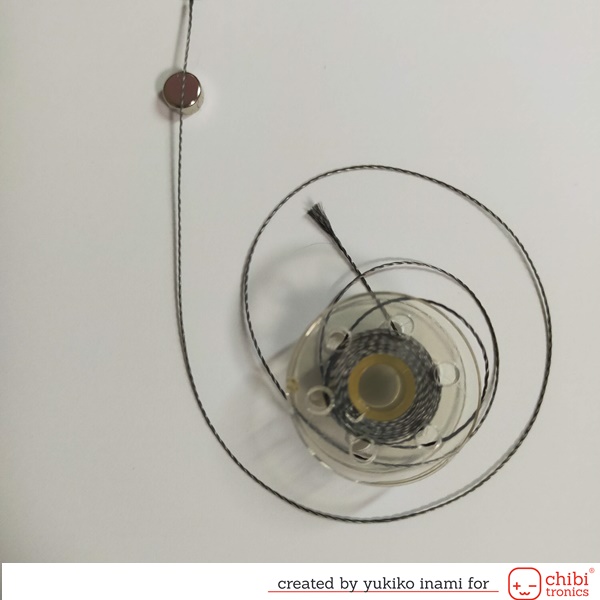
I used a thread using stainless steel. This stainless type threads don’t oxidized and are very robust.
It is little tricky to thread and tie. But you can use it in variable ways!
I’ve known it for the first time but it is magnetic because it contains stainless steel!
This thread can be the part of the circuit and work as the thread at the same time.
It can be a Spinner and Conductor!
3. Making the Parts
The Spinning Parts
I am showing the skeleton parts.
Frontside; I made the hole for the eye with a screw punch. I stuck black paper having the heart shape hole on the backside of the front skeleton.
Circuit parts; cut the edge making it little bit smaller than the front and backside skeleton. It can make the edge appearance of the skeleton beautiful.
I marked the points of the lights, then draw the pathway.
I set the connecting points of the conductive thread on upper side and the lower side of the parts. Then draw the path to the light pads.
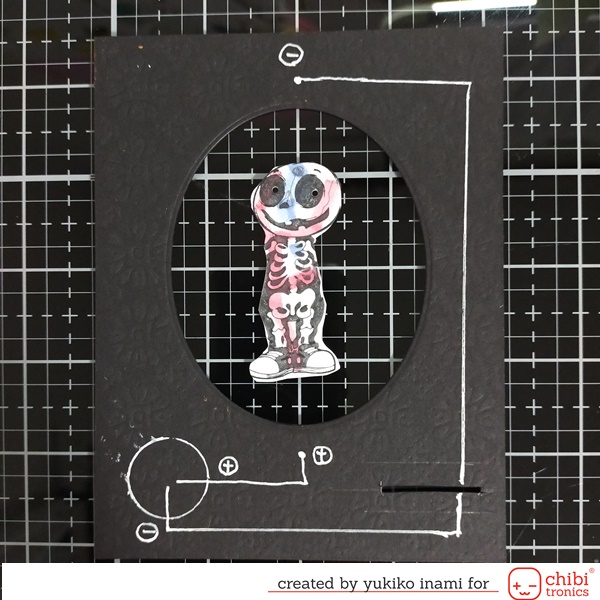
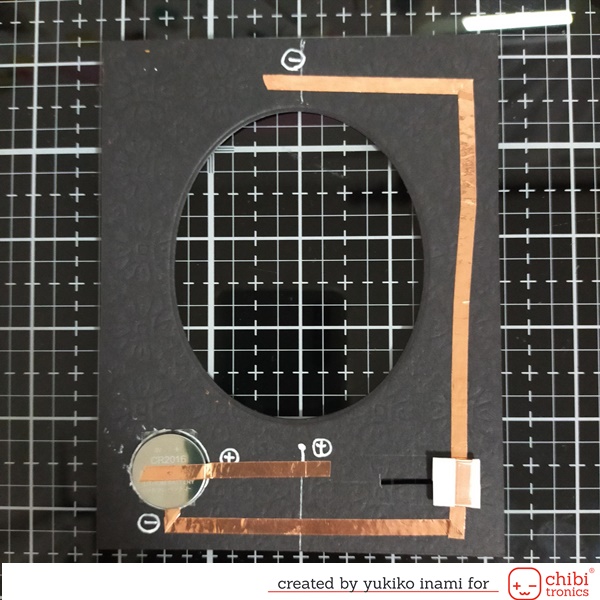
The base of the circuit
I cut the slit for the switch starting at the point the 1/4″ from the right edge and 3/4″from the bottom edge.
The slit’s length is 1″ and the width 1mm.
4. The Circuit
I planed to use three lights as his eyes and heart. The power is CR2016 cell battery.
I chose the slit switch cutting the circuit on the way of the negative wiring.
The conductive thread connect to parts from the circuit panel.
The Spinning Parts
I show the circuit inside of the parts. The space for wiring is very limited. So I needed a cross without connecting.
I put the washi tape in between the fabric tape for insulation.
If your circuit has some cross of the positive and negative wiring, that is the short circuit. The short circuit can’t work for the lights.
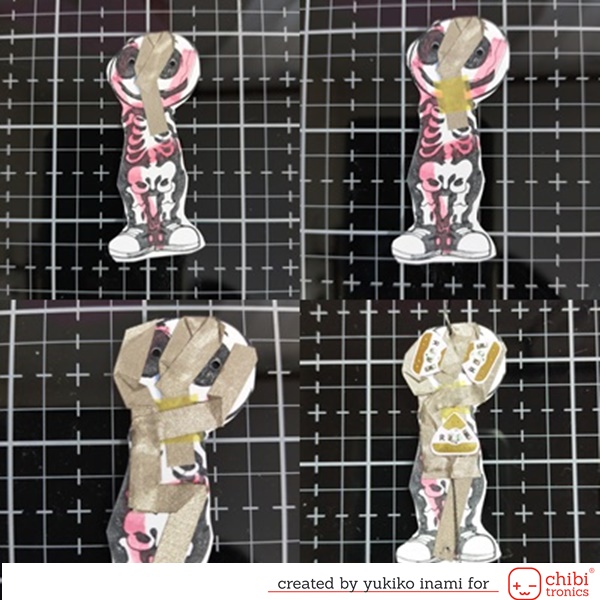
I tied the conductive thread to the connecting point of the parts.
In this parts, the upper side is negative and lower side is positive.
After I tied the conductive thread I reinforce the connection with the conductive fabric tape.
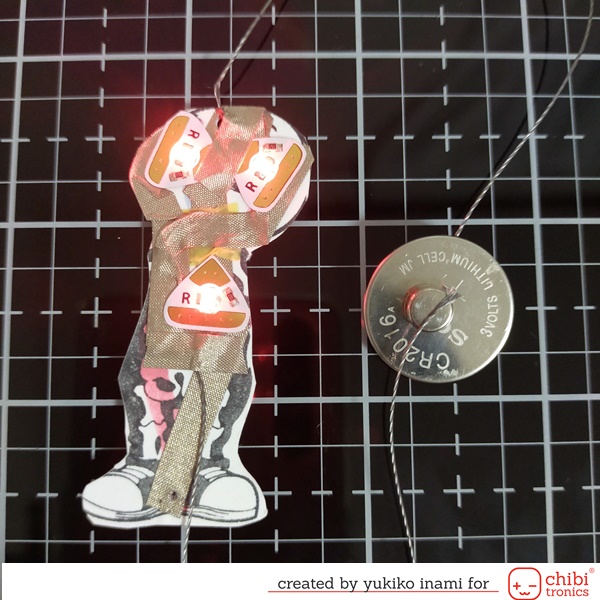
I tested the parts can work well. The thread is magnetic so I used small magnet to attach the thread on the magnet!
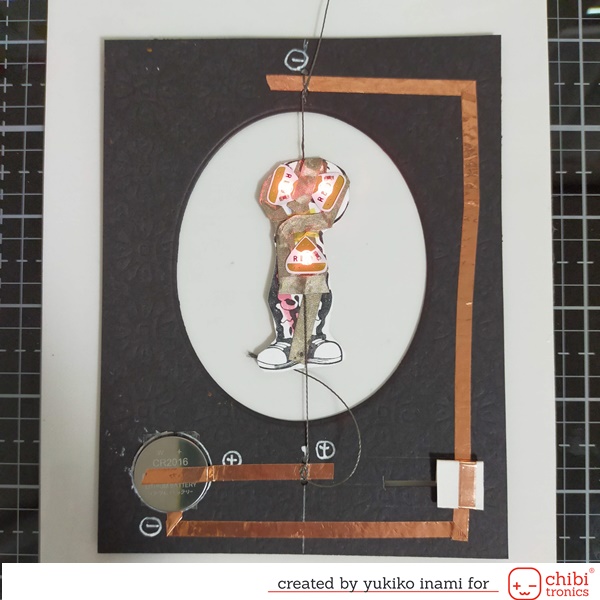
The base of the circuit
I put the double-sided tape on the battery site.
I peeled off the release paper on the battery place. Then I stuck the negative path copper tape from the backside of the slit.
The copper tape went through in the slit to the frontside battery place.
At the battery place, I stuck the copper tape on the double adhesive tape and hold it back facing up adhesive side of copper tape and cut it.
I put the battery on the copper tape being the positive side up.
Next I stuck the copper tape on the negative path from the backside go through the slit and the negative connecting site upper the oval window.
And I made the last piece of copper tape stick on the battery positive side to the connecting site lower of the oval window.
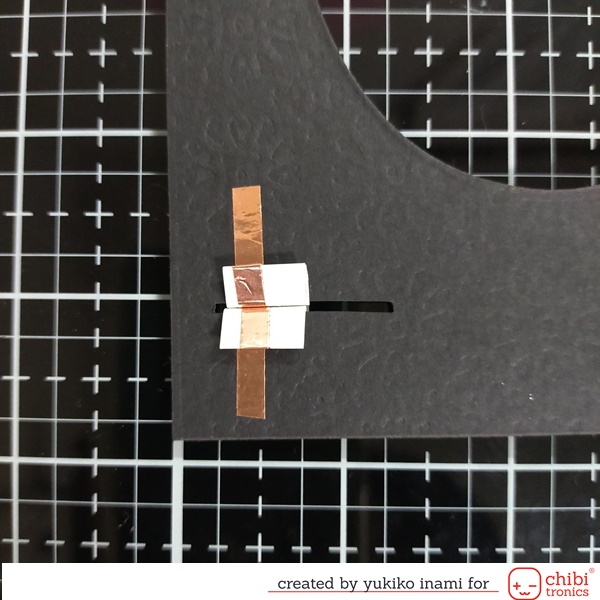
Switch Parts
I made the switch parts using a piece of the paper slider. This switch designed by Eiko.
There are many post by her using this switch.
I stick the copper tape on the paper piece two laps.
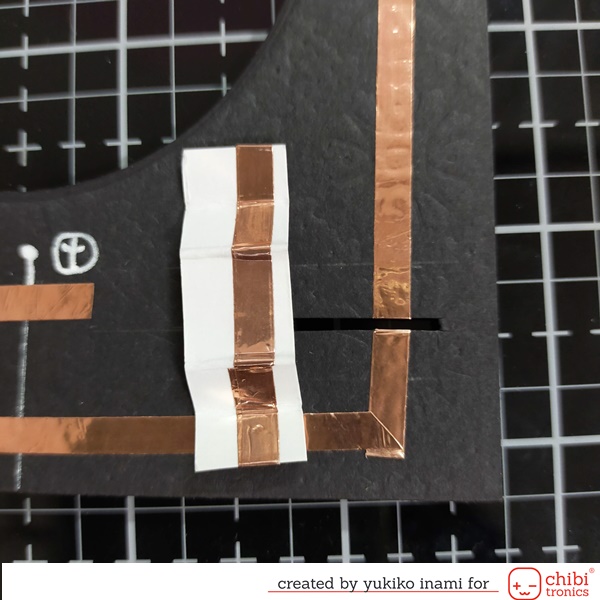
I folded the paper on 1/4″montain,1/2″ valley,1 valley,1 1/4 “mountain.
I put this parts in the slit. This parts slide in the circuit slit, then the circuit is closed and work.
This is very simple and no need special tool. I love this switch.
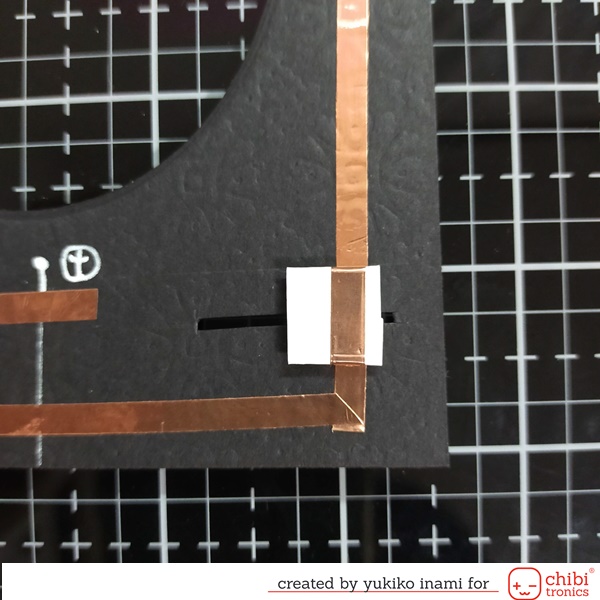
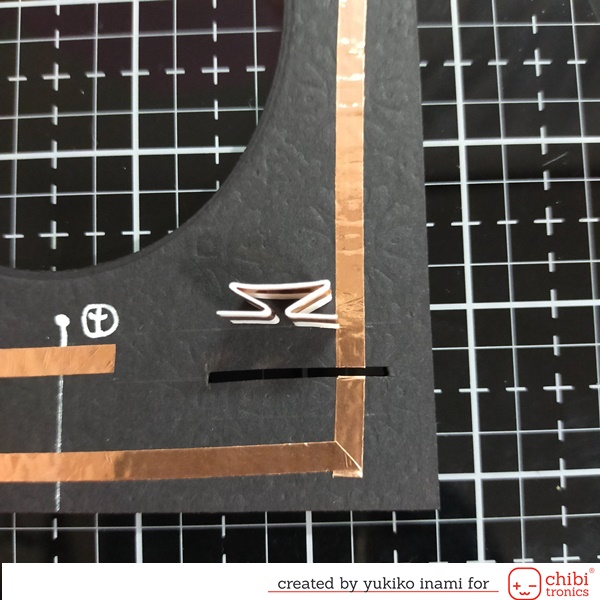
Connecting the parts and Circuit base panel
Then I tied the parts on the connecting point on the circuit base panel with the conductive thread.
I put a the small strip of the copper tape over the tie knot and copper tape making a secure connection.
You can see the circuit completed in the below photo.
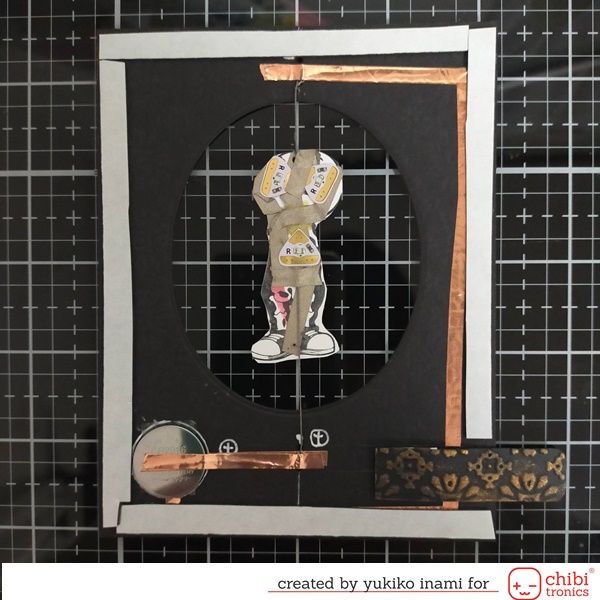
4. Assembly
I enjoyed a finishing touch!
I stuck the pull tab parts on the slide switch parts. The acetate works for the reinforce of the tab.
I set the foam tape on the all edges of the circuit panel. Then I stuck the cover panel on the circuit panel.
Then I put the sentiment parts.
Done!
The comical skeleton wait for you opening his arms!
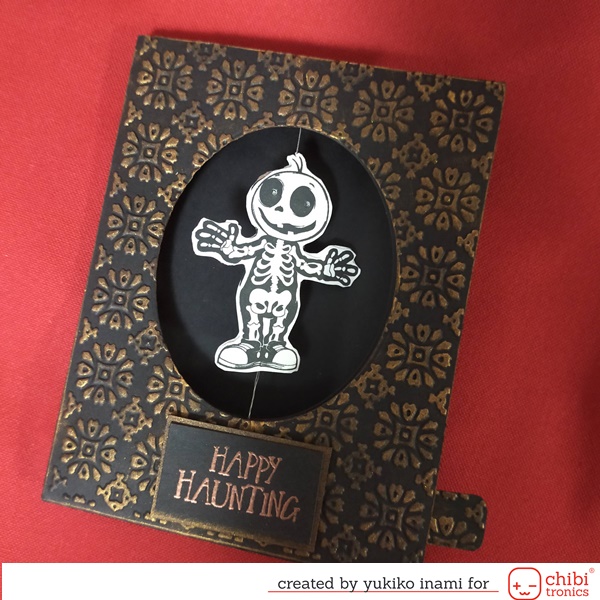
When you the pull tab, his eyes and heart are glowing, and you open the card….
He will spin!
I think this card is very good choice for sending to both kids and adult.
You can send them “Wow!” and an impression. The skeleton may stimulates their intellectual curiosity.
Happy haunting!
Yukiko I.