Looking back, it’s been a fun and fruitful 2015 and grown so much since our small crowdfunding experiment from a year ago. We want to thank you for the support and feedback- we couldn’t have gone this far without you – our wonderful community! Early in the year, we headed out to the Craft and […]
Meet the Chibi Maker- Jonathan Bobrow
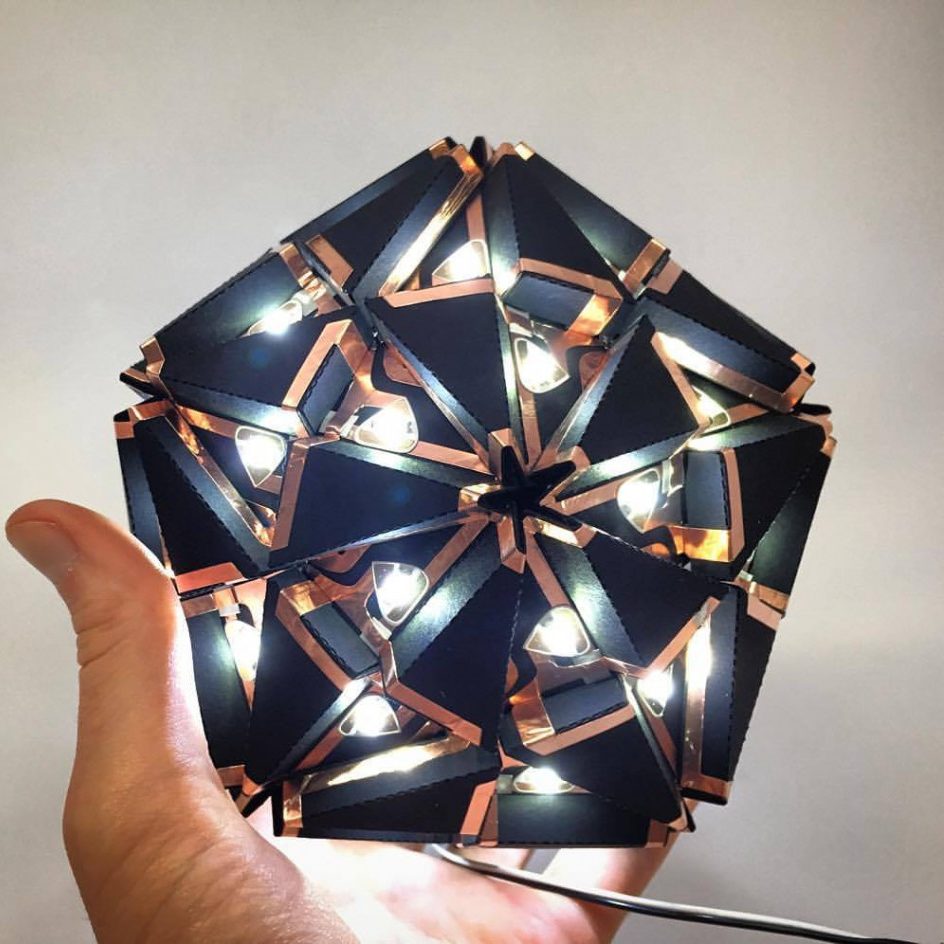
This month we are glad to introduce to you an awesome artist, technologist, math lover and playful maker, Jonathan Bobrow. Currently a graduate student at the MIT Media lab, Jonathan is actively building devices and experiences to make the future a better place. He has been playfully engaging with Chibitronics Circuit Stickers, combining it with […]
Welcome 2016! 16 fun ideas and projects to try this year
“And now we welcome the new year. Full of things that have never been.” -Rainer Maria Rilke It is time to welcome 2016 and make a plan for funnier, healthier and sparklier new beginnings. Here are 16 wonderful light-up ways to get started. #1 Learn new things # 2 Catch up on your sleep #3 Eat […]
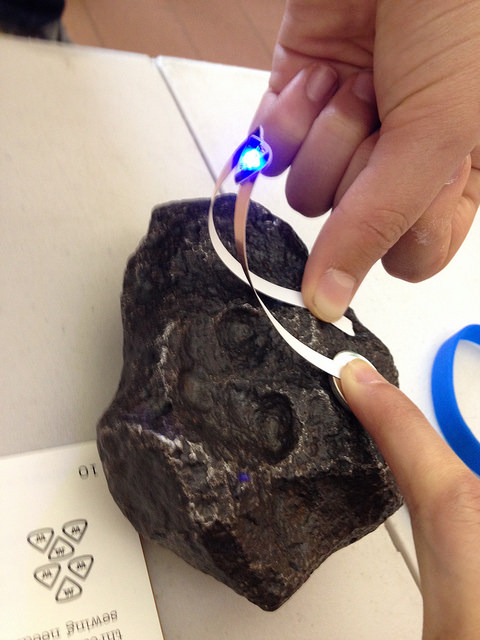
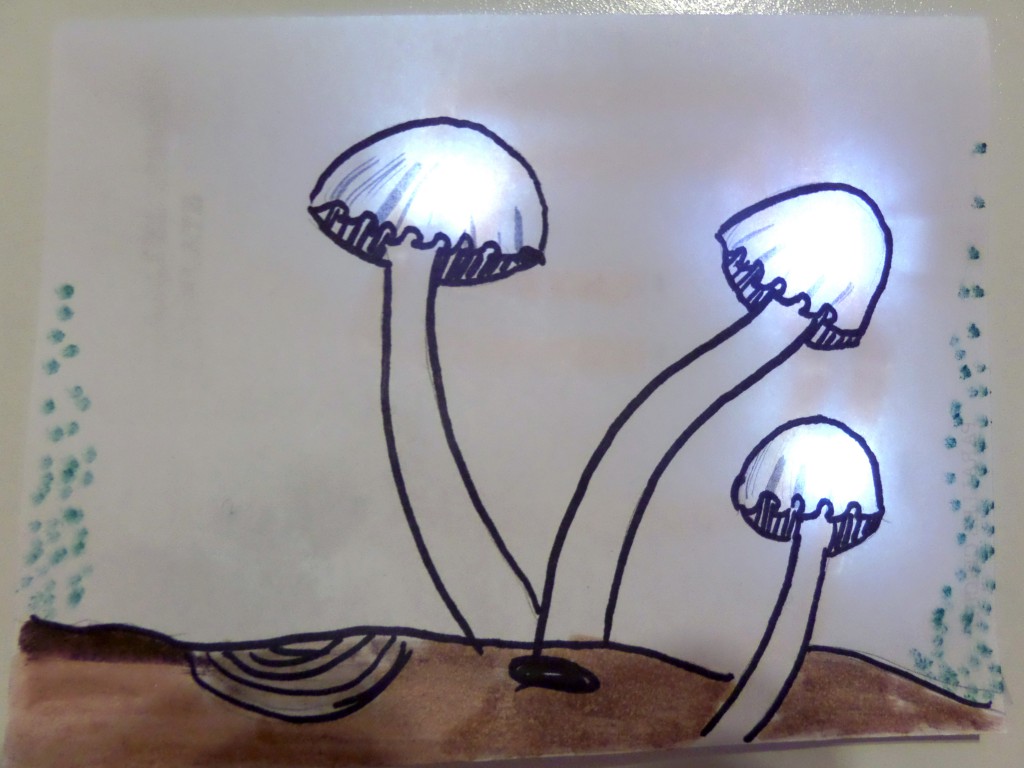
Light-up flower ring
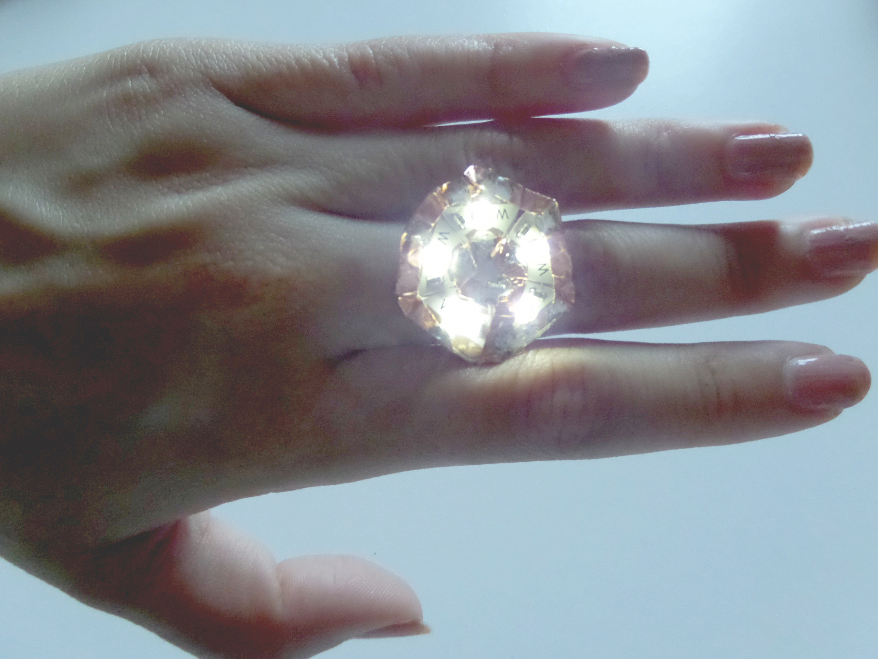
This tutorial shows you how to make a light-up flower ring with LED light stickers and magnetic snap switch. MATERIALS AND TOOLS Copper tape 5 LED light stickers Scissors Small 3V coin cell battery (CR1025) Paper strip, preferably cardstock Small disc shaped magnets A soldering iron Soldering wire Crystal bead or any decorative material Superglue Step […]
Making with Chibitronics at TEDxBeaconStreet
This month we got to share Chibitronics as part of the TEDxYOUTH event, hosted by TEDxBeaconStreet. It was a blast to watch everyone’s faces light up as the created their first circuits and then added their own personal stories with drawings! One of the most rewarding parts for us is to see kids, parents and […]
USB Power
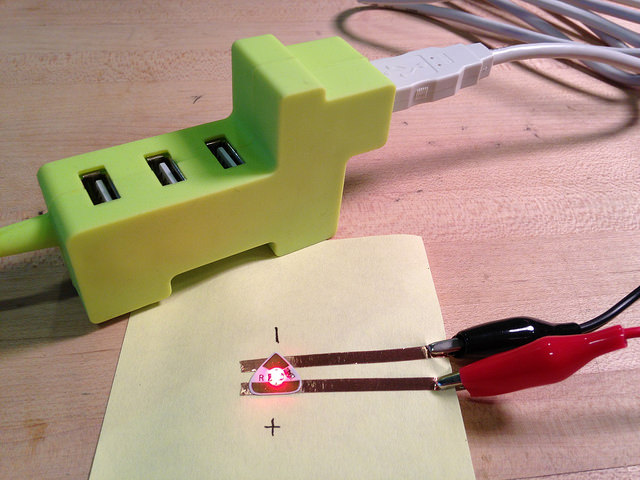
Warning: this tutorial is for advanced electronics users only. Please proceed at your own risk. Do not use LEDs without a resistor as they will burn out. This tutorial shows you how to power your projects with a USB cable rather than a coin cell battery. This allows you to make projects that can stay […]
Explore different light effects
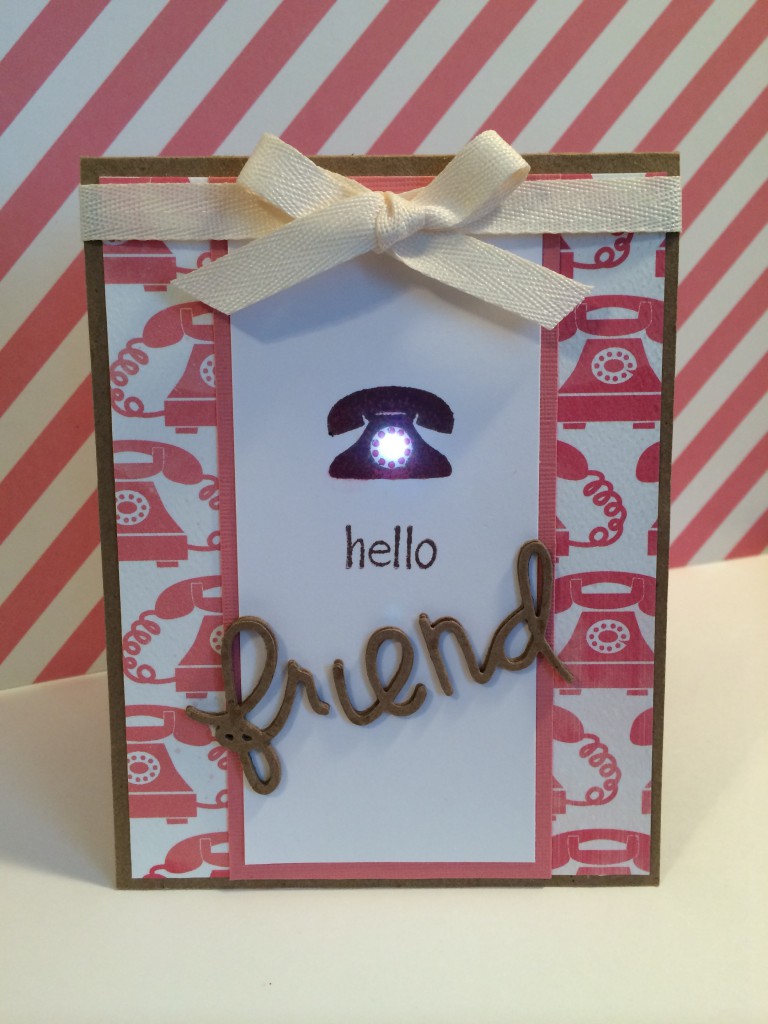
Make a light-up project with effect stickers and LED stickers Grade Level: Suitable for Grade 6 and up Suggested Time: 60-90 mins Overview This activity introduces programmed light behaviors using Chibitronics effect stickers. Effect stickers are pre-programmed light stickers that make your LEDs shine with different patterns, depending on which sticker you choose: blink on […]
How are things connected? (Switches)
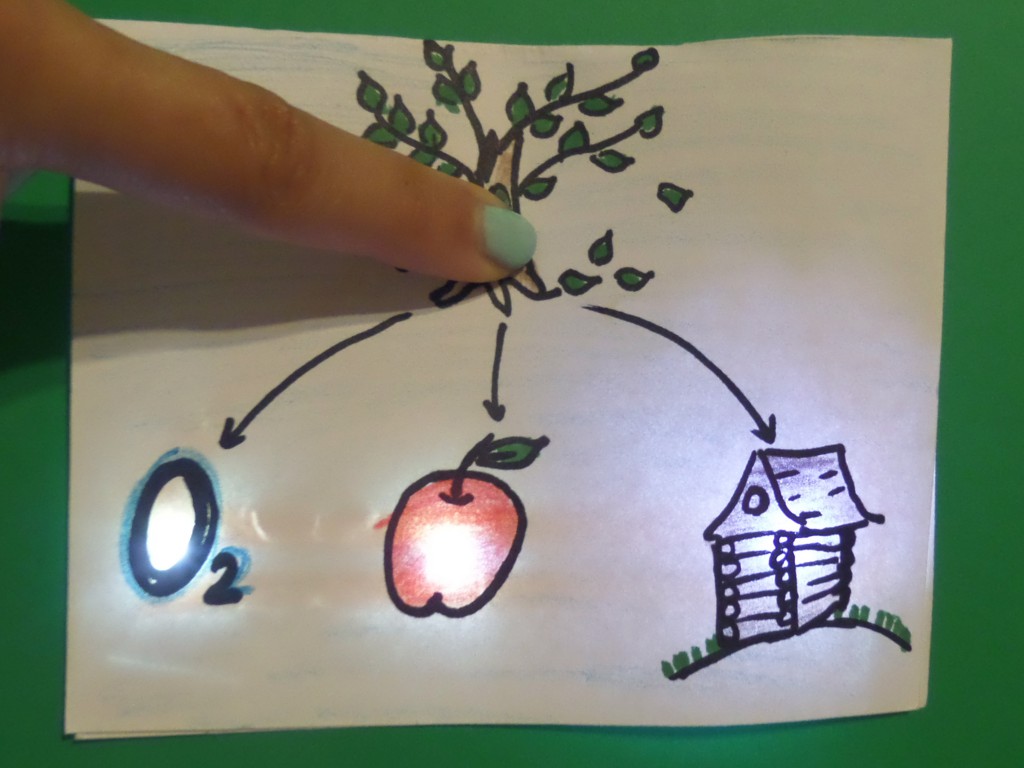
Make interactive light-up projects with LED lights and DIY switches and represent things that are connected. Grade Level: Suitable for Grade 3 and up Suggested Time: 2-3 hours or three 45- 60 min sessions Overview This guide introduces circuits with different types of DIY switches and Chibitronics LED light stickers. The students will be able […]
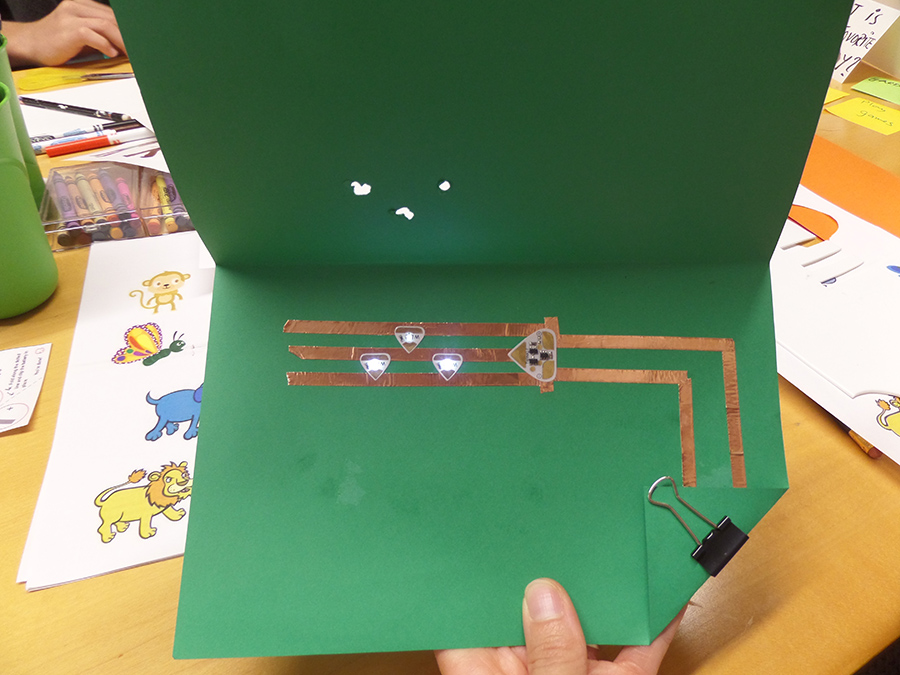
What Makes Your World Shine? (Parallel Circuits and Series Circuits)
Make a light-up card with multiple lights and share things that spark around you.Grade Level: Suitable for Grade 3 and up Suggested Time: 60-90 mins OverviewThis activity introduces parallel and series circuit using Chibitronics Circuit Stickers. The students will be able to identify and represent things that are part of their world by making a […]
Meet the Chibi Maker- Joanna Chou
We kick off our Meet the Chibi Maker series with Seattle based maker and founder of Make Something studio Joanna Chou. She has been tinkering with Chibitronics Circuit Stickers since she first heard about it on the internet and was blown away by its creative potential. A full-time mom with true passion for design and creativity, Joanna encourages people […]
Chibitronics at Programaê! Makers Educa in Brazil
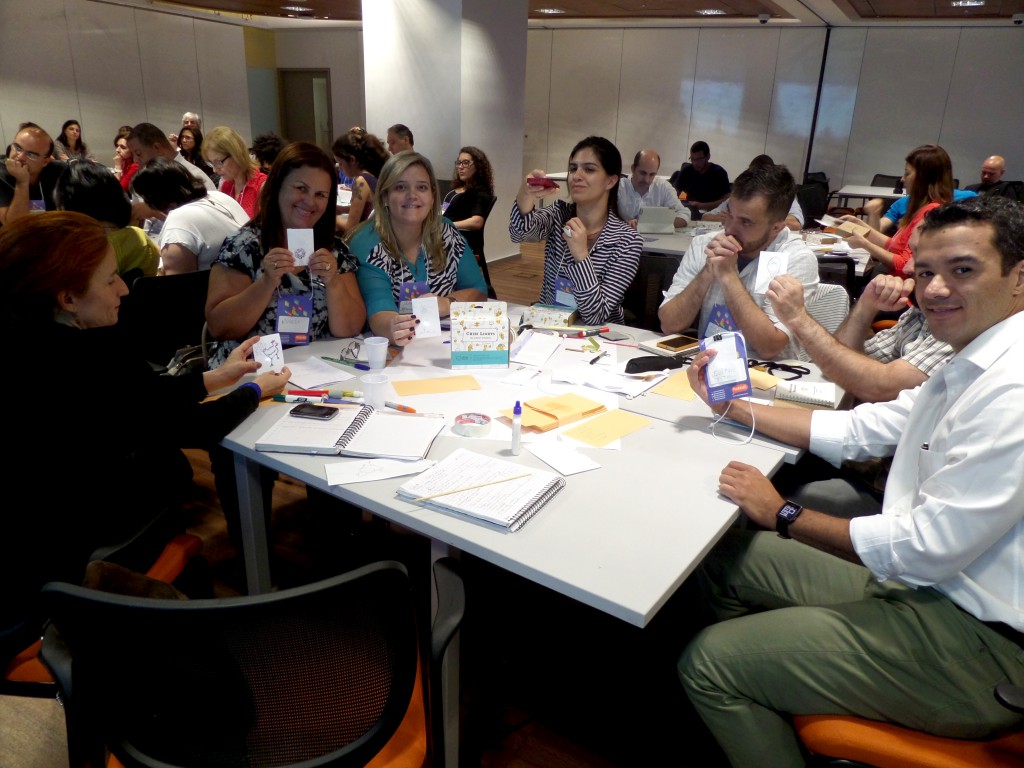
We were extremely thrilled to be part of the Programaê! Makers Educa workshop in Sao Paulo. Programaê!, an initiative started by Lemann Foundation recently launched the Makers Educa program to support creative maker activities at public schools and afterschool centers in Brazil. As part of this program, several educators from different parts of Brazil joined […]
Circuit Stickers at HUBweek: A week of art, science and technology in Boston

We were delighted to be part of the Boston HUBweek as part of A Pop-Up Makerspace: The Future of Learning Laboratory, hosted by Harvard University. On 10th October, the Harvard Ed portal was transformed into a space of playful experiences with hands-on workshops, interactive activities, and participatory demonstrations. The event was designed for families and […]