How To > Paper Circuit Techniques > Projects > Tutorials
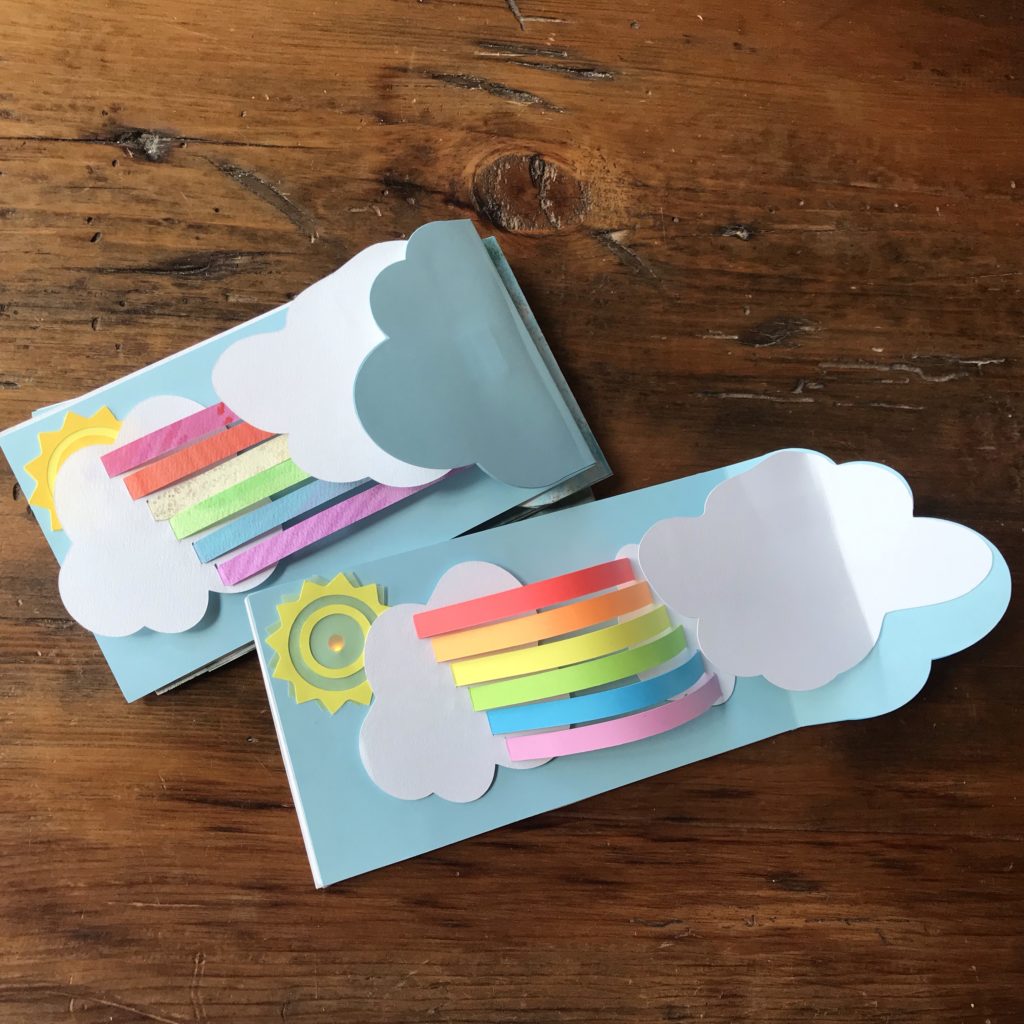
Rainbow Pop Up Card (With a Sliding Switch)
Project Design & Tutorial by: Jill Dawson
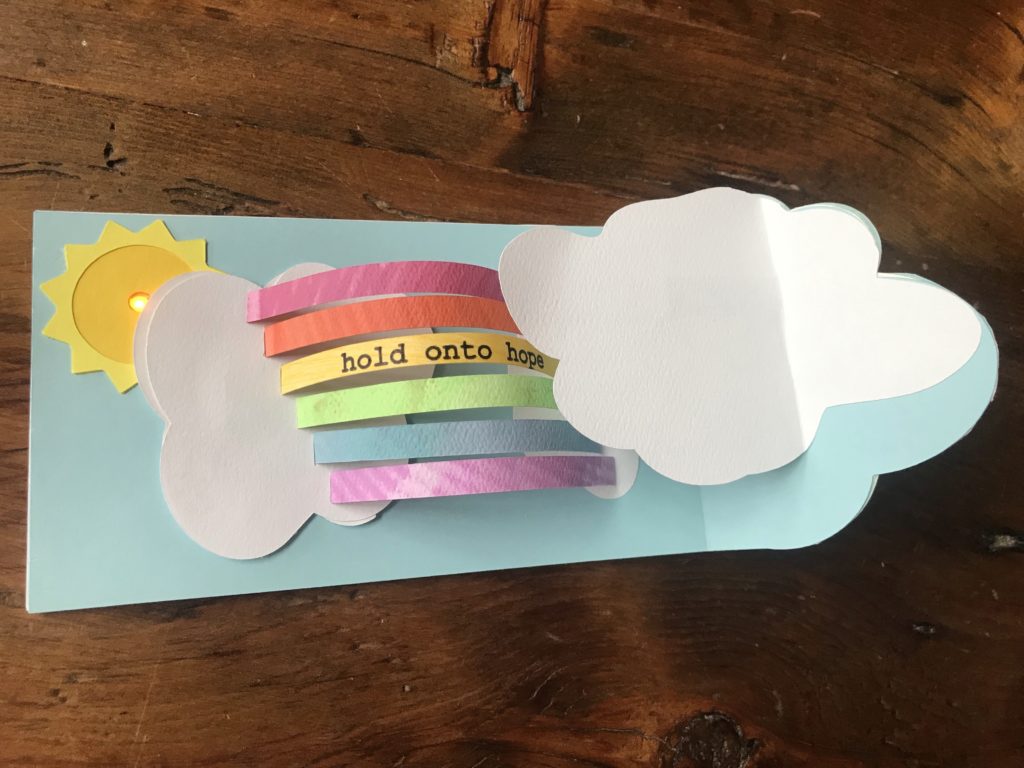
Rainbows & Sunshine
In this tutorial, we’ll show you how to create a rainbow card that pops up and lights up when it’s opened, with help from a sliding switch mechanism that may be applied in a variety of clever ways.
Introduction
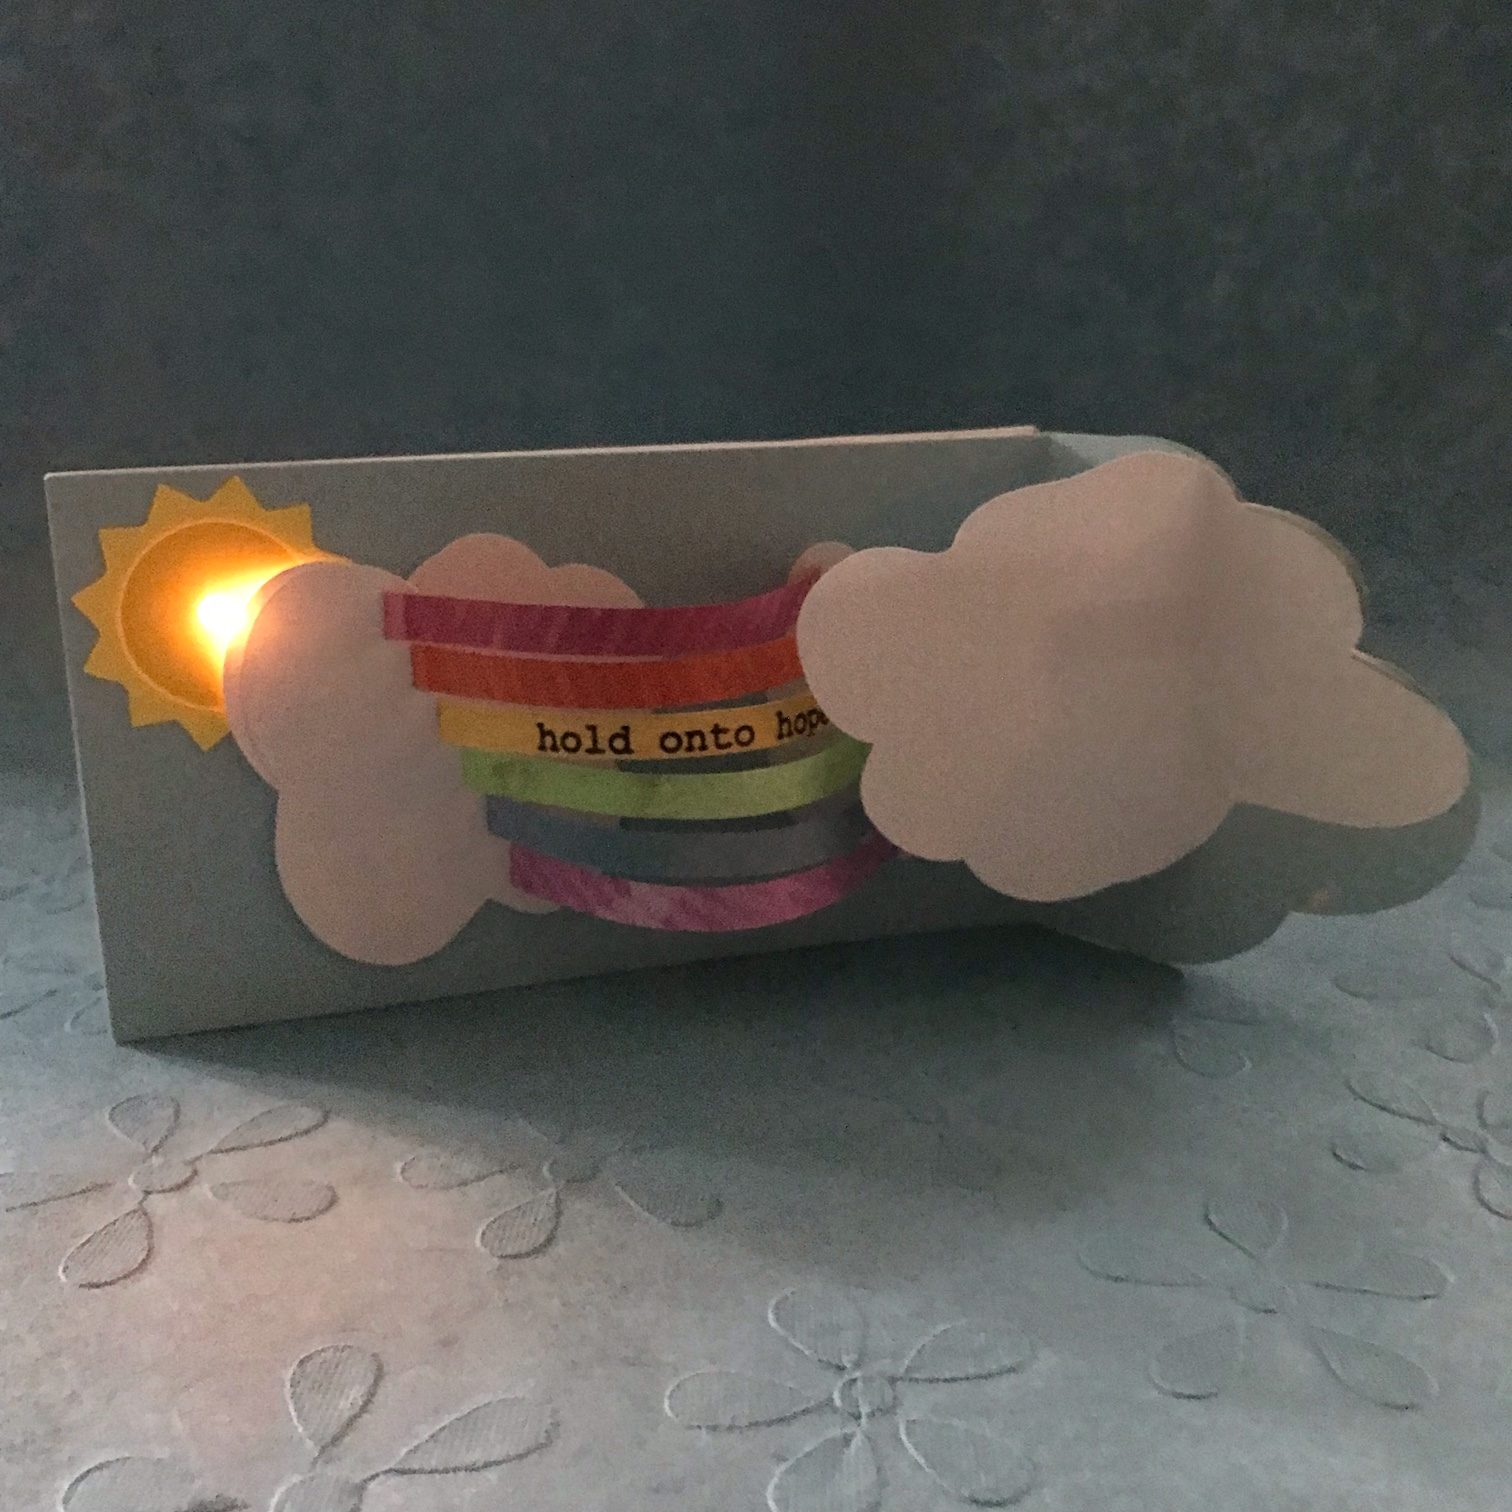
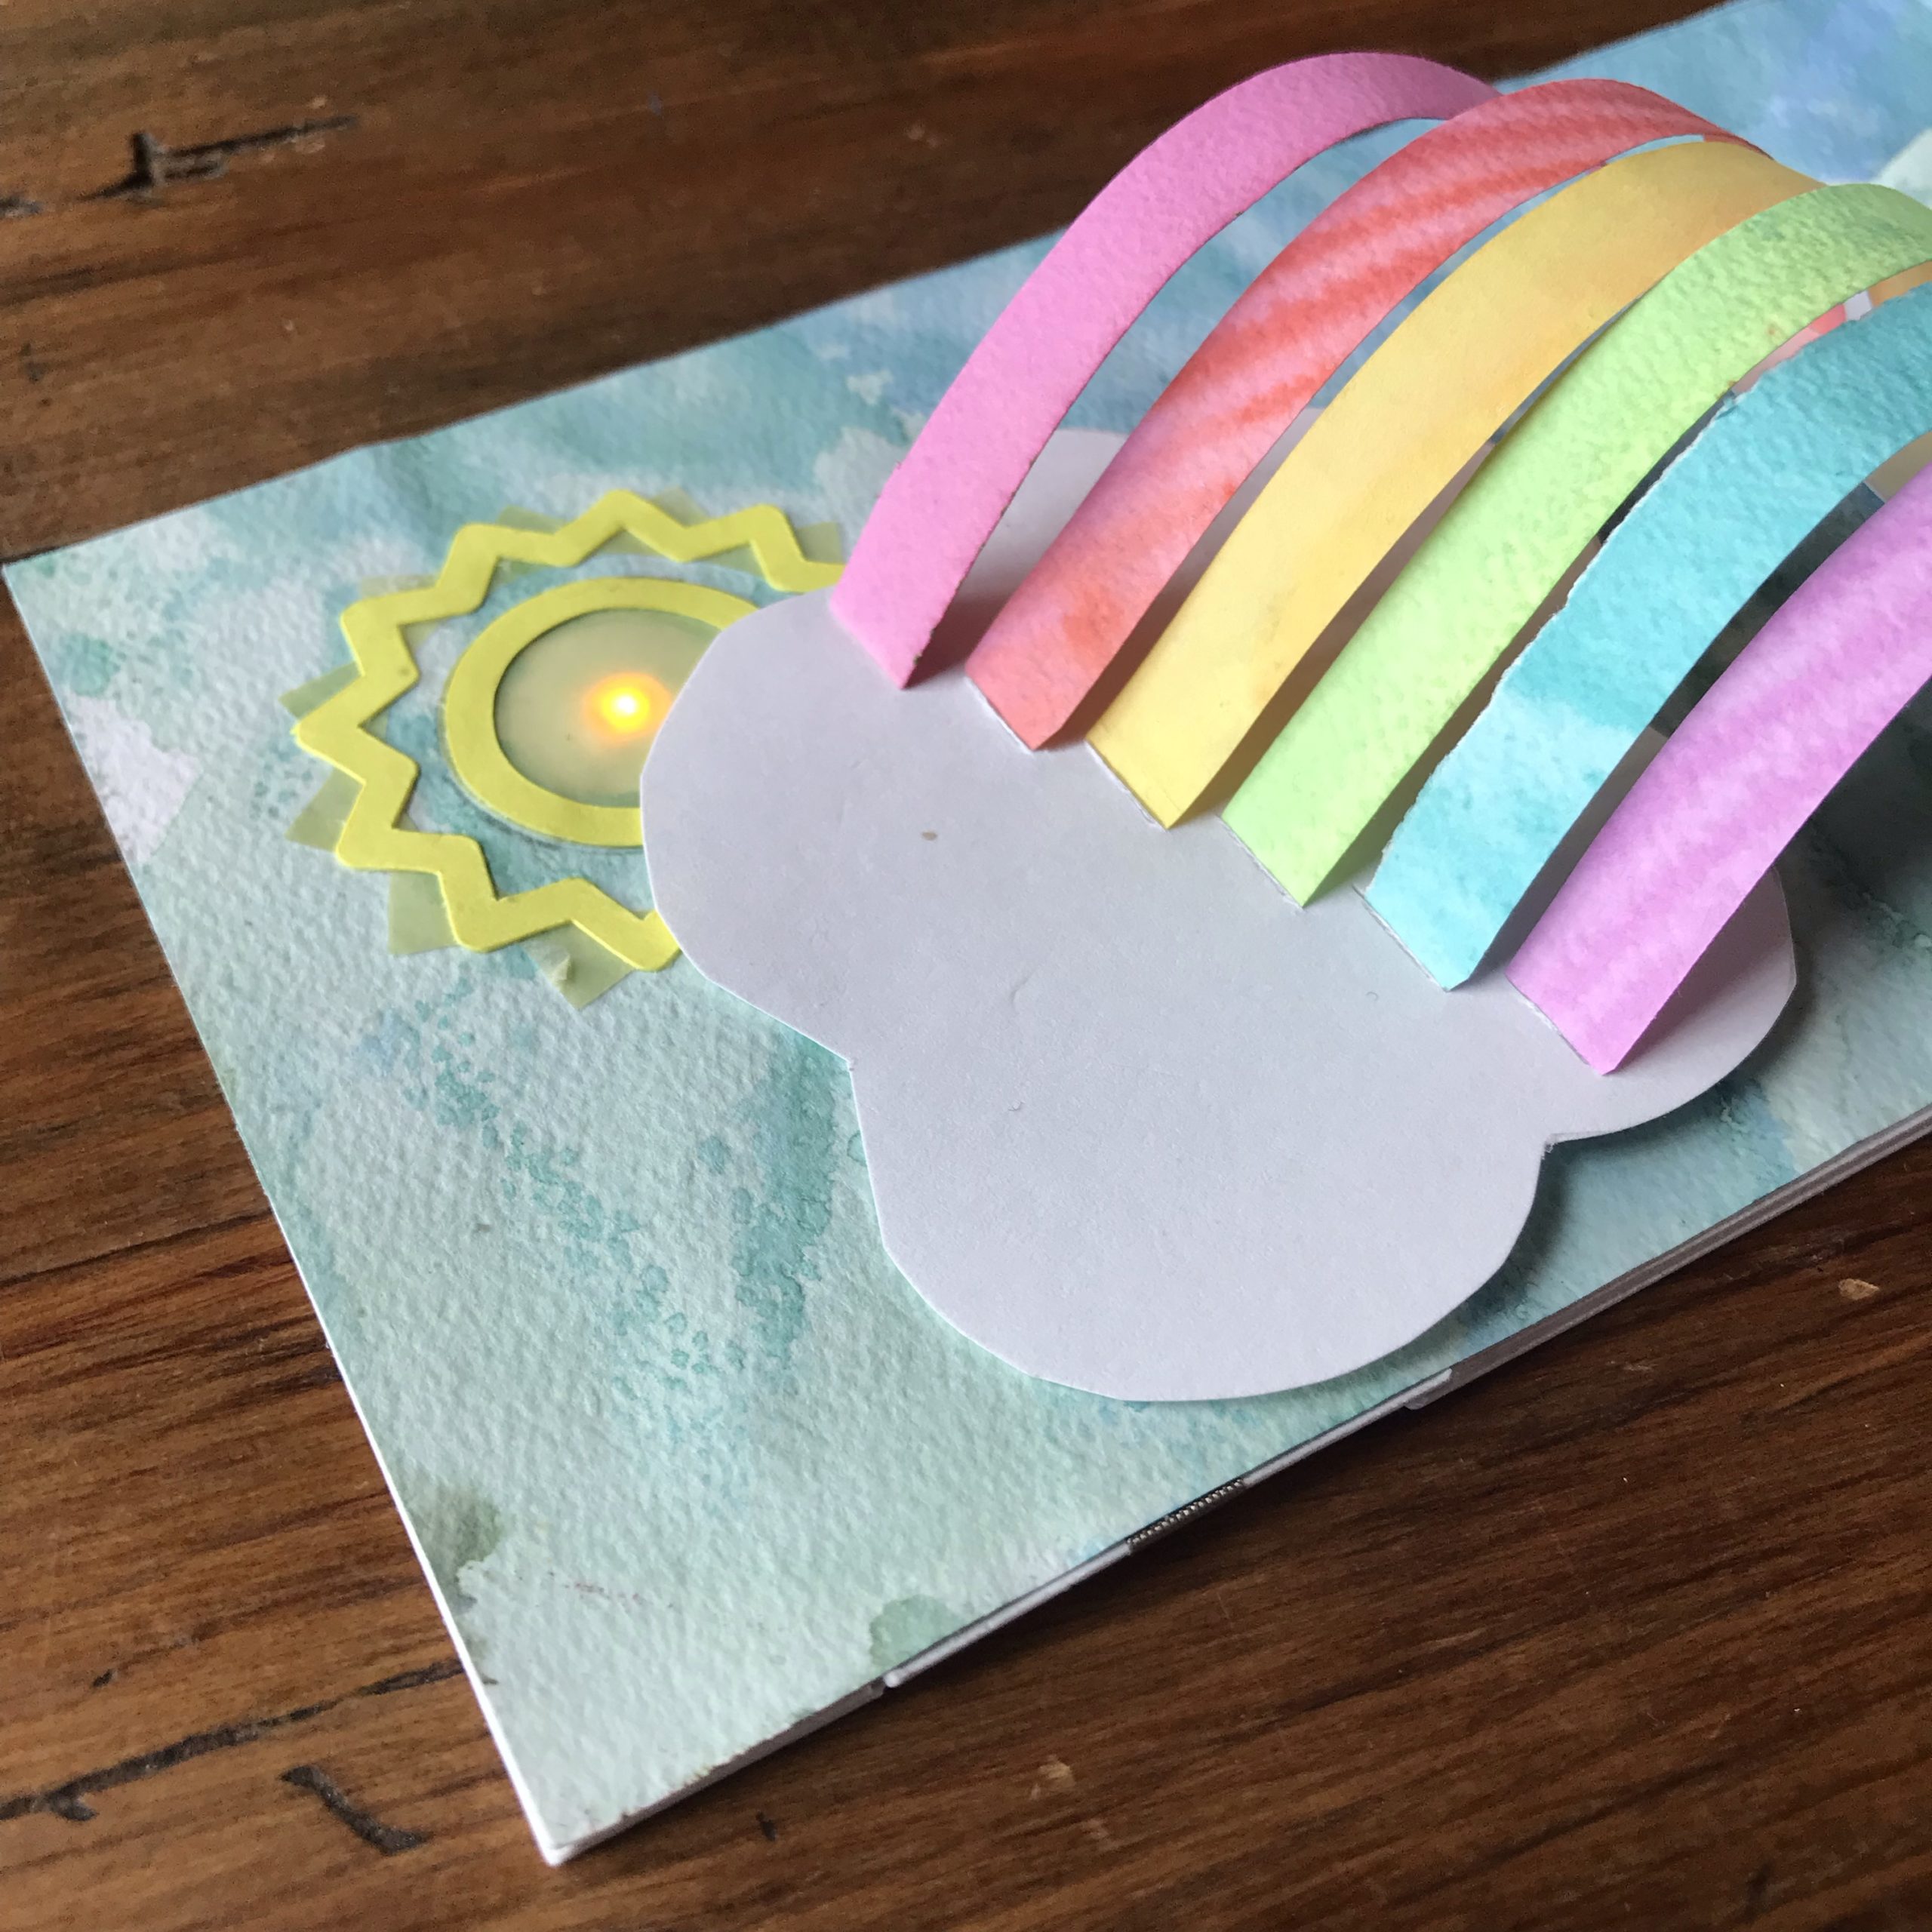
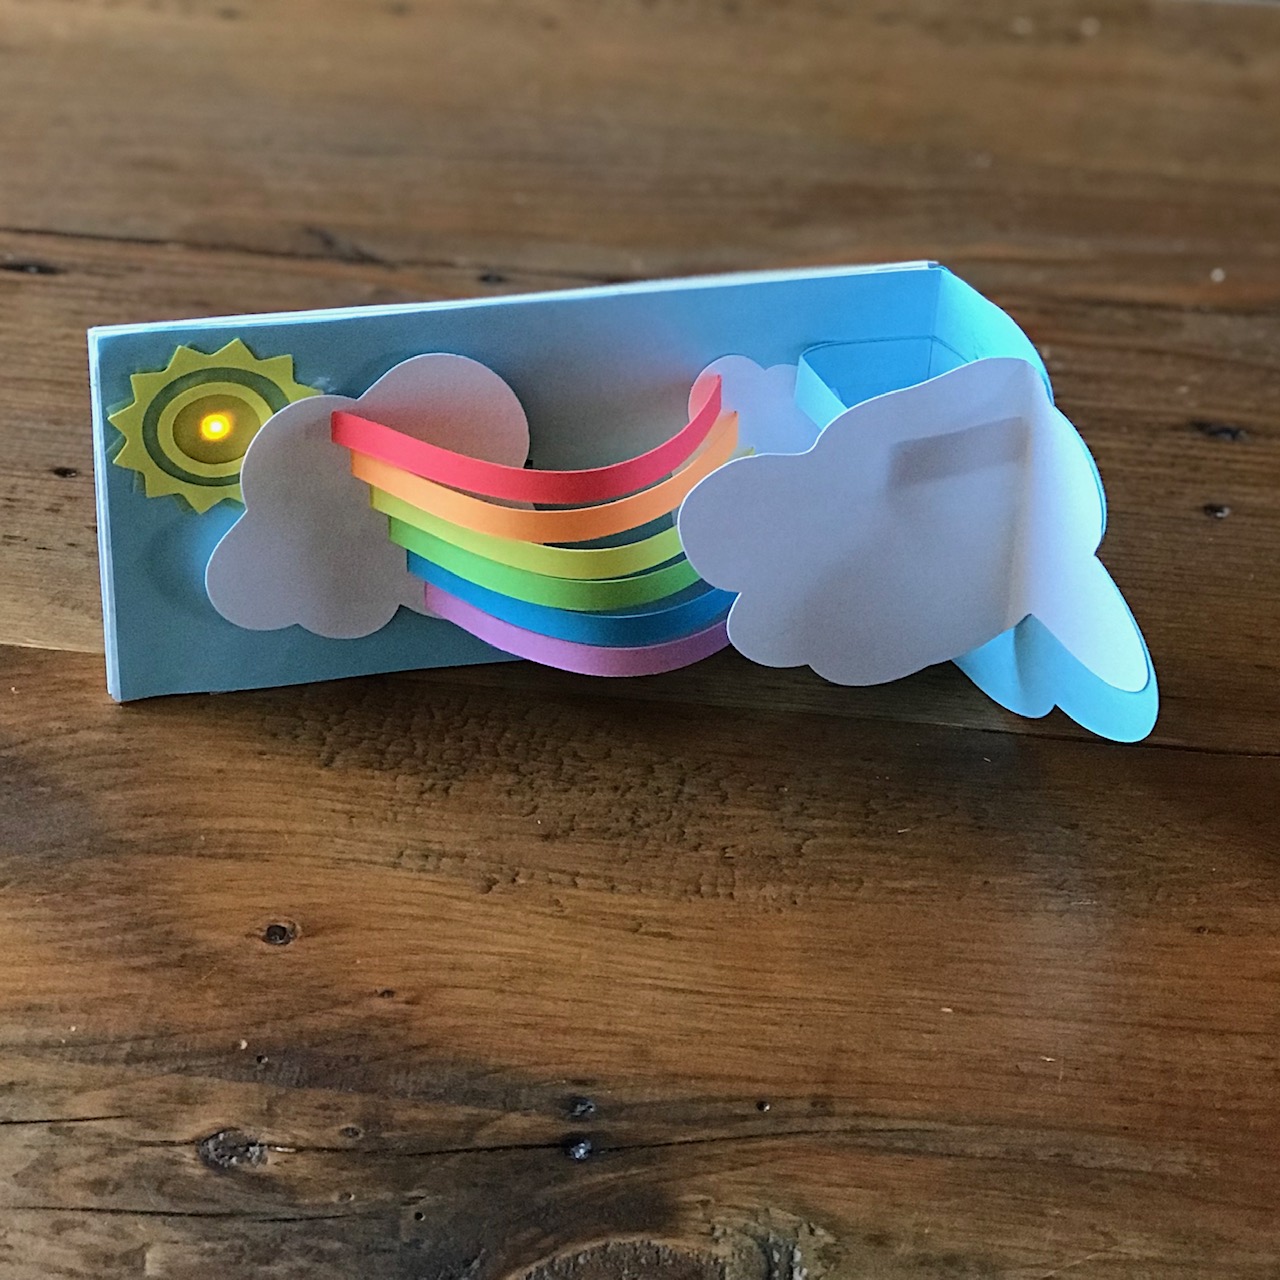
There is something magical about rainbows (and pop up cards), a combination made even more delightful with the addition of a sparkly, light-up sun peeking out from behind a cloud!
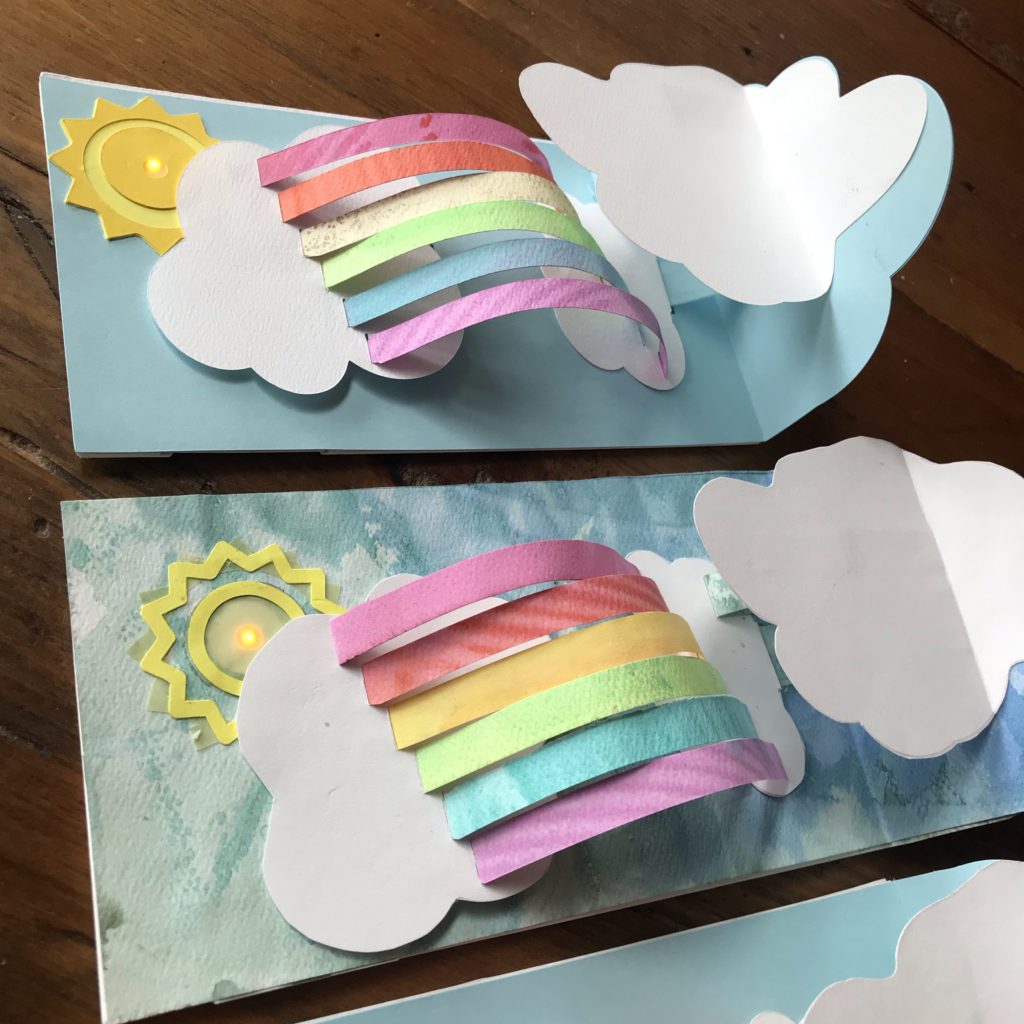
How Does the Pop Up Work?
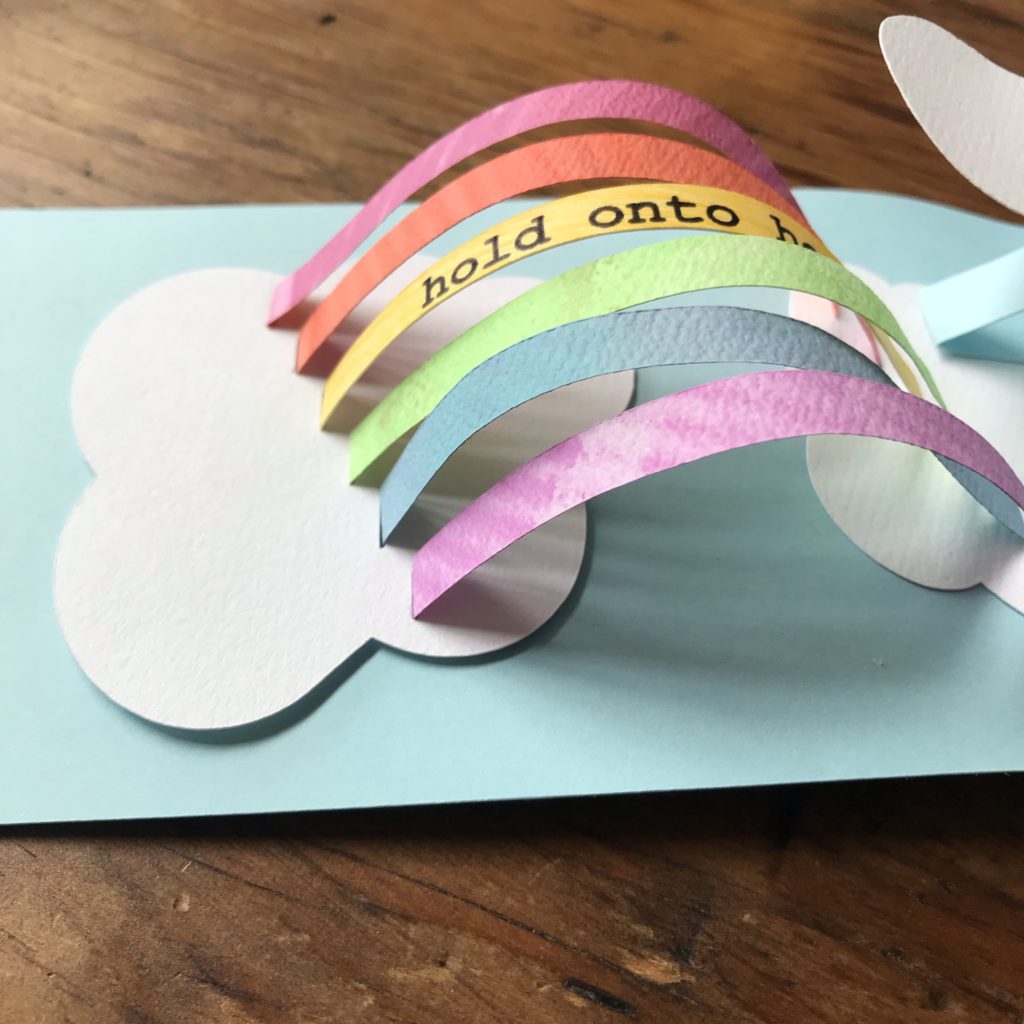
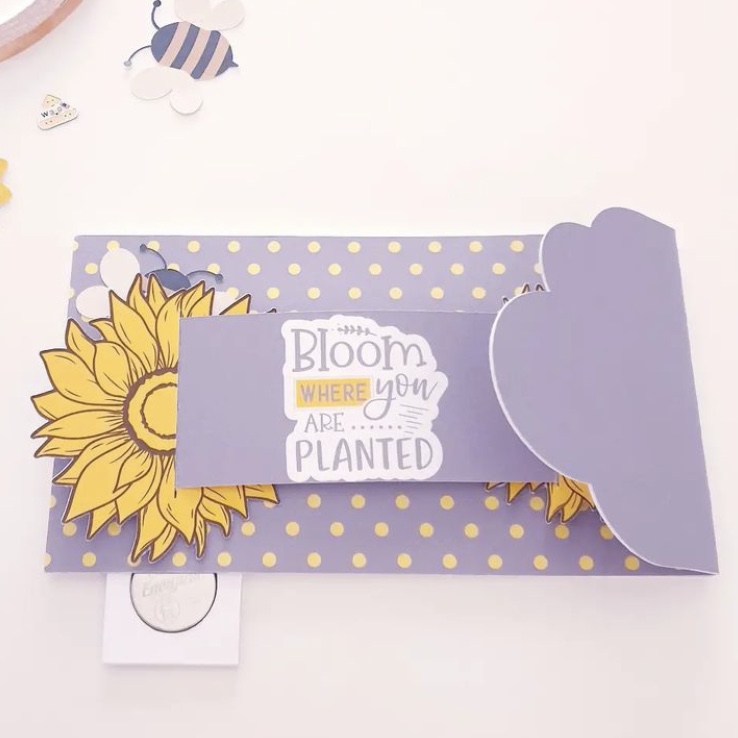
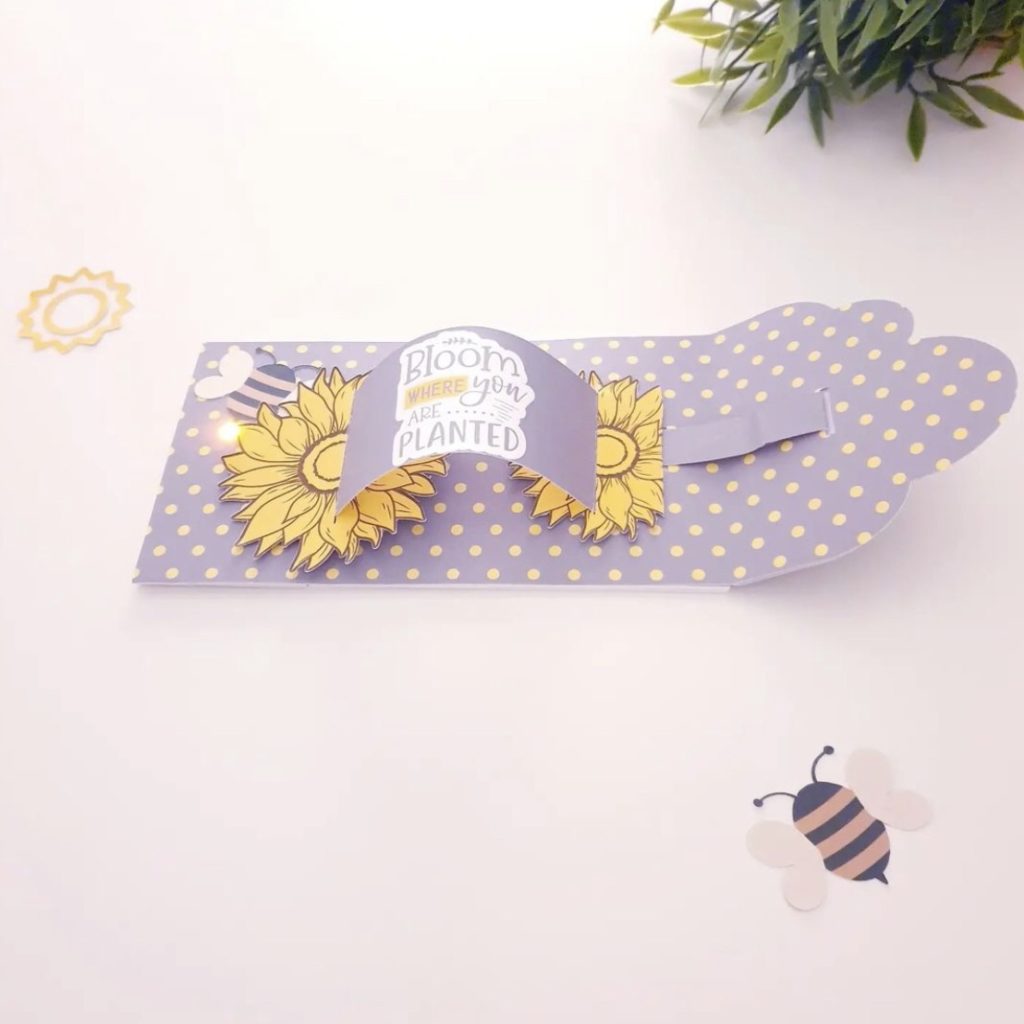
A concealed pull-tab, running underneath the rainbow, is adhered to the bottom of a moveable cloud. As the card is opened, the pull tab causes the cloud on the left to shift to the right, pushing the attached rainbow stripes toward a second cloud, anchored near the card’s hinge. A third cloud near the hinge, adhered to a square support piece placed parallel to the pull tab, helps hide the mechanical parts.
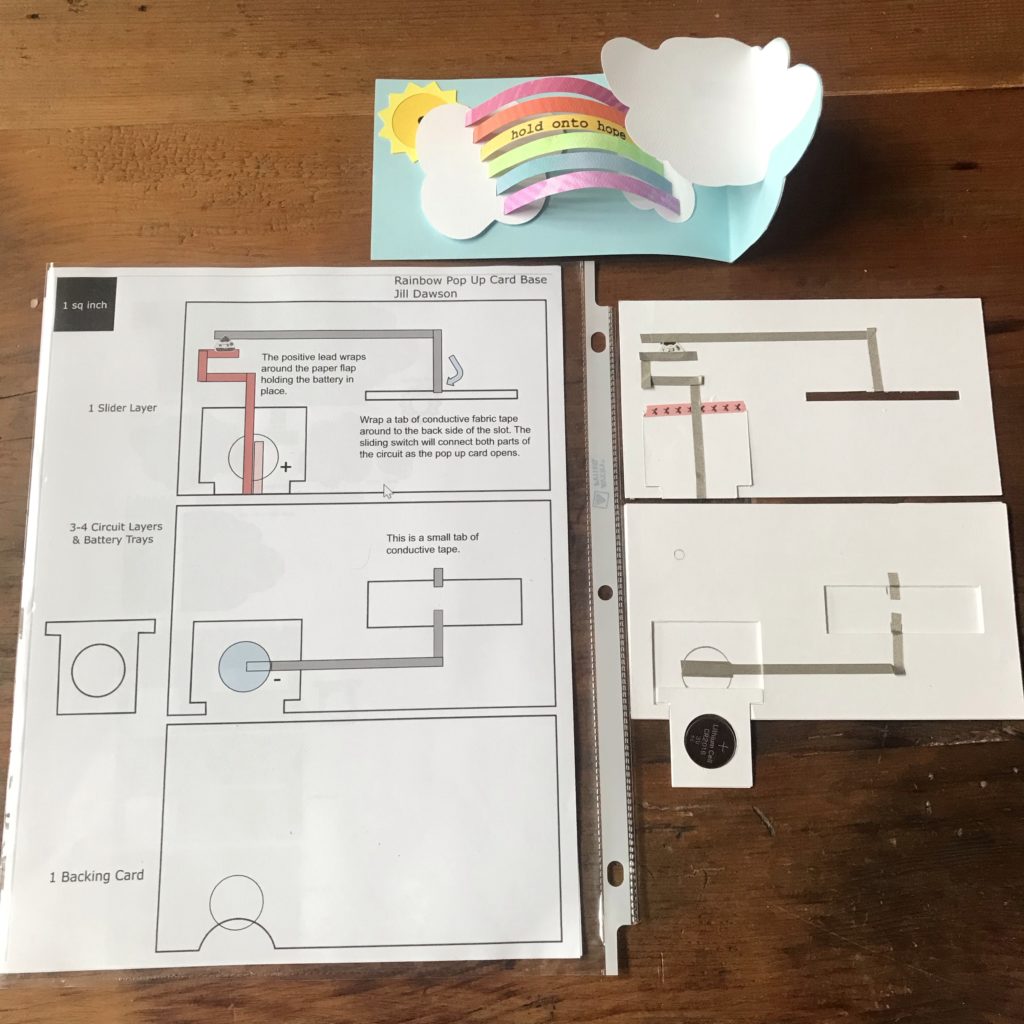
How Does the Circuit Work?
The pull tab in this design is doing double duty. Not only is it propelling the cloud and rainbow, it is also moving a small paper switch along a slotted channel concealed in the card’s base. When the rainbow pops up, the conductive switch makes contact with the rest of the circuit, closing it, resulting in the LED turning on. When the rainbow lies flat and the switch slides to a different part of the slotted channel, the circuit opens and the LED turns off.
What’s So Special About the Switch?
This particular switch design is one that members of the Chibitronics Design Team routinely integrate into their stunning creations; it has evolved over the years and been used in a variety of original projects. To see more examples of how this type of switch may be used in your paper circuit projects, be sure to check out the innovative work of Yukiko Unami, WeiWei Wang, Eiko Uchida, and Jooyeon Lee, who’ve been sharing their engineering breakthroughs on the Chibitronics blog.
How Do I Get the Pieces?
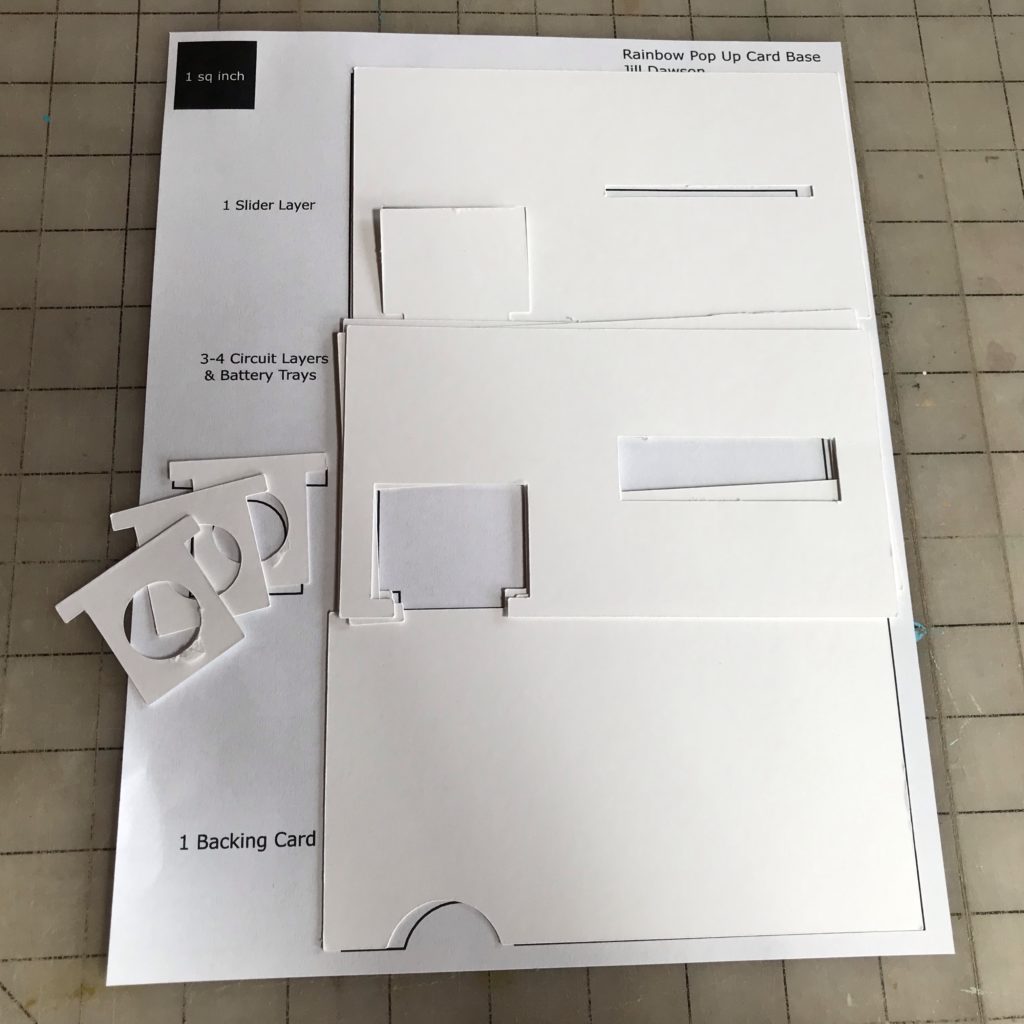
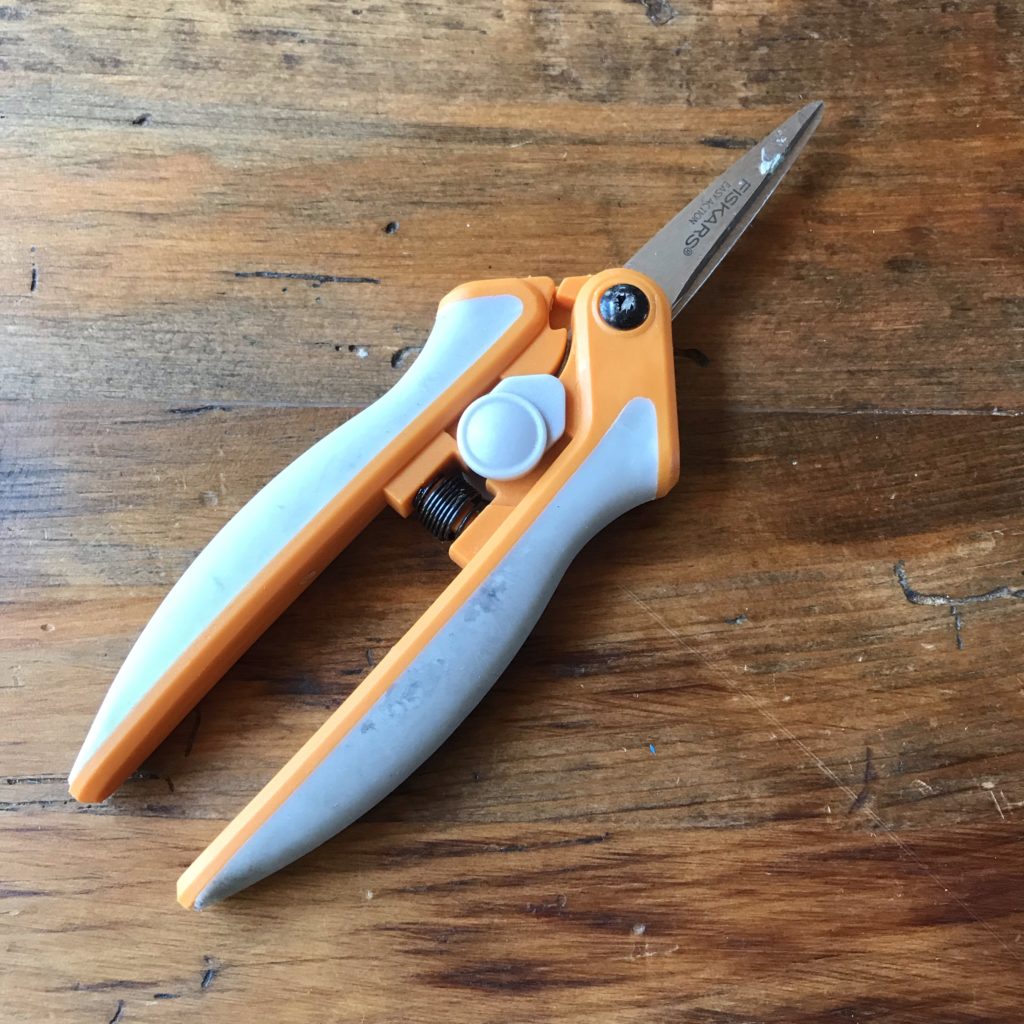
One way to make the pieces needed for this project is to use the downloadable PDFs as printable patterns that you may then cut out with scissors.
Another way to make the parts is to download and import the SVG cut file into a home fabrication tool, such as a Cricut or Silhouette.
If you’re using a Cricut, you’ll need to change some of the lines of the imported file into score lines (the dotted lines on the PDF). Text will need to be hidden or changed into “Guide” markings. You may also need to resize everything on your canvas after importing the file; use the one-inch black square in the top left corner as a guide before ungrouping the components on your mat.
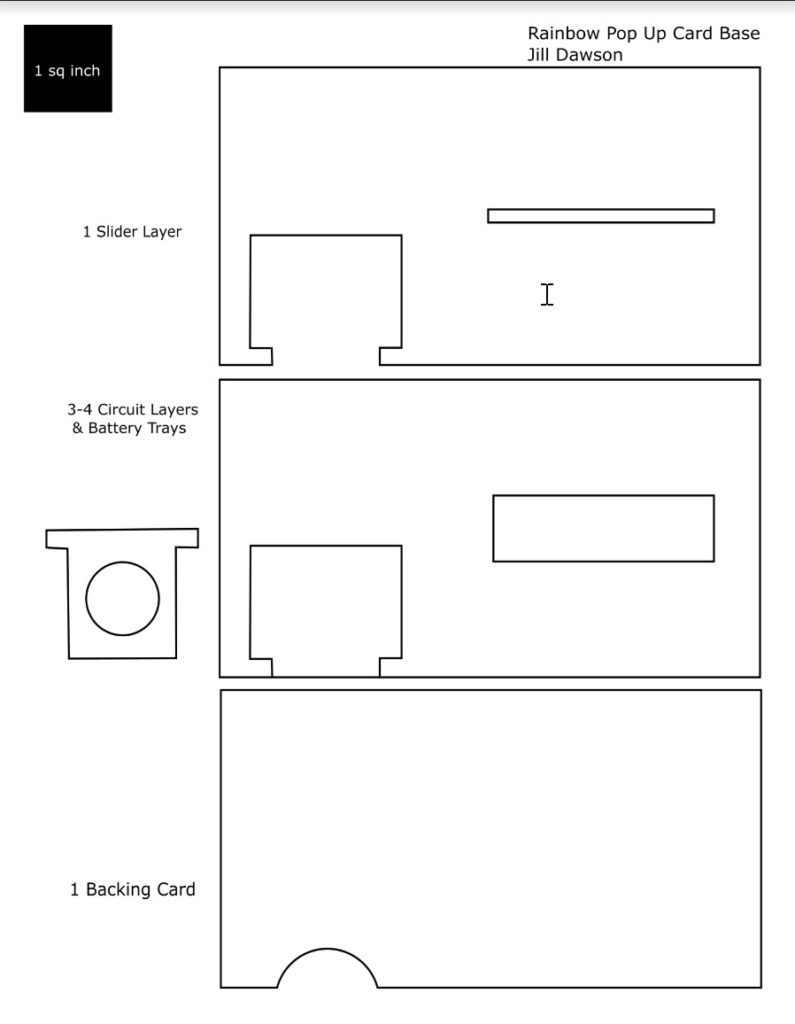
Rainbow Pop Up Card Base PDF
Rainbow Card Parts PDF

Circuit Diagram PDF
Cut Files
Tools & Supplies


- Home fabrication machine (such as a Cricut or Silhouette)
- Printer
Directions
Tips, Tricks & Call-outs
If you’d prefer to watch a step-by-step demonstration of the steps listed in this tutorial, please check out the full tutorial video up top. While most of the process is documented here through still images, the video goes into more detail.
Step 1
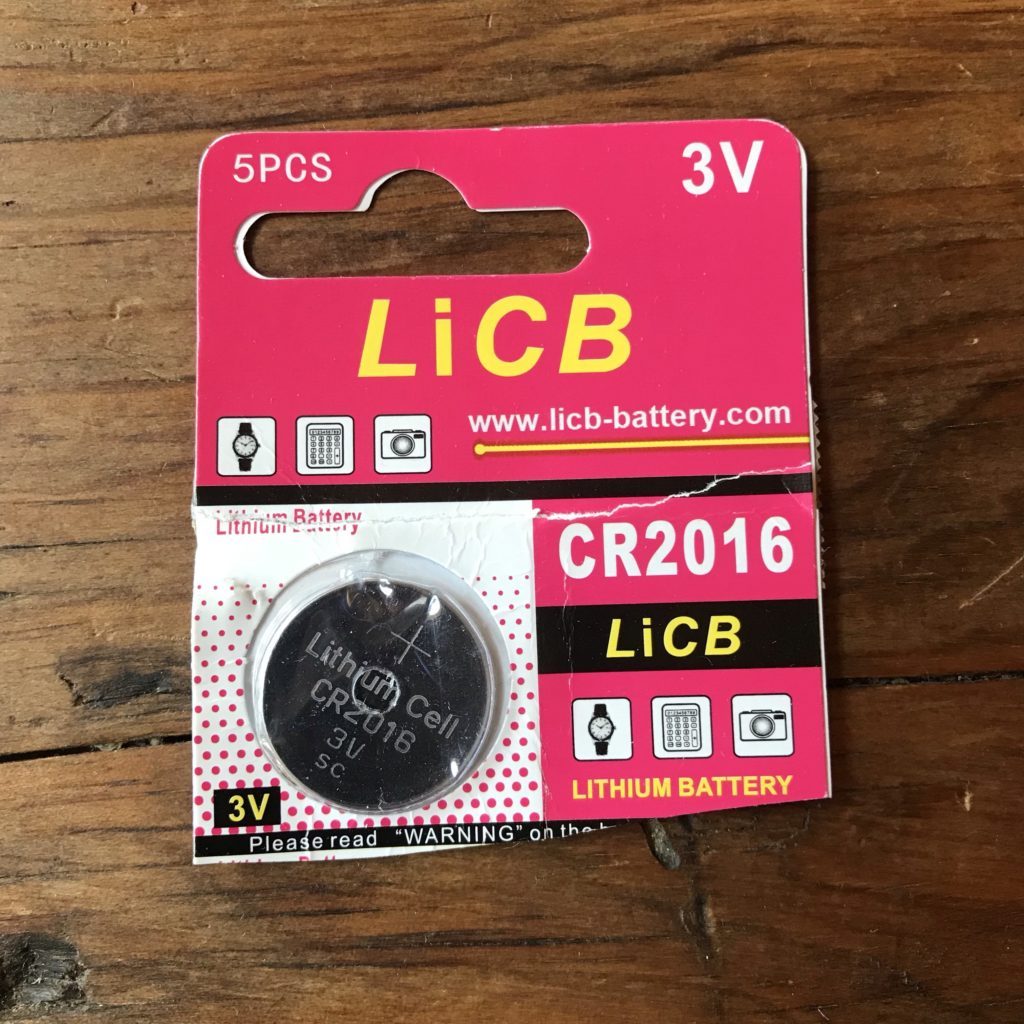
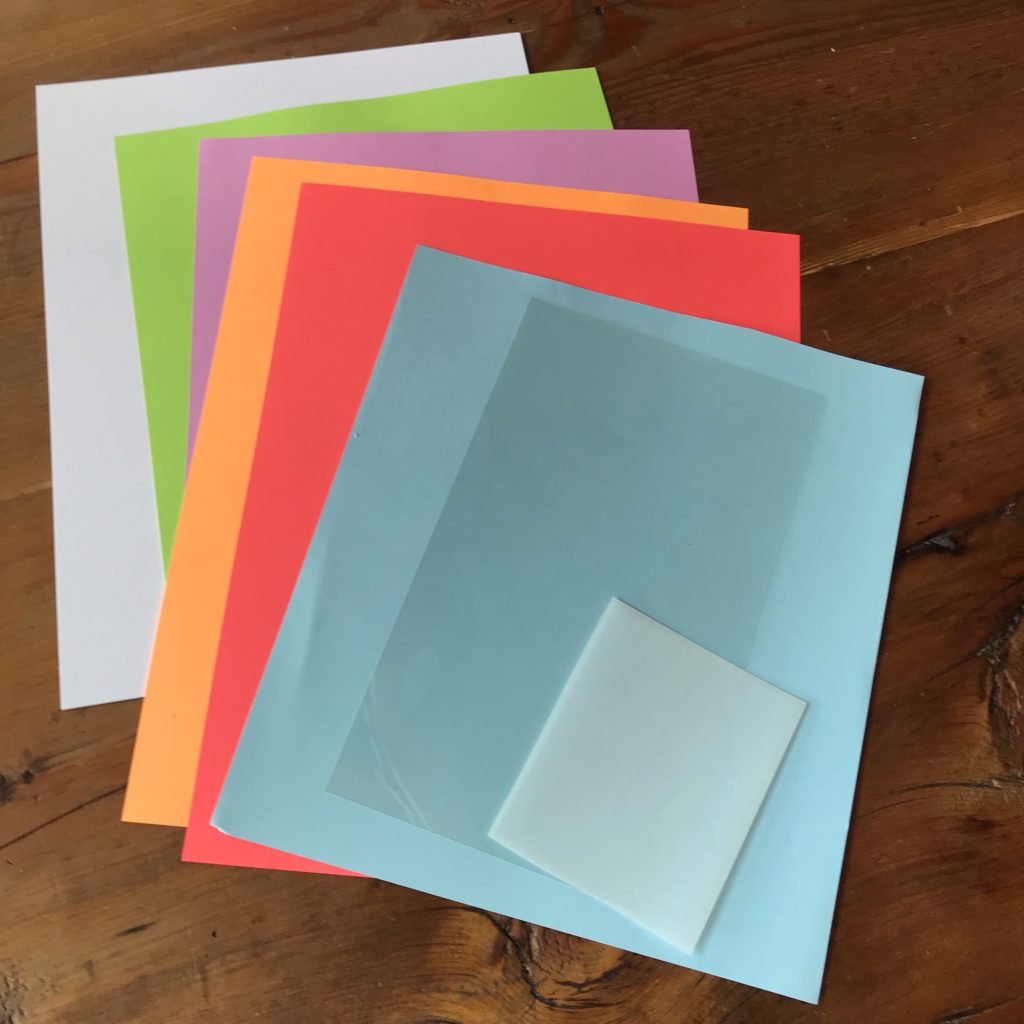
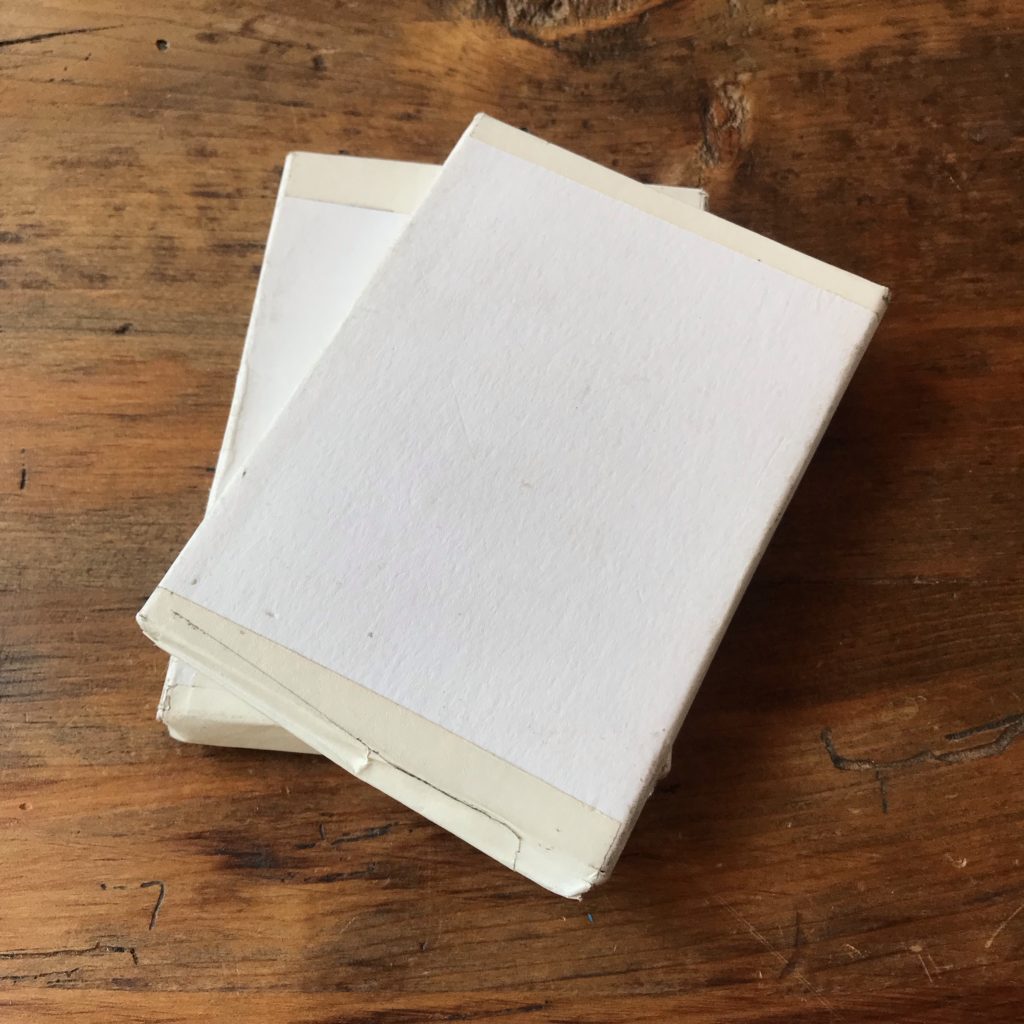
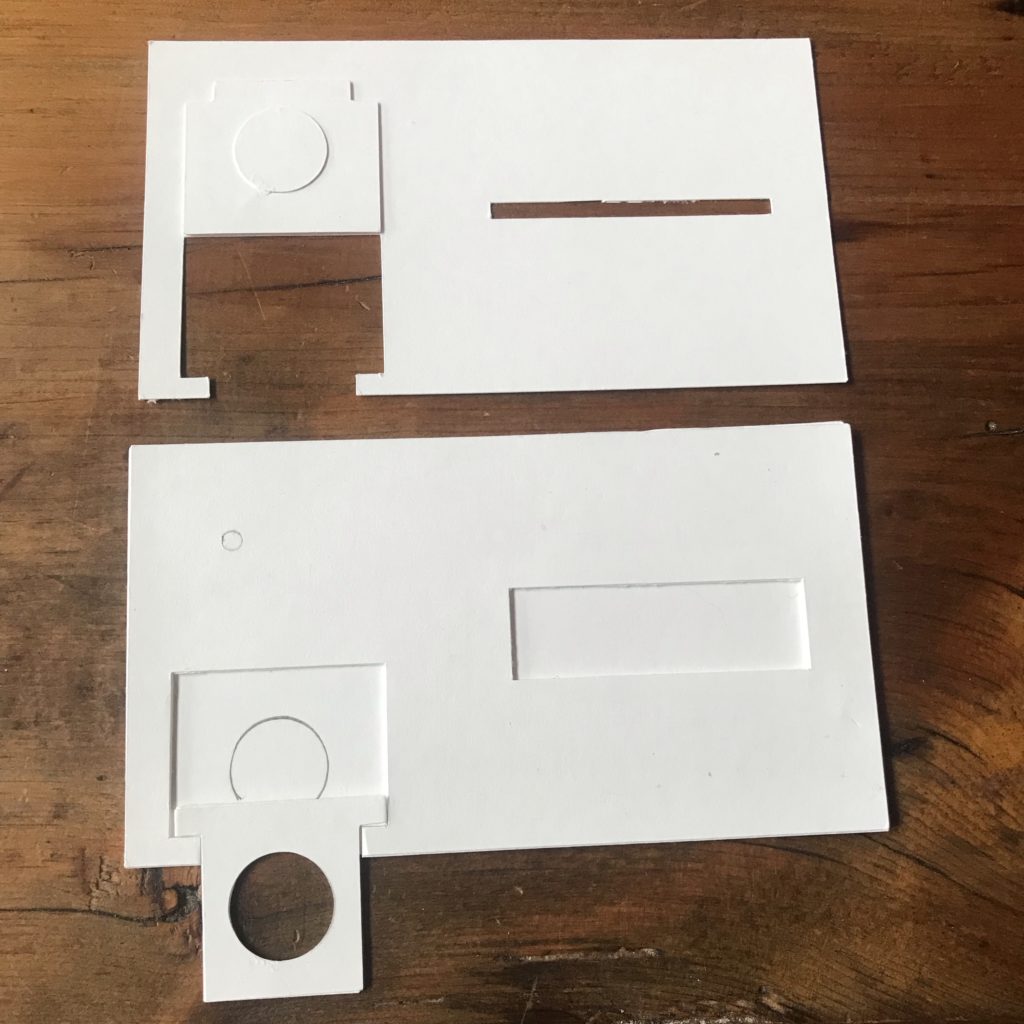
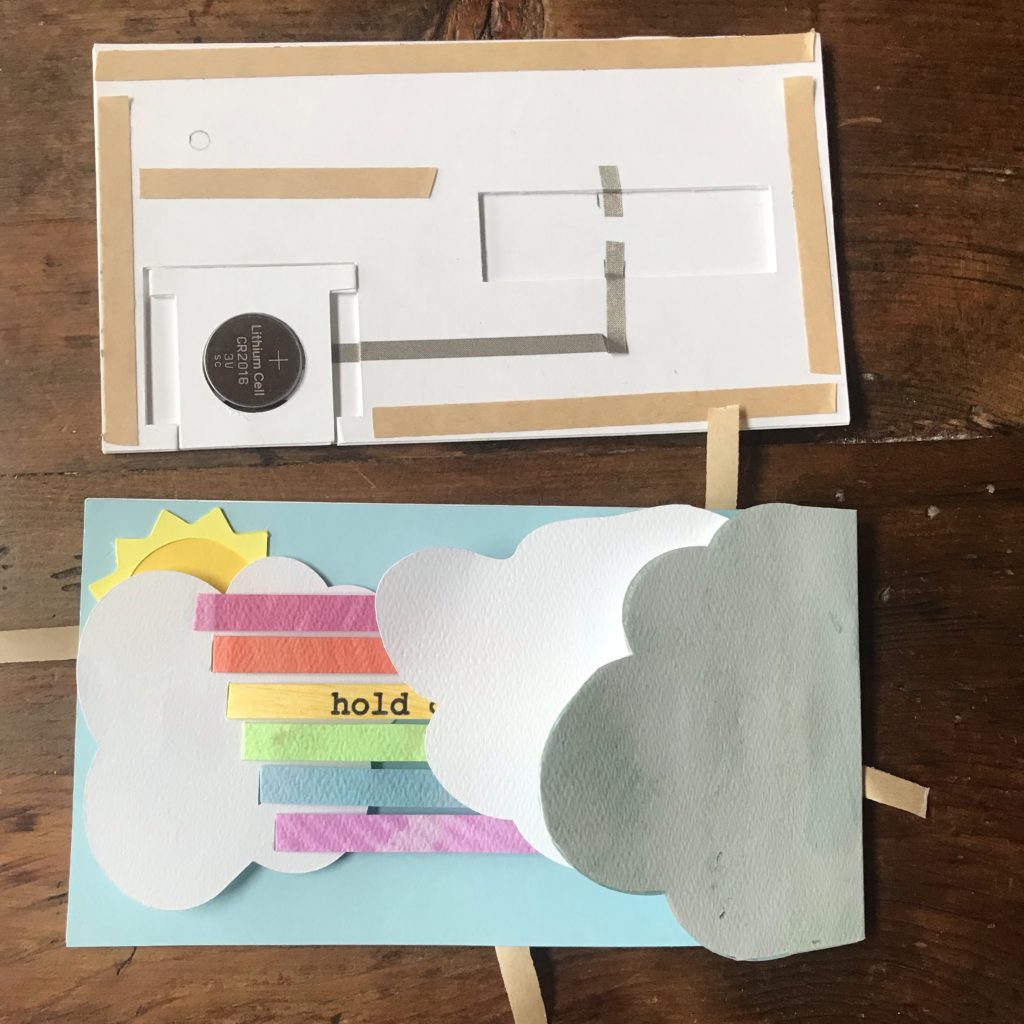
Gather your tools and supplies and prepare the pieces you’ll need for this project. Next, build the card base by gluing 3-4 Circuit Layers together to ensure that the total thickness of the stack matches that of a CR2016 battery. Repeat this process for the battery tray pieces. To help the card dry flat, place the glued parts under weights for a few minutes. Once the glue is dry, ensure that the battery tray slides smoothly in its channel; if necessary, you may need to trim tight areas to reduce friction.
Adhere the Circuit Layer to the Backing Card and use the battery tray to trace a circle where the battery will be. Then, using the battery tray as a guide, trace the circular cut-out for the battery onto the inside of the battery flap and glue one of the round cut-outs over the circle you just drew. Adding this piece to the inside of the battery tray will help increase the surface tension inside of the battery tray of your completed card. Then, use a piece of washi or tape as a hinge to secure the battery flap to the Slider Layer. (See video demonstration for more details).
Tips, Tricks & Call-outs
Adding the circular cut-out for the battery onto the inside of the battery flap will help increase the surface tension inside of the battery tray of your completed card.
Step 2
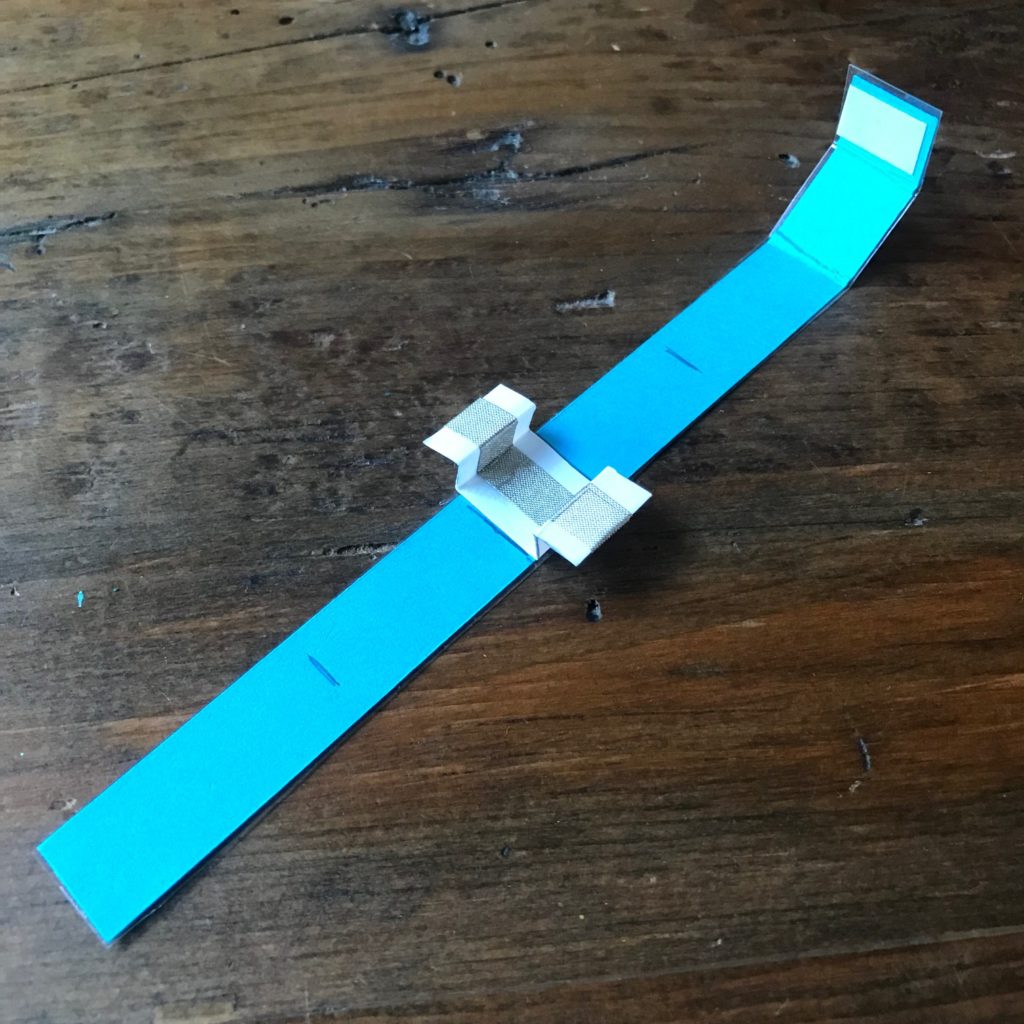
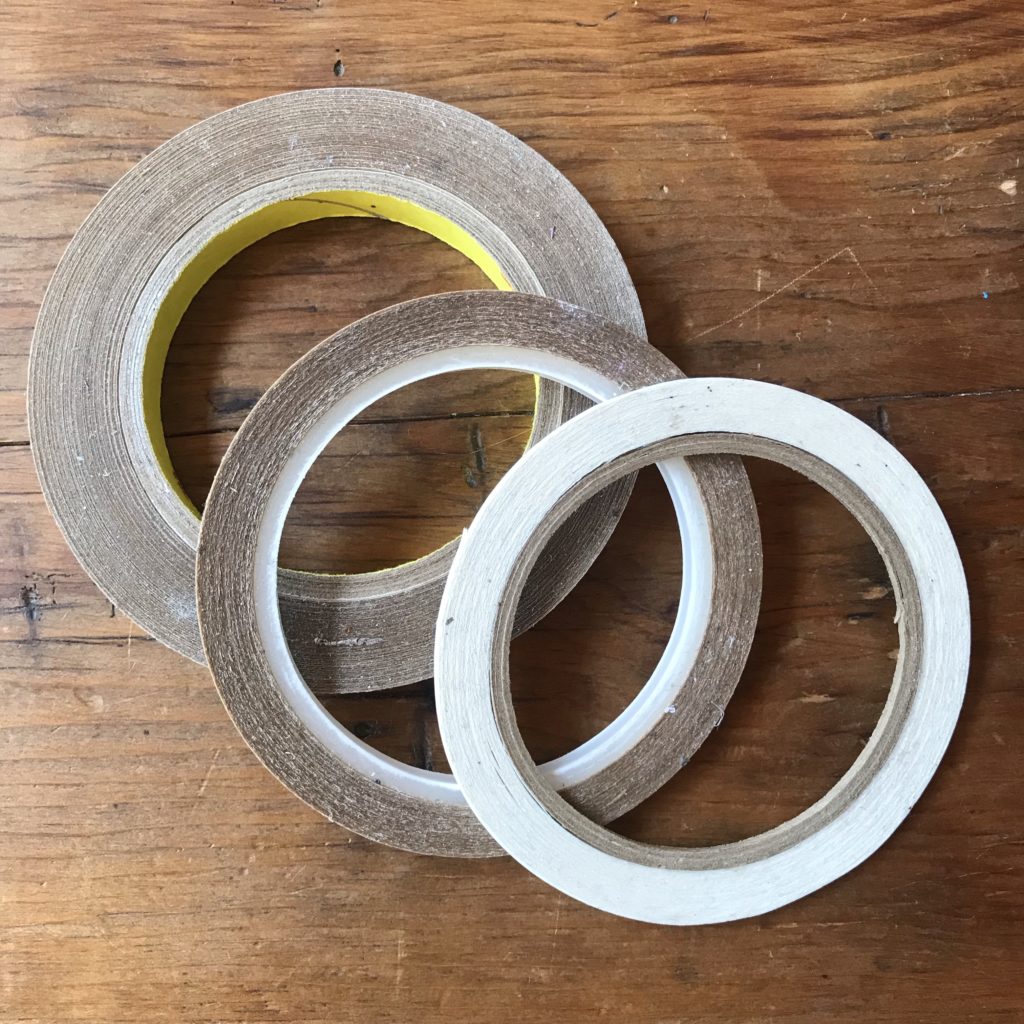
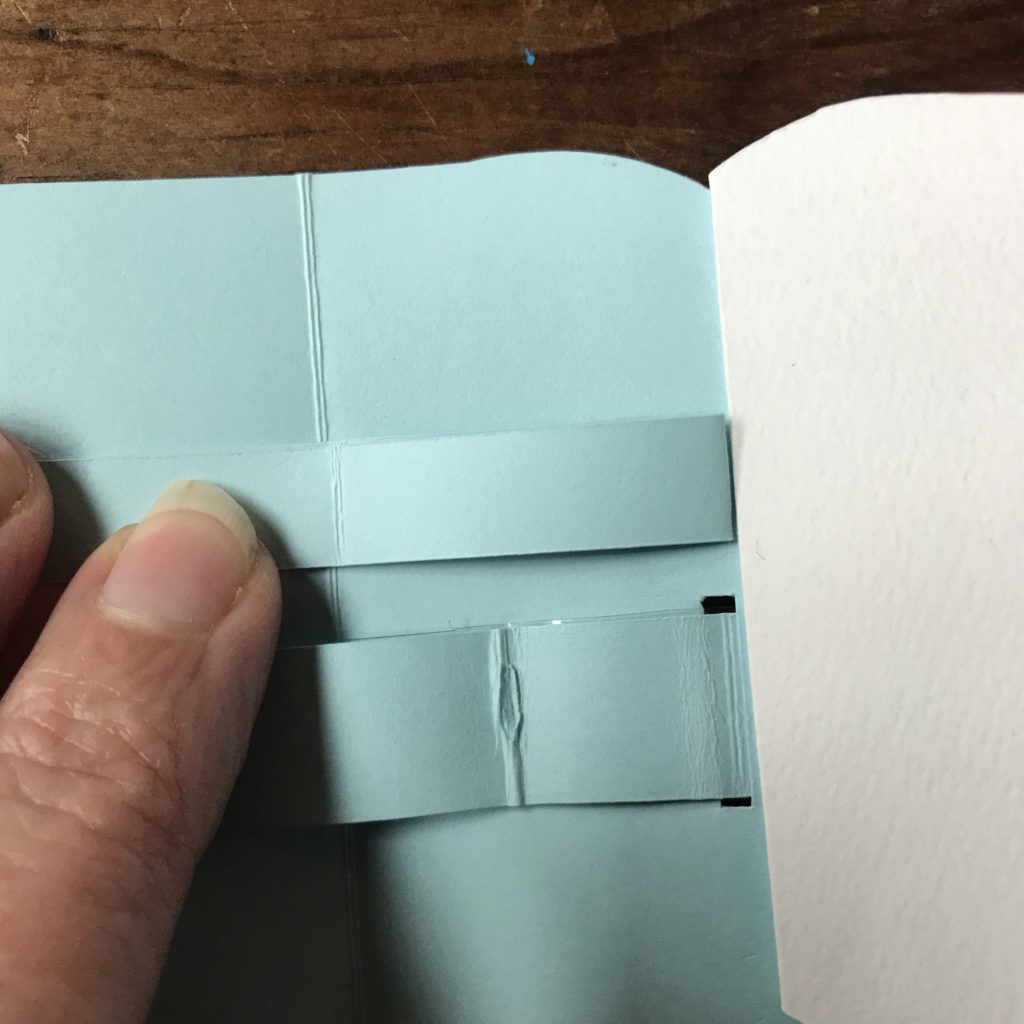
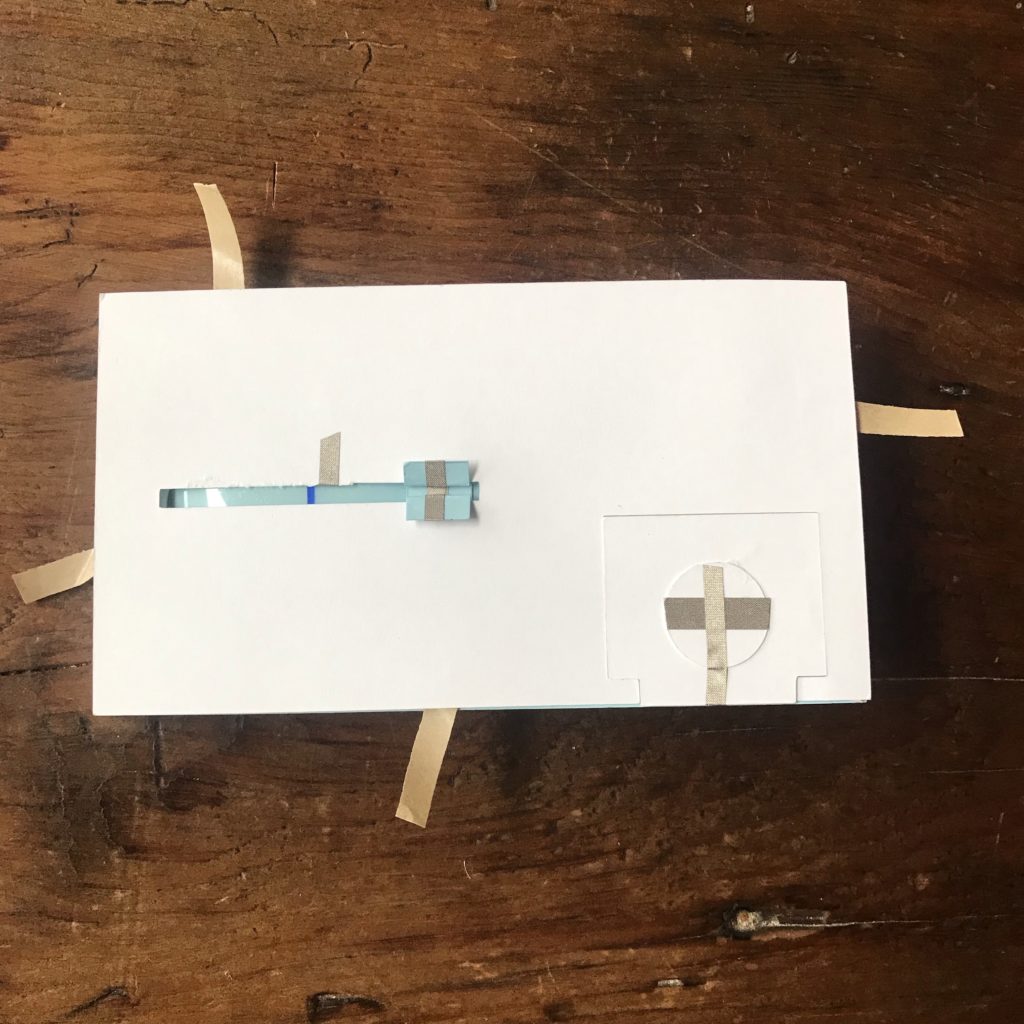
Reinforce the pull tab, with clear acetate and double sided tape, to strengthen it.
Step 3
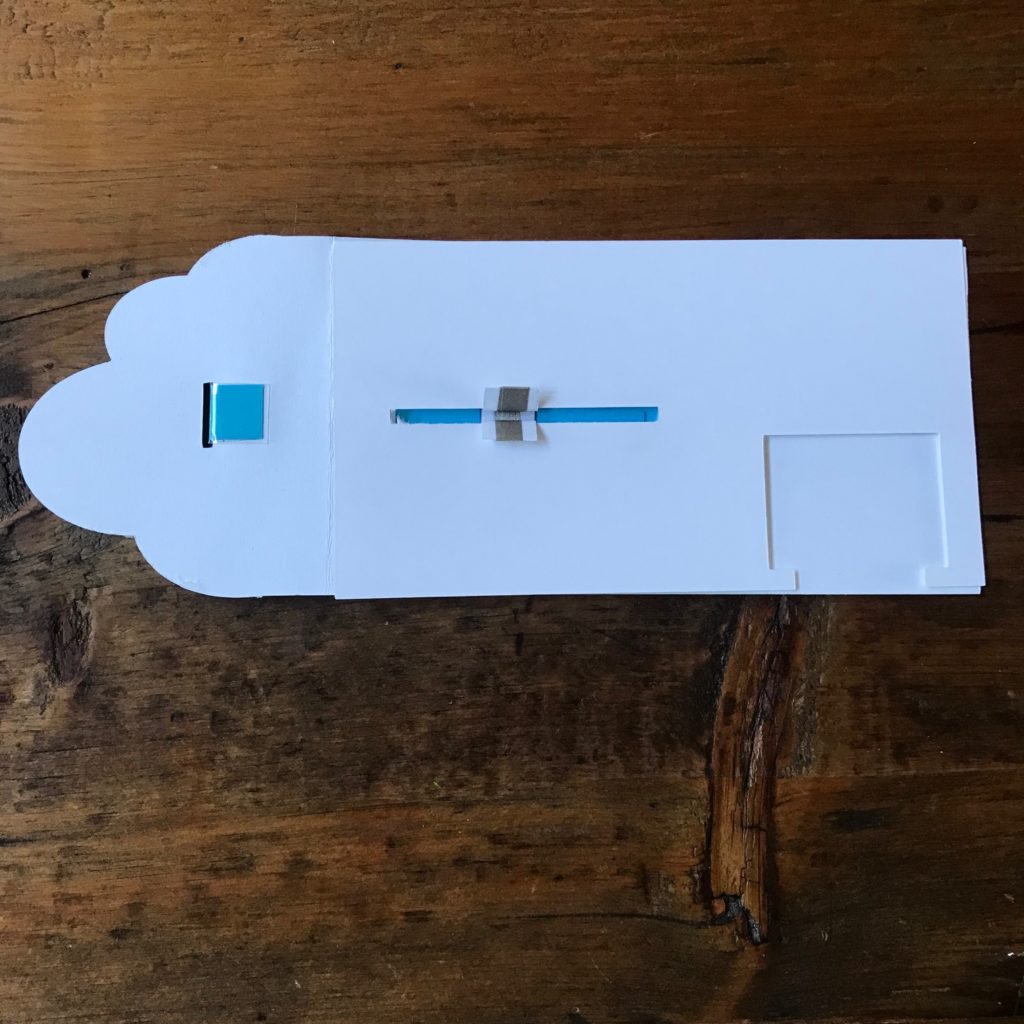
Insert the pull tab into the Cloud Base and set it aside.
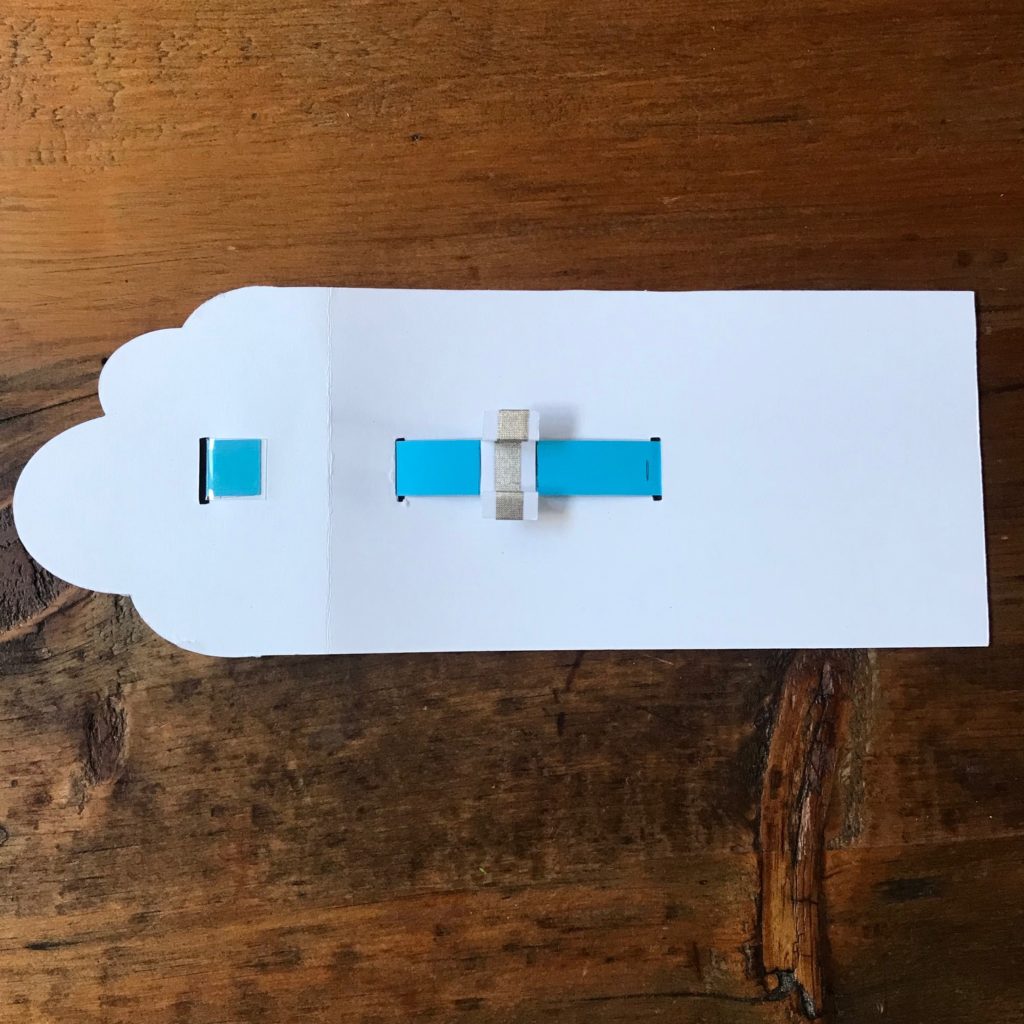
Step 4
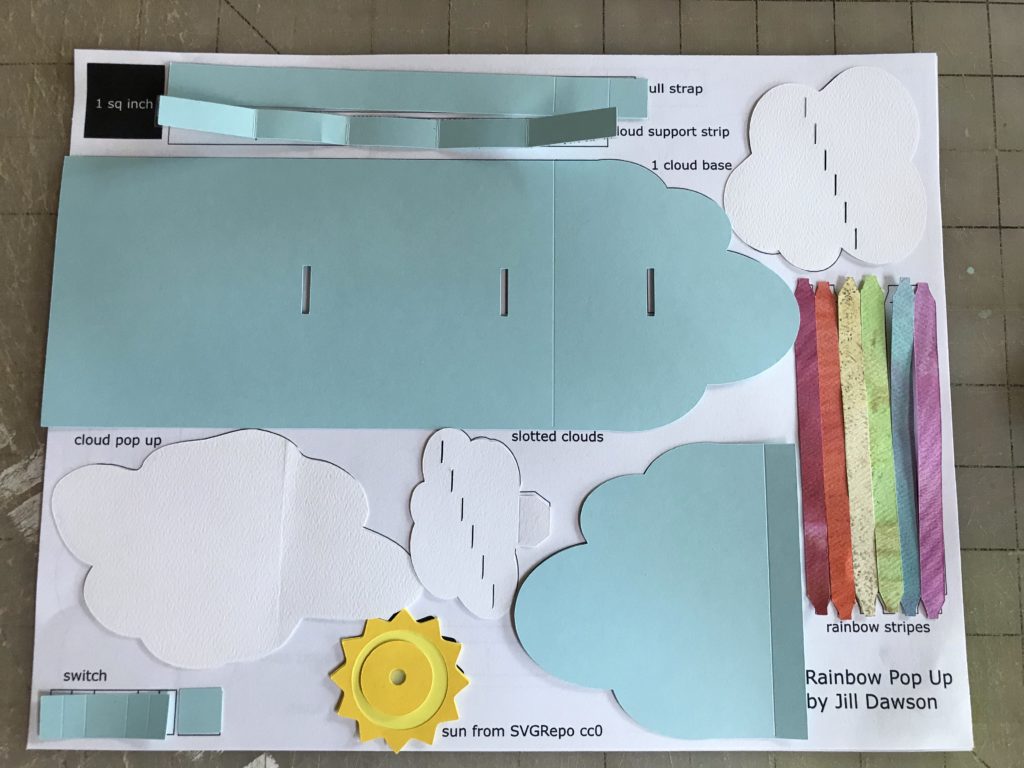
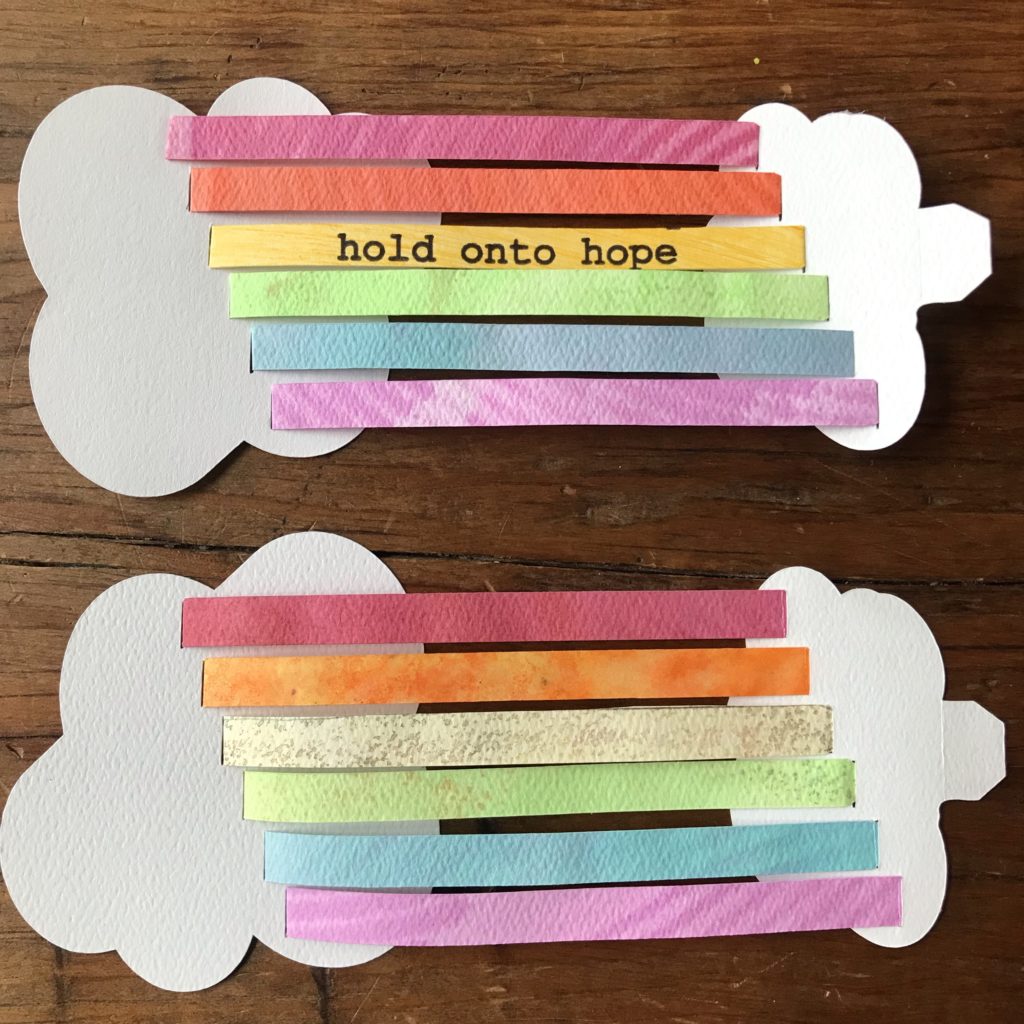
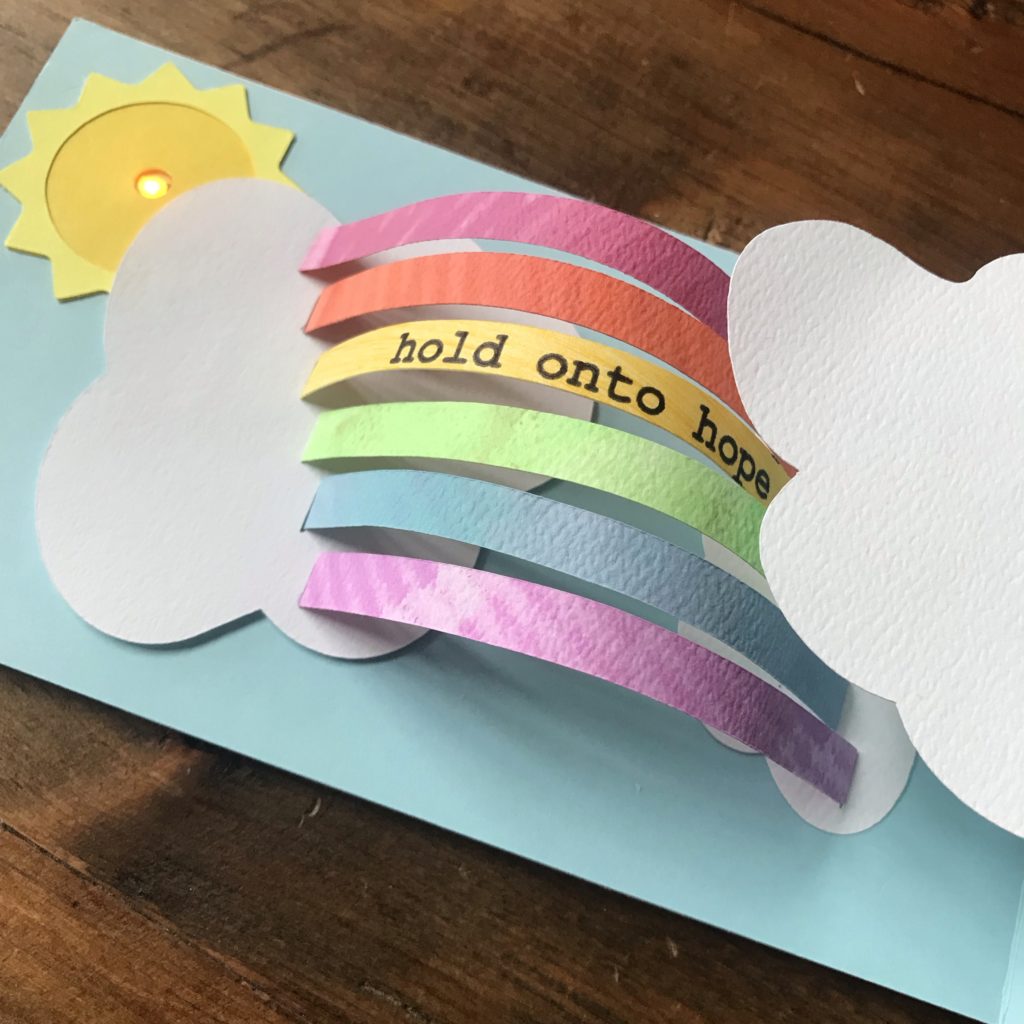
Begin building the rainbow layer, starting with the two Slotted Clouds and rainbow stripe pieces. If desired, you may add text to one or more of the rainbow stripes.

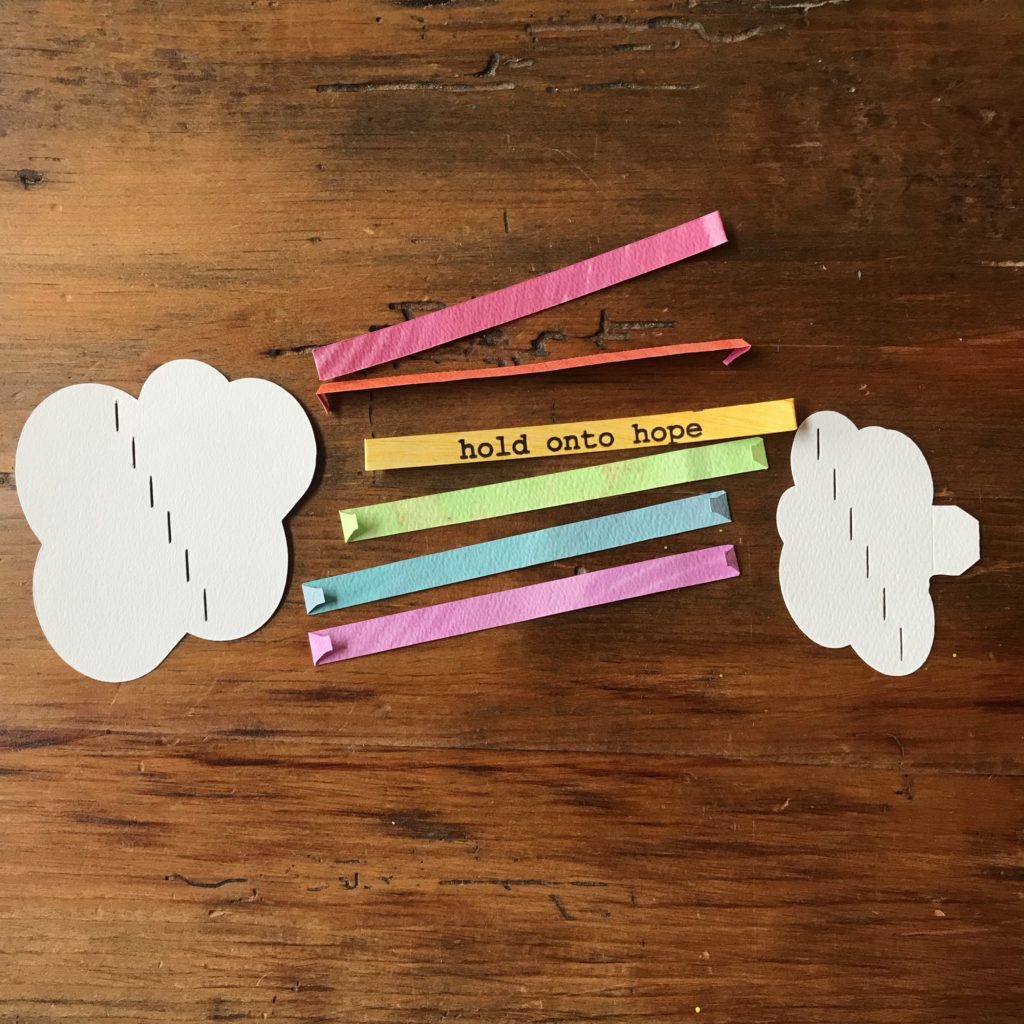
Notice that the slotted cloud pieces may be oriented in a couple of ways. While the smaller tabbed cloud should be oriented to look exactly like the image on the PDF, the larger slotted cloud may be flipped in one of two ways, as long as the slots are running in the same direction as those on the tabbed piece.
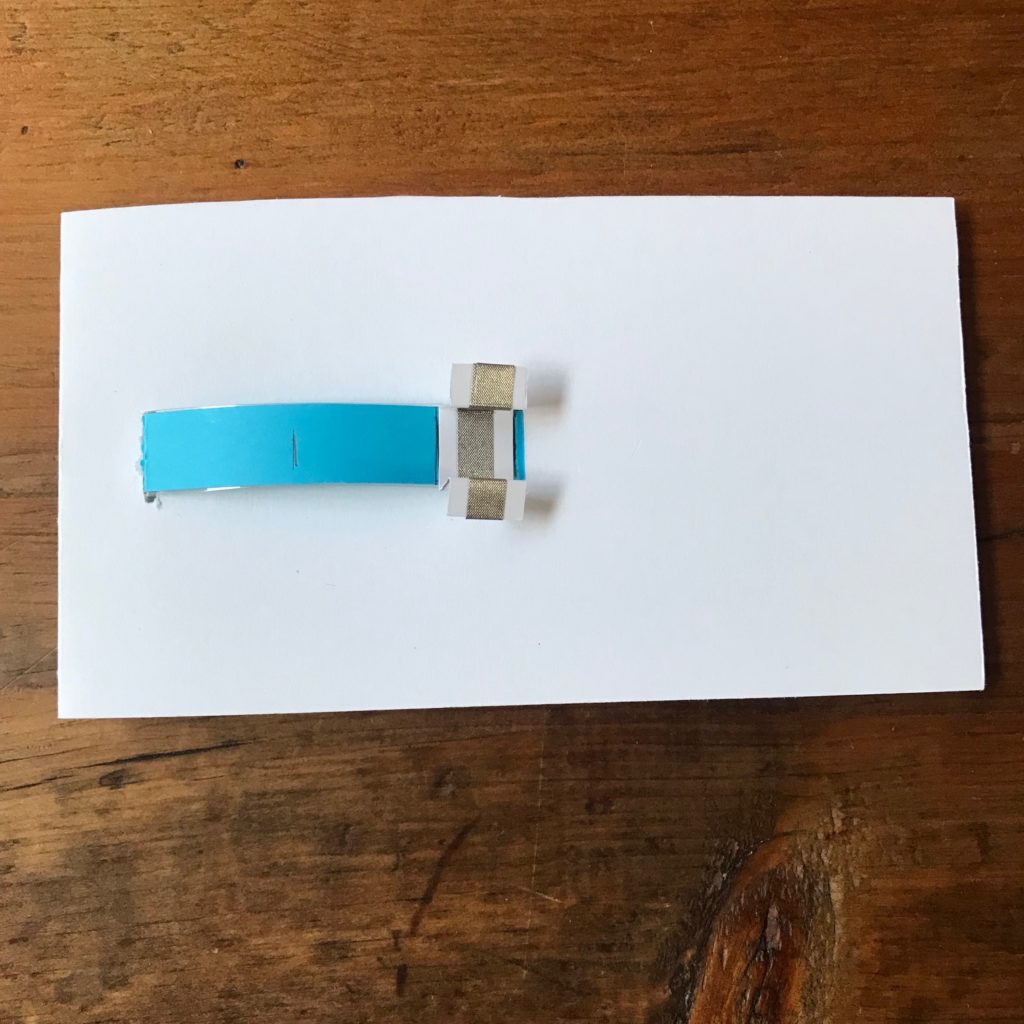
Step 5
To add the rainbow to the card, pick up the Cloud Base and open it up so that the hinge is positioned on your right.
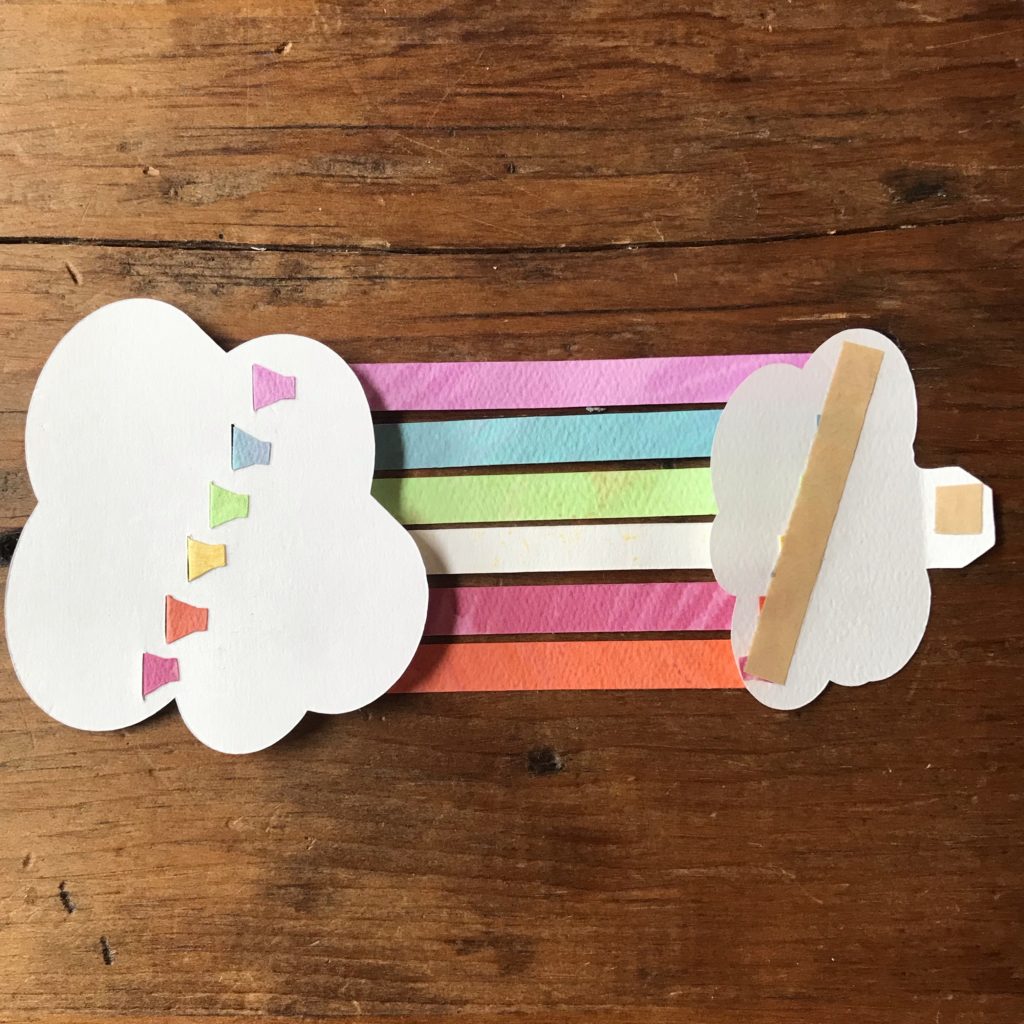
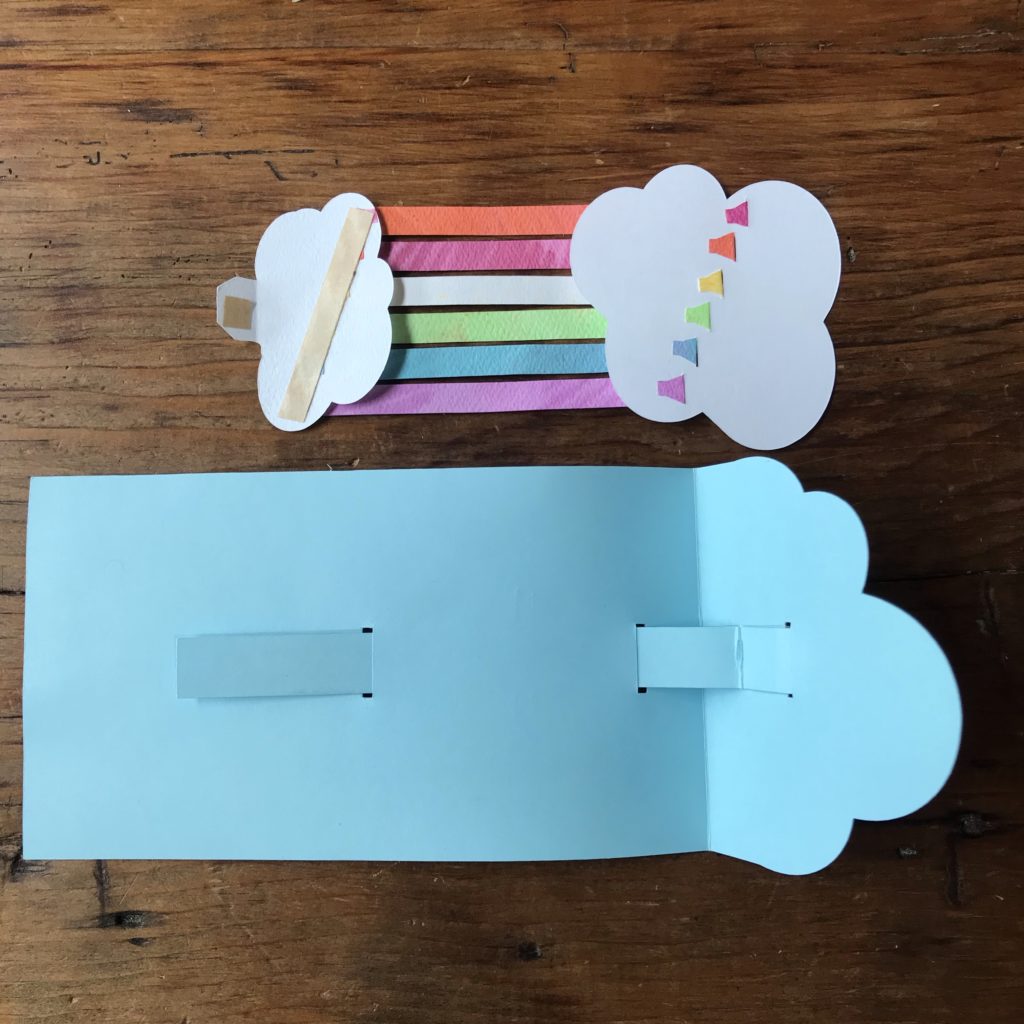
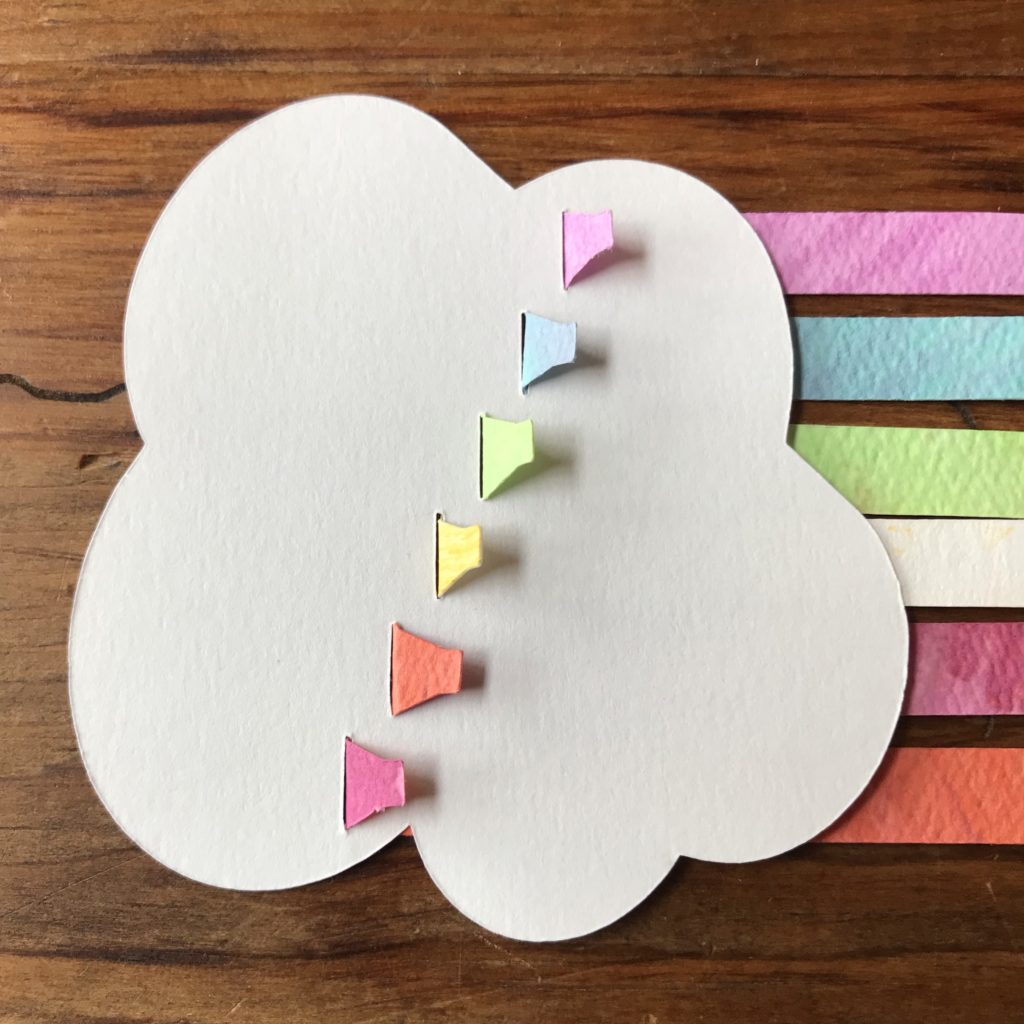
Prepare the tab of the small slotted cloud by removing the backing from the double sided tape. Insert the tab into the second slot near the hinge. The cloud will be tacked down to the Cloud Base, but it should not impede the pull tab underneath it. Remove the backing from the second piece of tape and flip the rainbow piece over, pressing down on the tabbed cloud to keep it stationary.

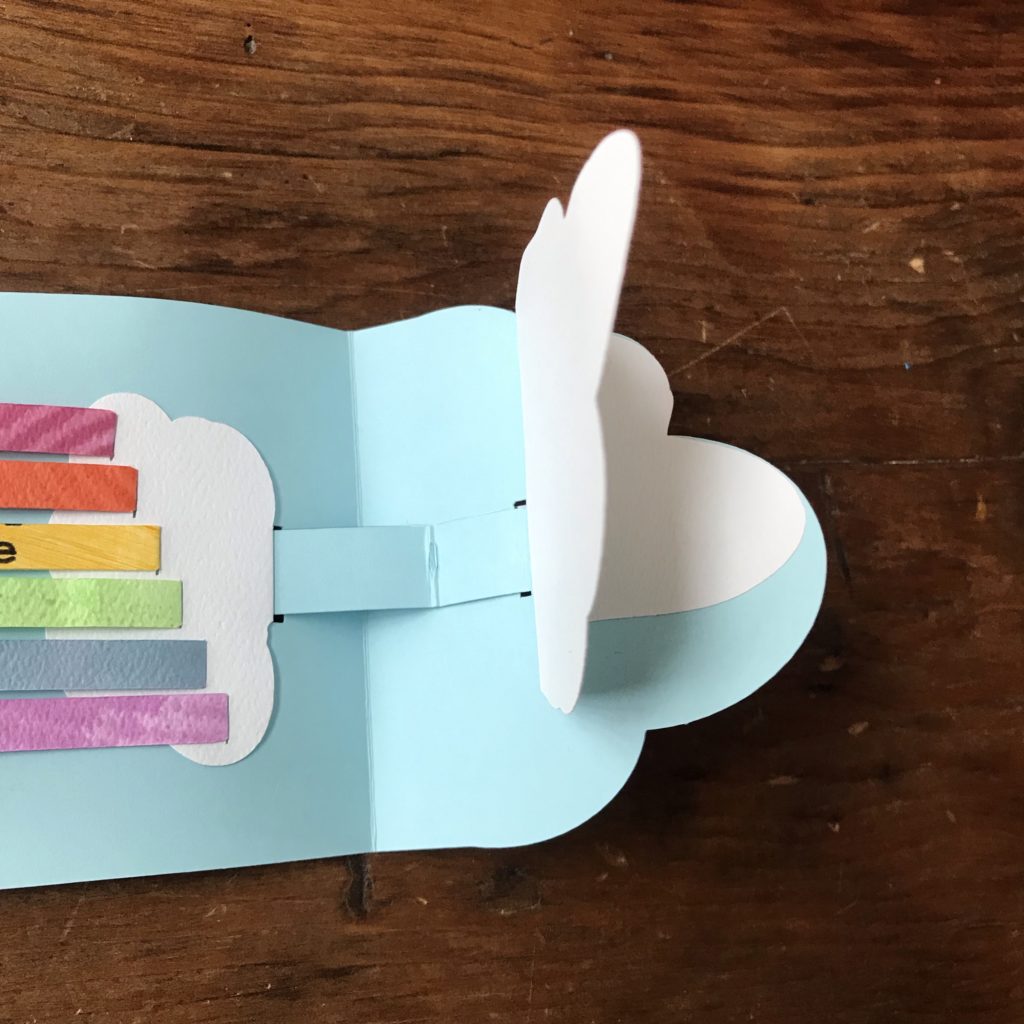
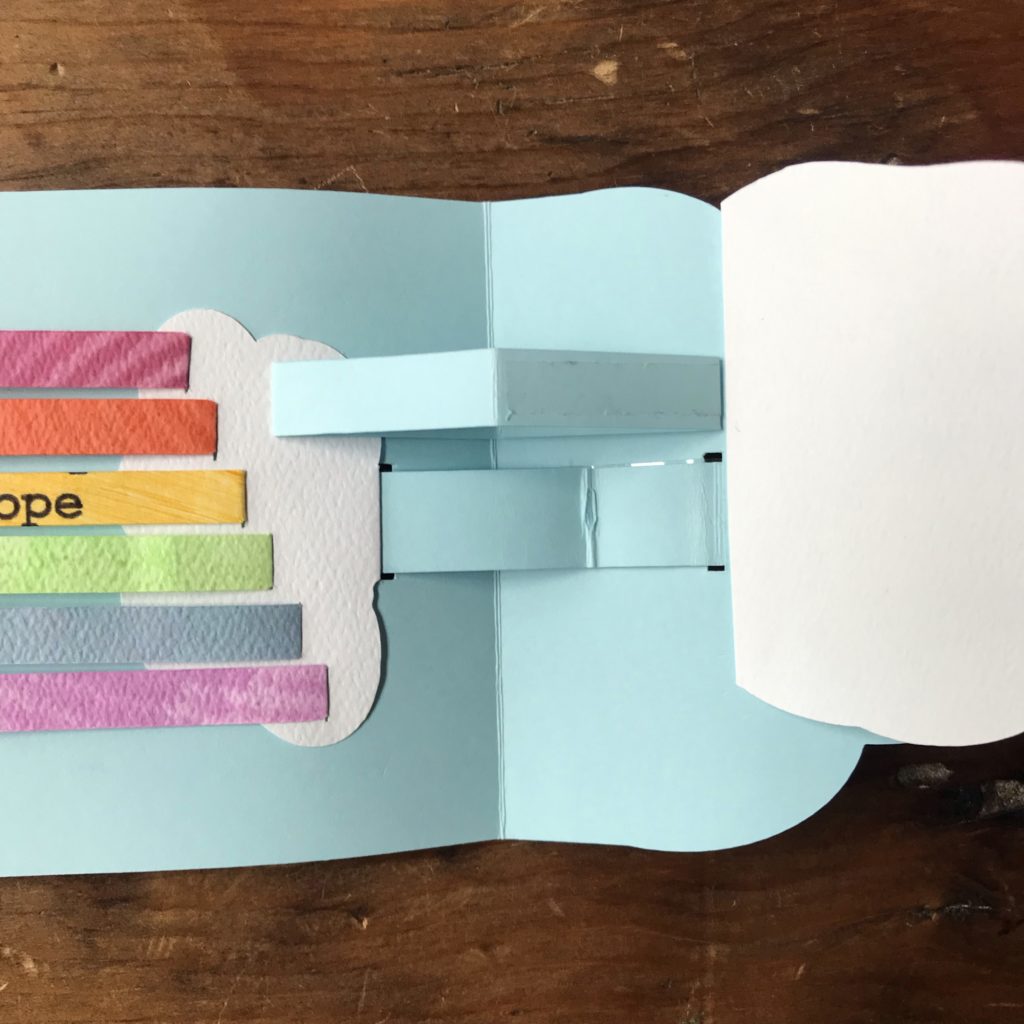
Step 6
Next, bend the Cloud Pop Up piece along its score line. Match up the small side of the Cloud Pop Up with the right side of the Cloud Base and glue the folded side down to the right of the pull tab slot. Take care to keep the fold parallel to the hinge and avoid any overlap of the slot.
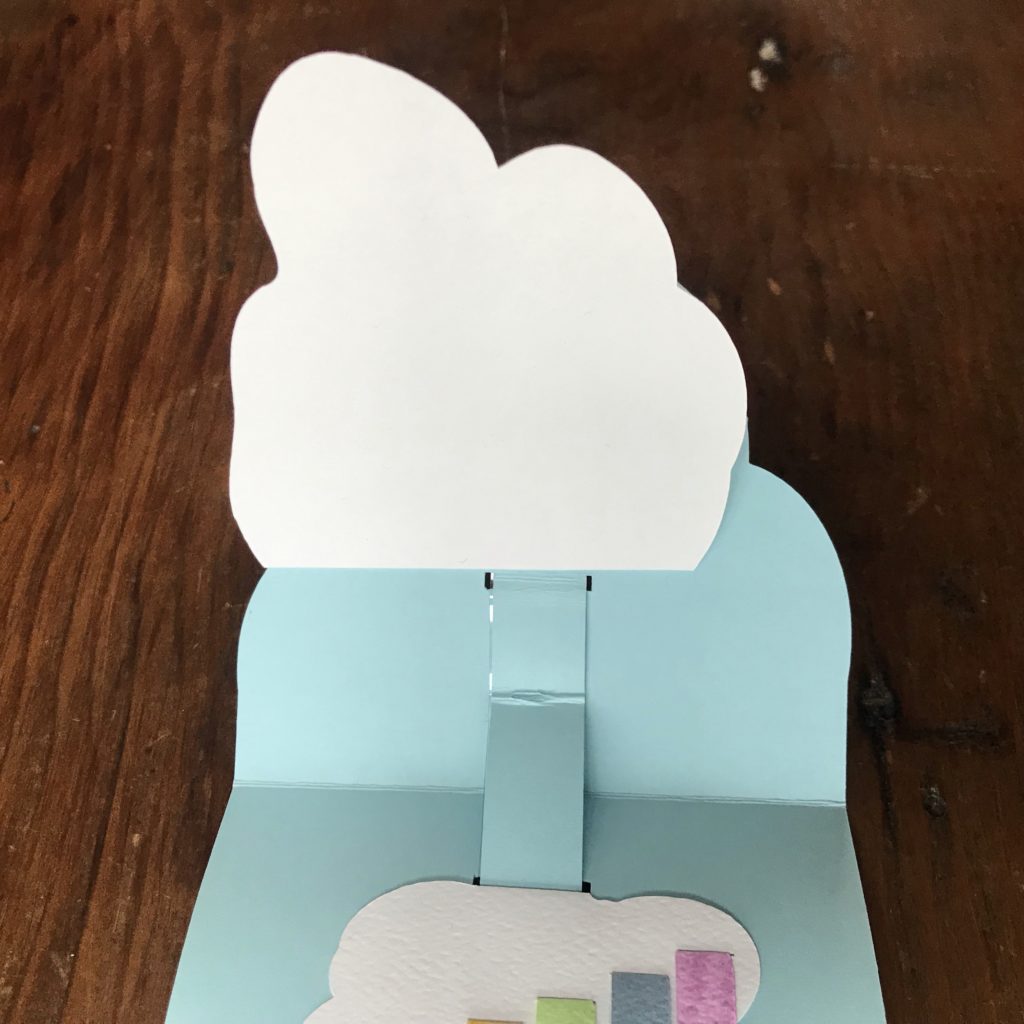

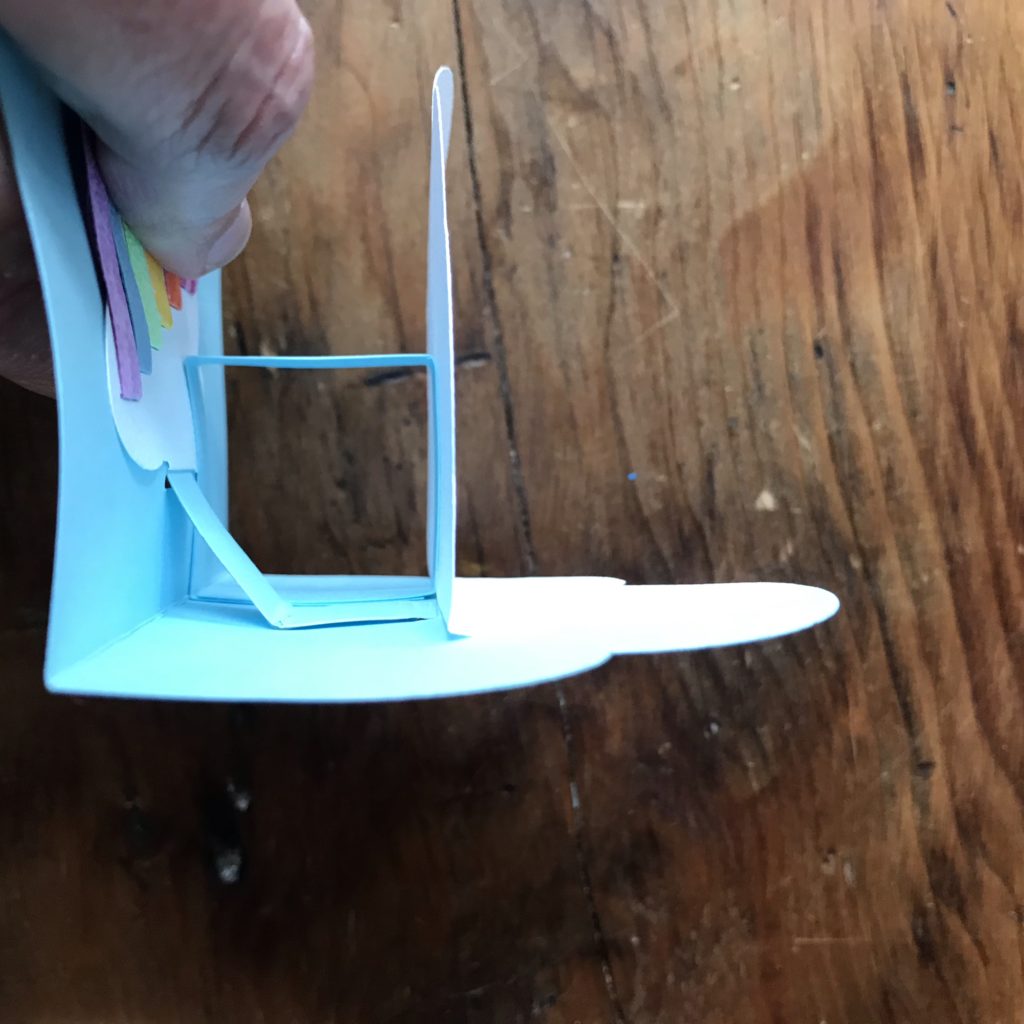
Step 7
In order to support Cloud Pop Up (and hide the pull tab mechanism), you’ll be adding a Cloud Support Strip parallel to the Pull Tab, straddling both sides of the cover hinge.
Before putting the piece in place, add tape to three sides of the Cloud Support Strip. One side will adhere to the Cloud Pop Up and two will adhere to the Cloud Base.
Step 8
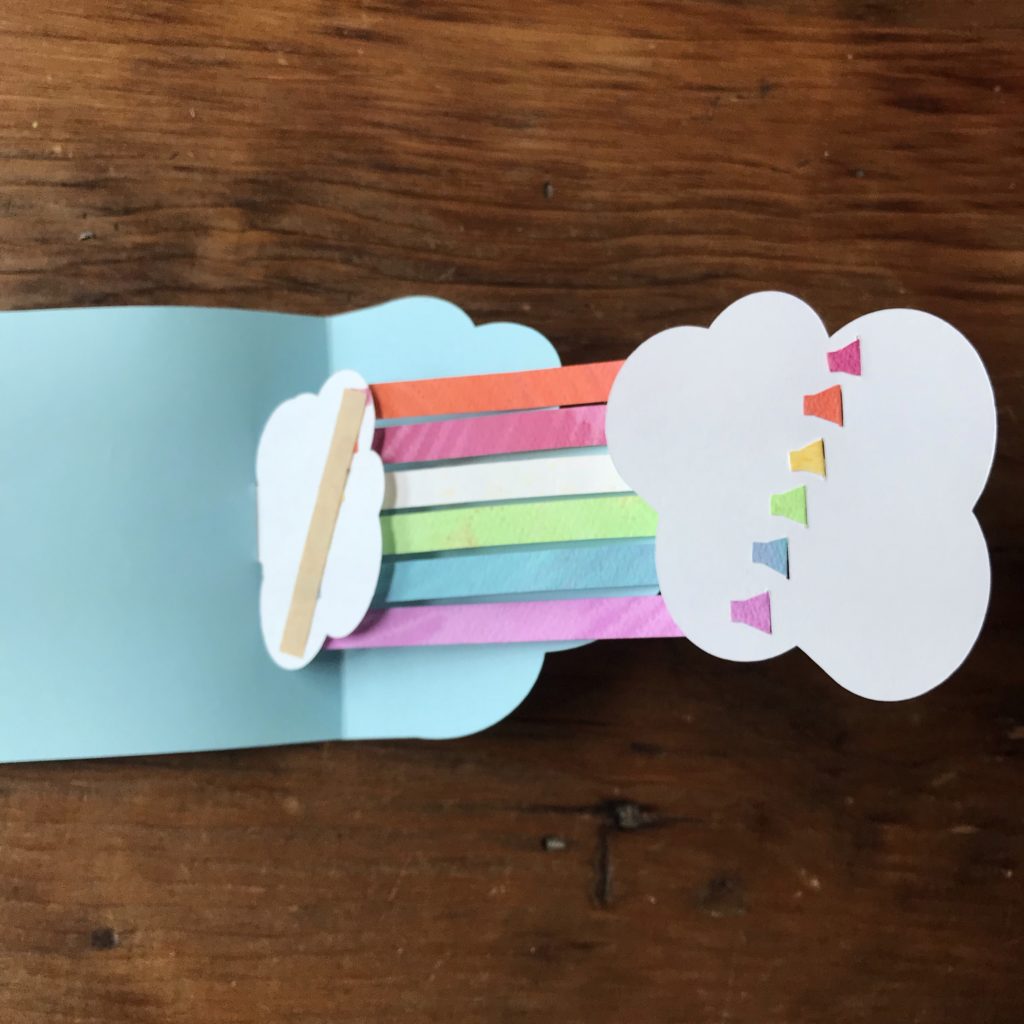
With the rainbow in a flat position, attach the underside of the loose Slotted Cloud to the free end of the pull tab with a piece of double sided tape. Now, when you open and close the card, the cloud should push the rainbow stripes into a dome shape.
Step 9
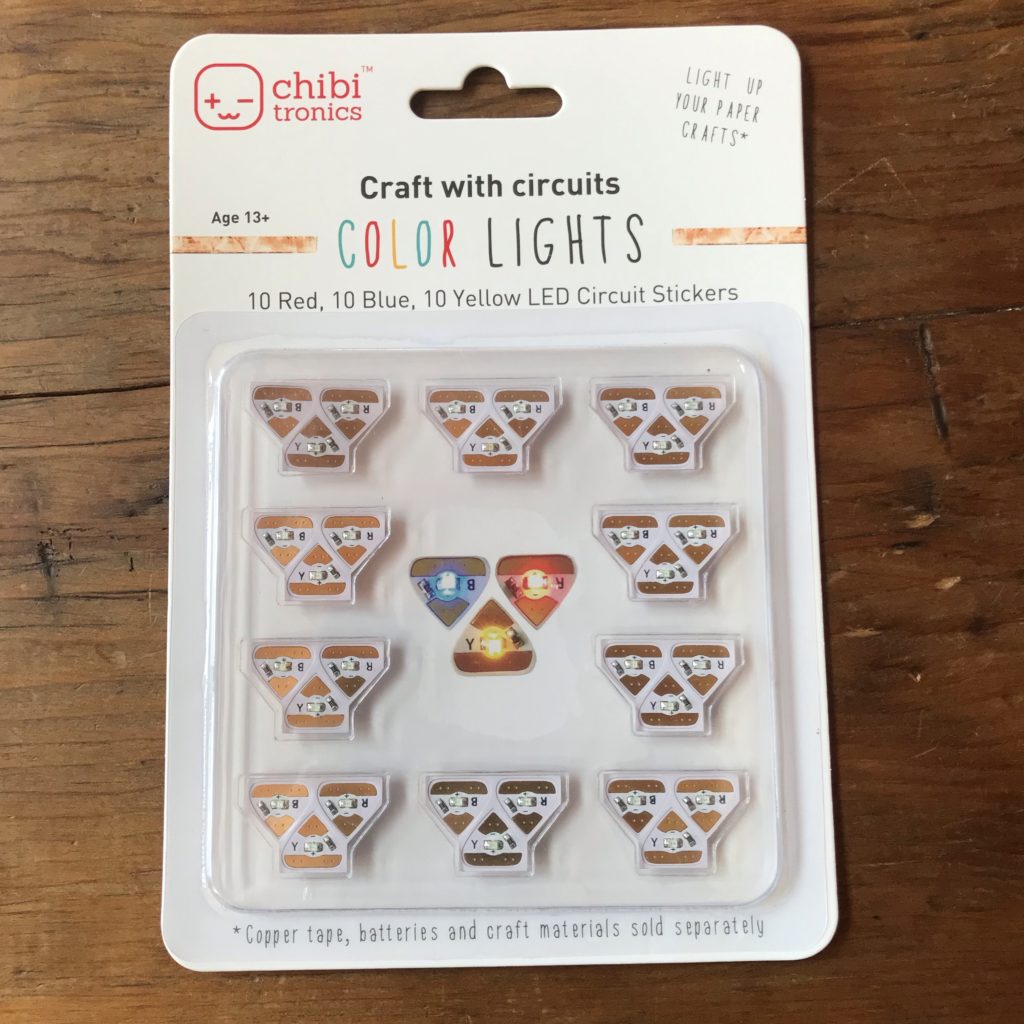
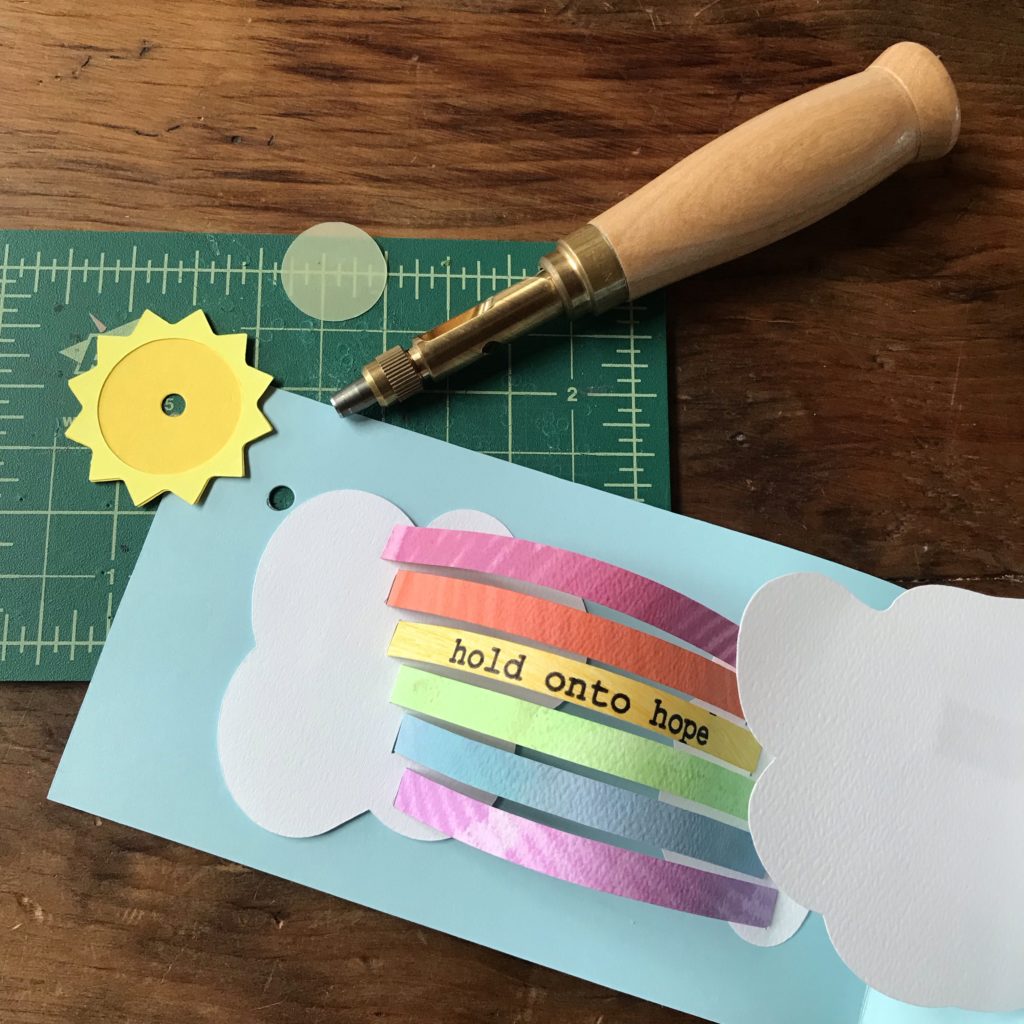
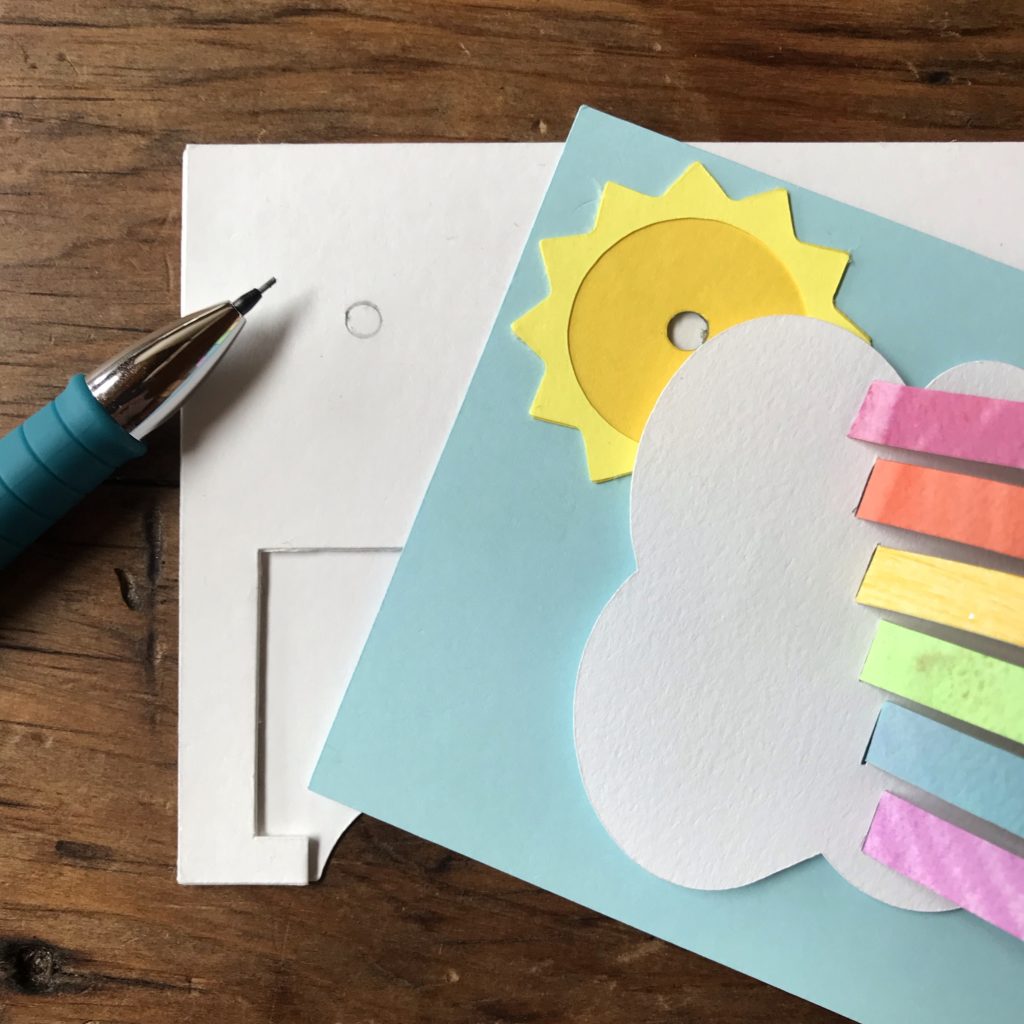
Determine where you want your sun piece to go. Test its location when the card is both opened and closed, in order to ensure that the LED will be viewable as the card opens. Mark the placement of the LED onto the Circuit Layer and use a Japanese Screw Punch to make a hole for the light to shine through.
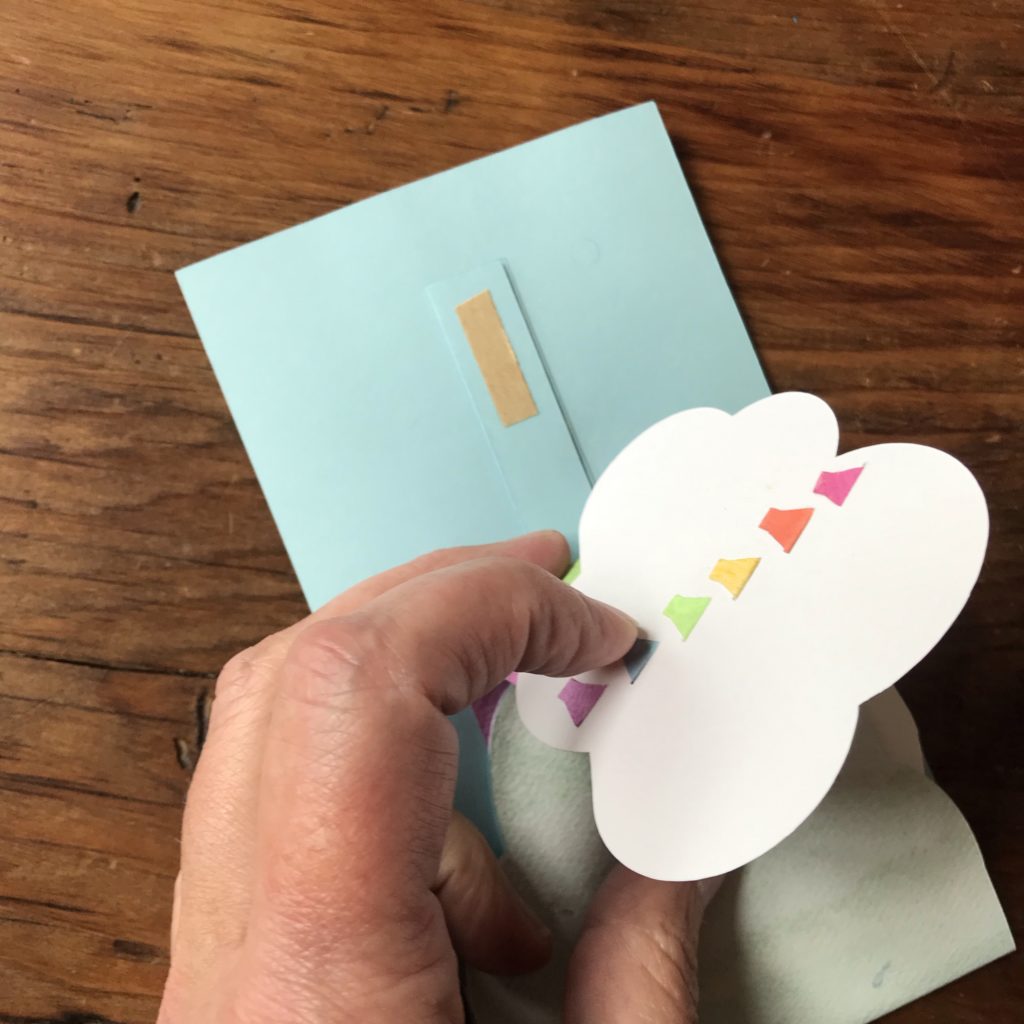
Step 10
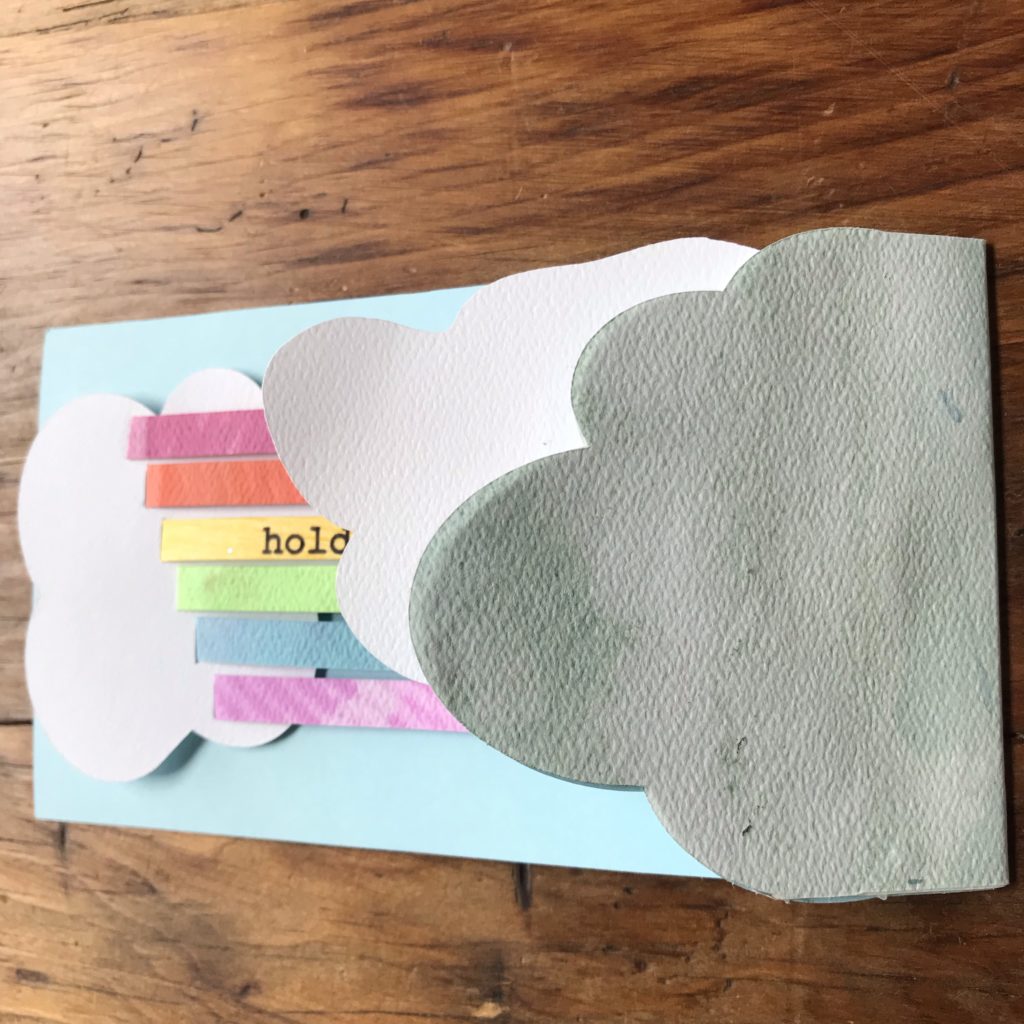
Use a glue stick to add the decorative cloud piece to the front of the card to cover the taped end of the Pull Tab.
Step 11
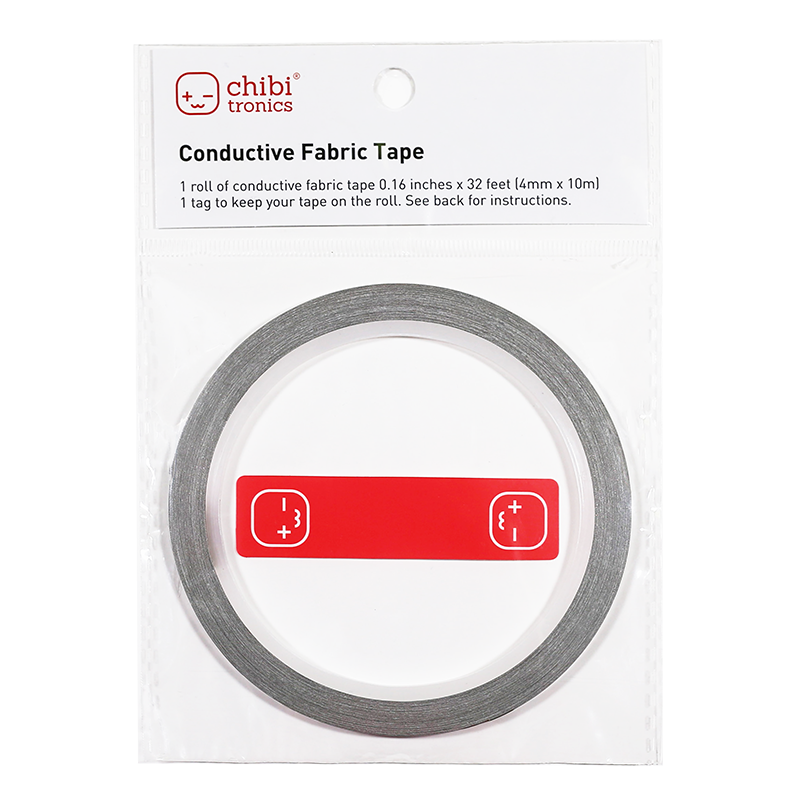
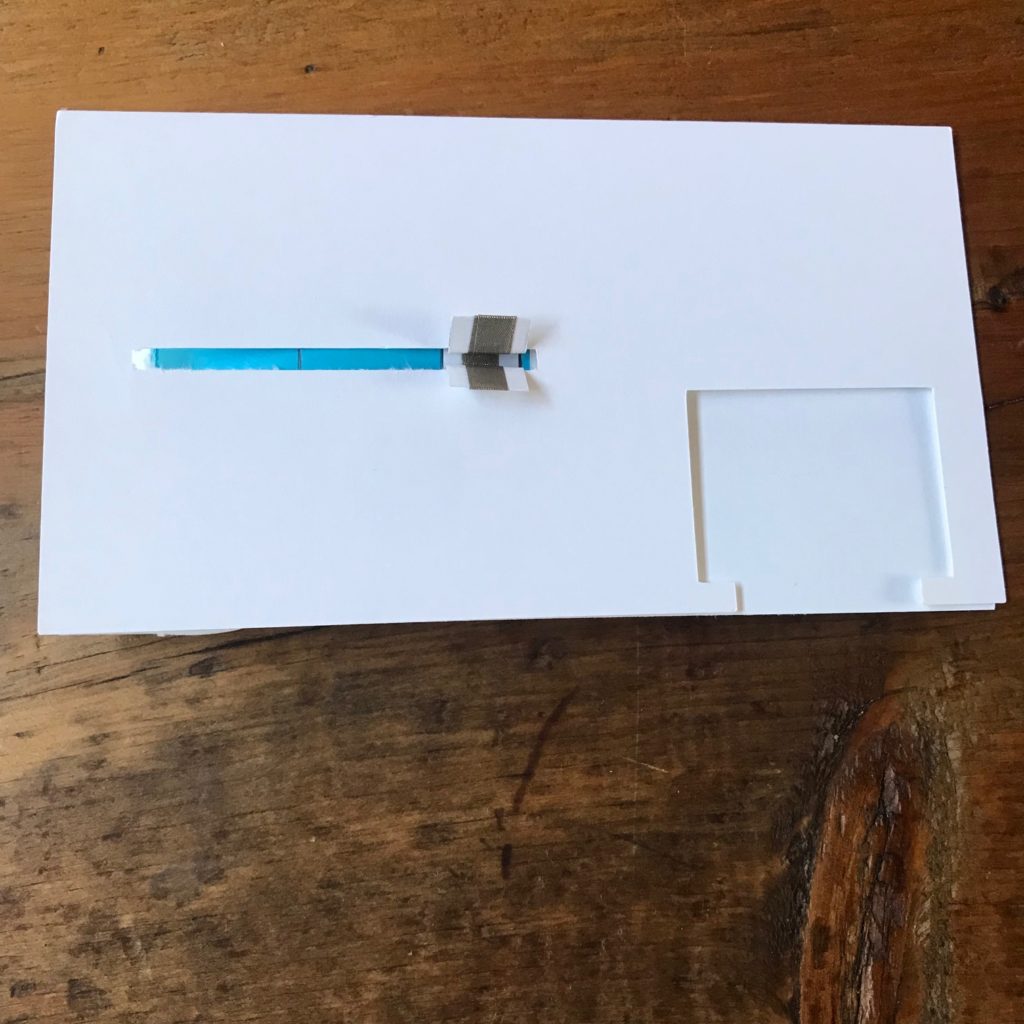
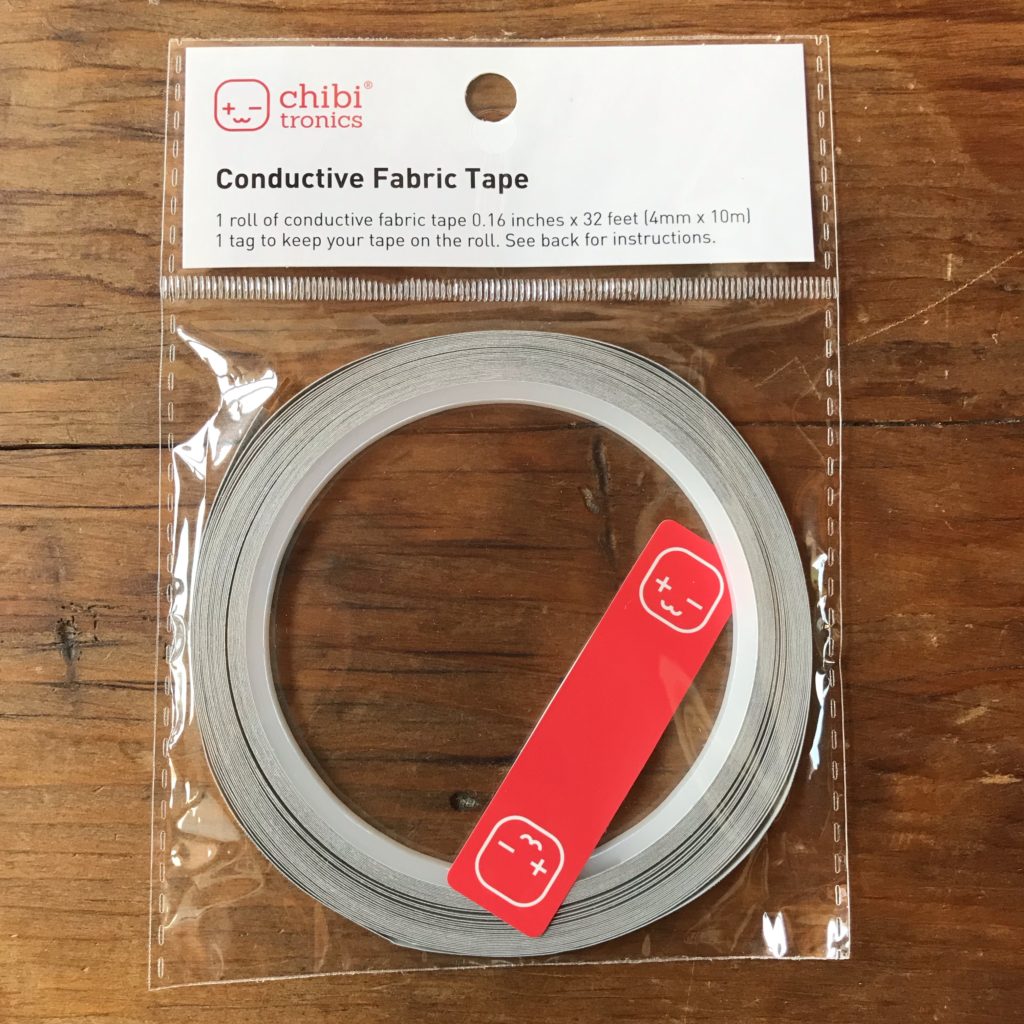
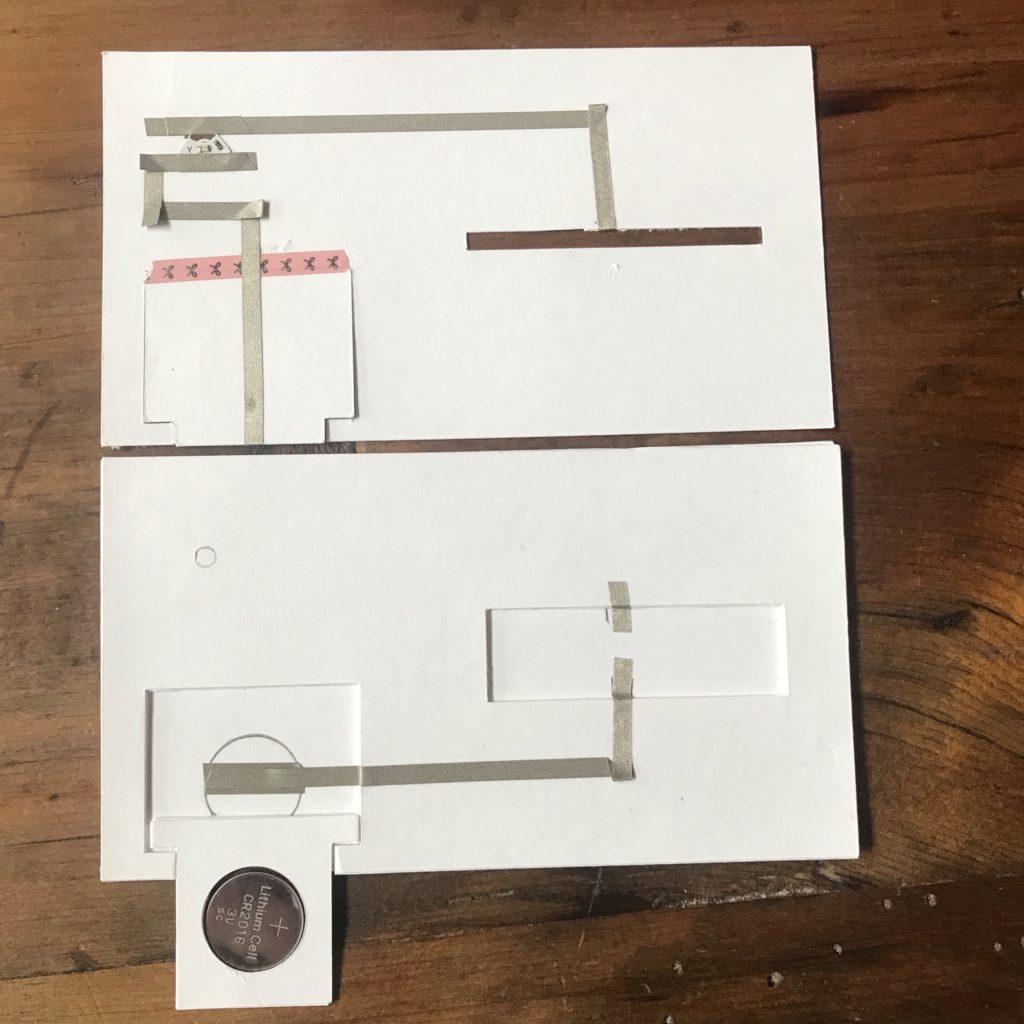
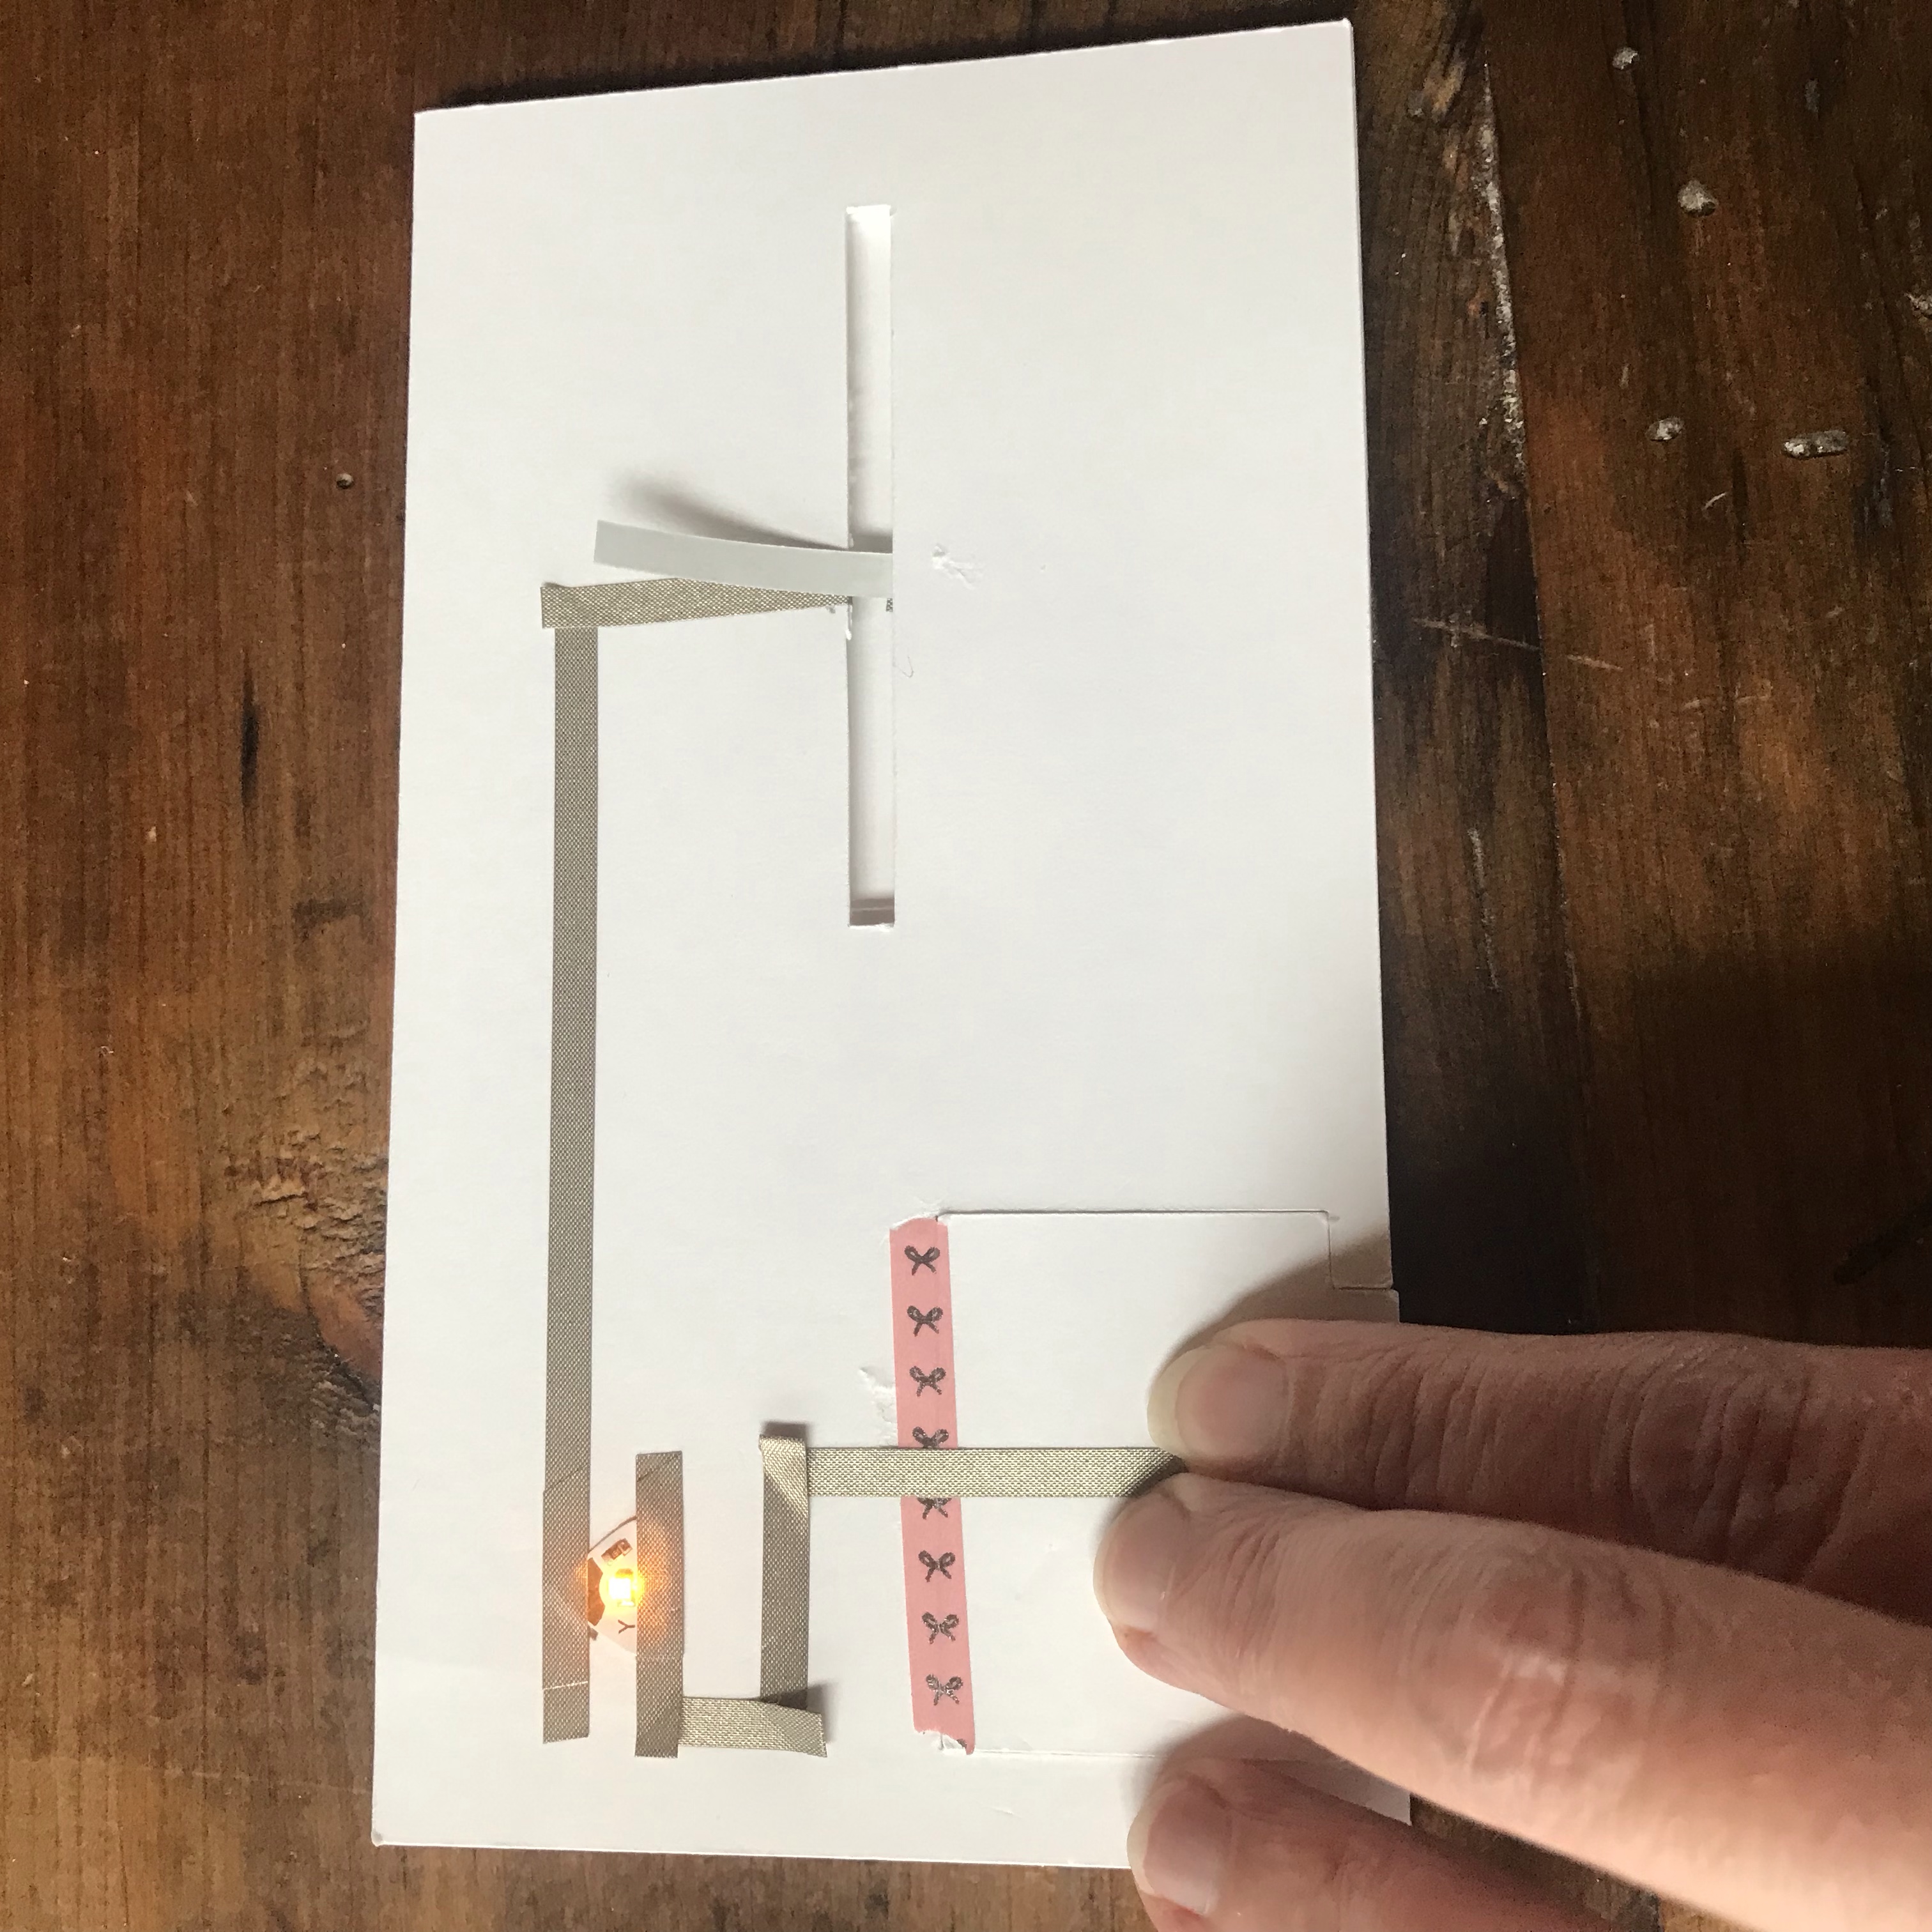
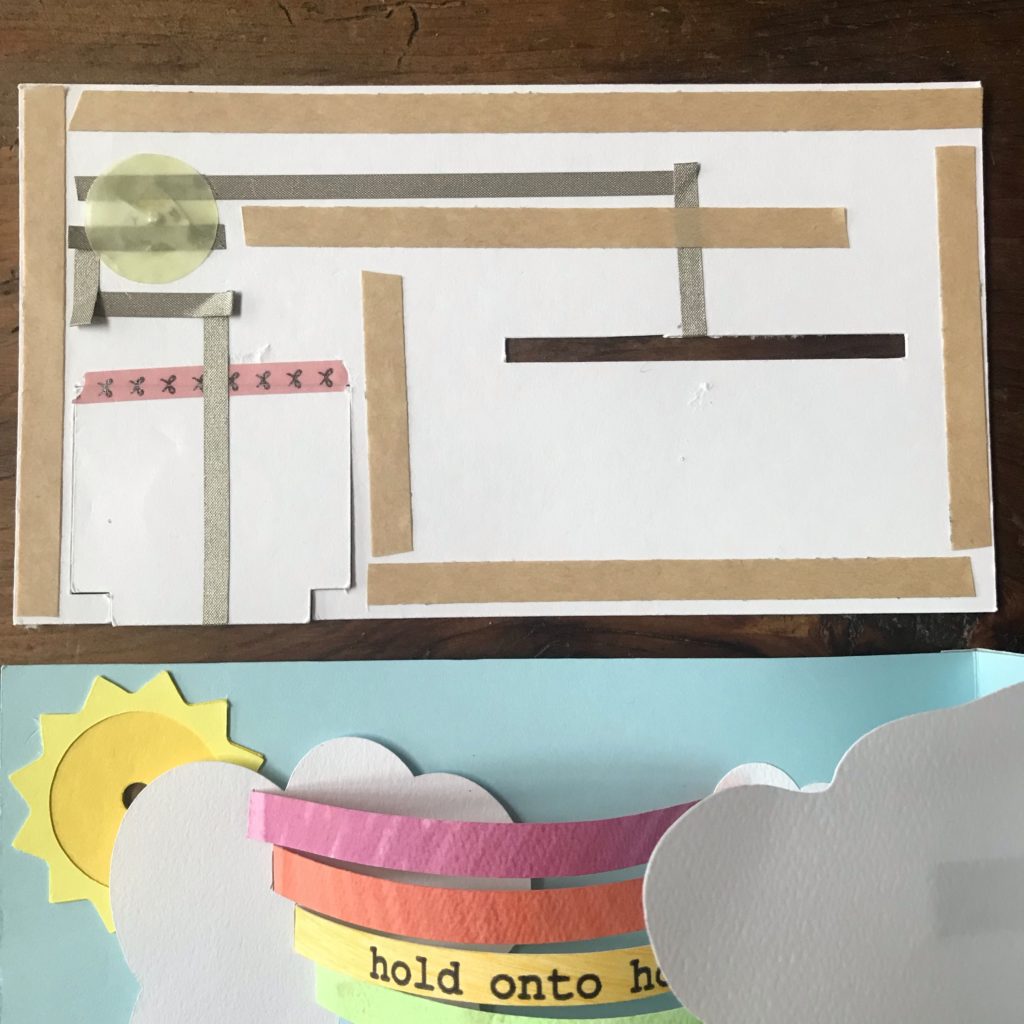
Use the Circuit Diagram as a guide to lay Conductive Fabric Tape traces onto the Circuit Layer and Slider Layer.
Step 12
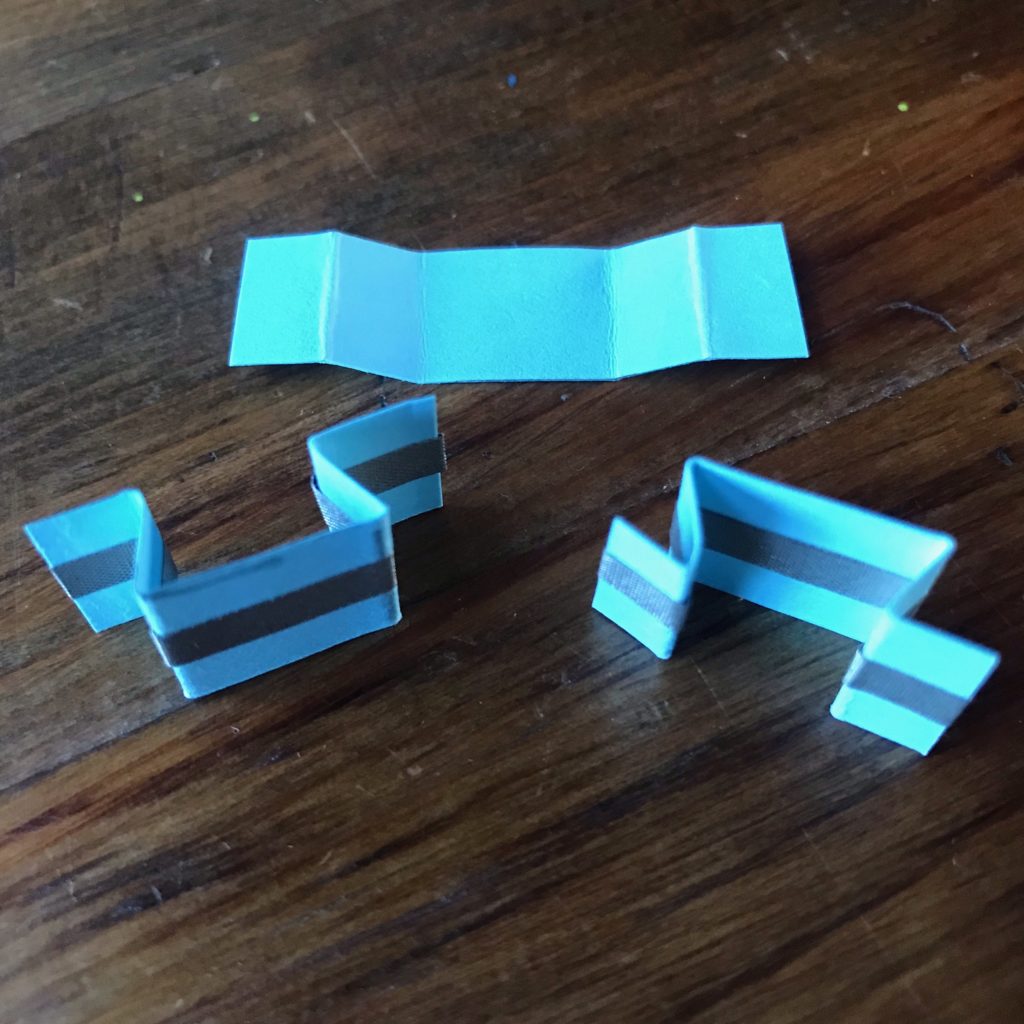
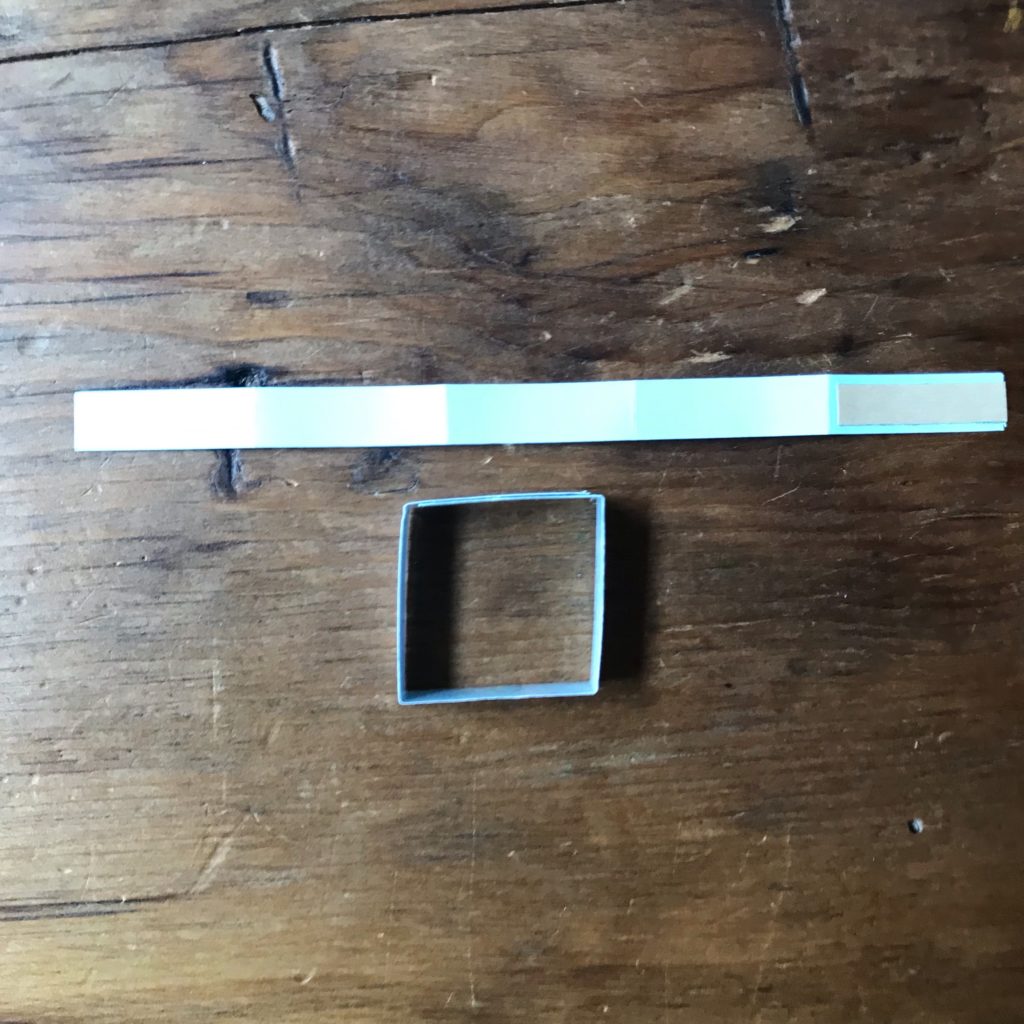
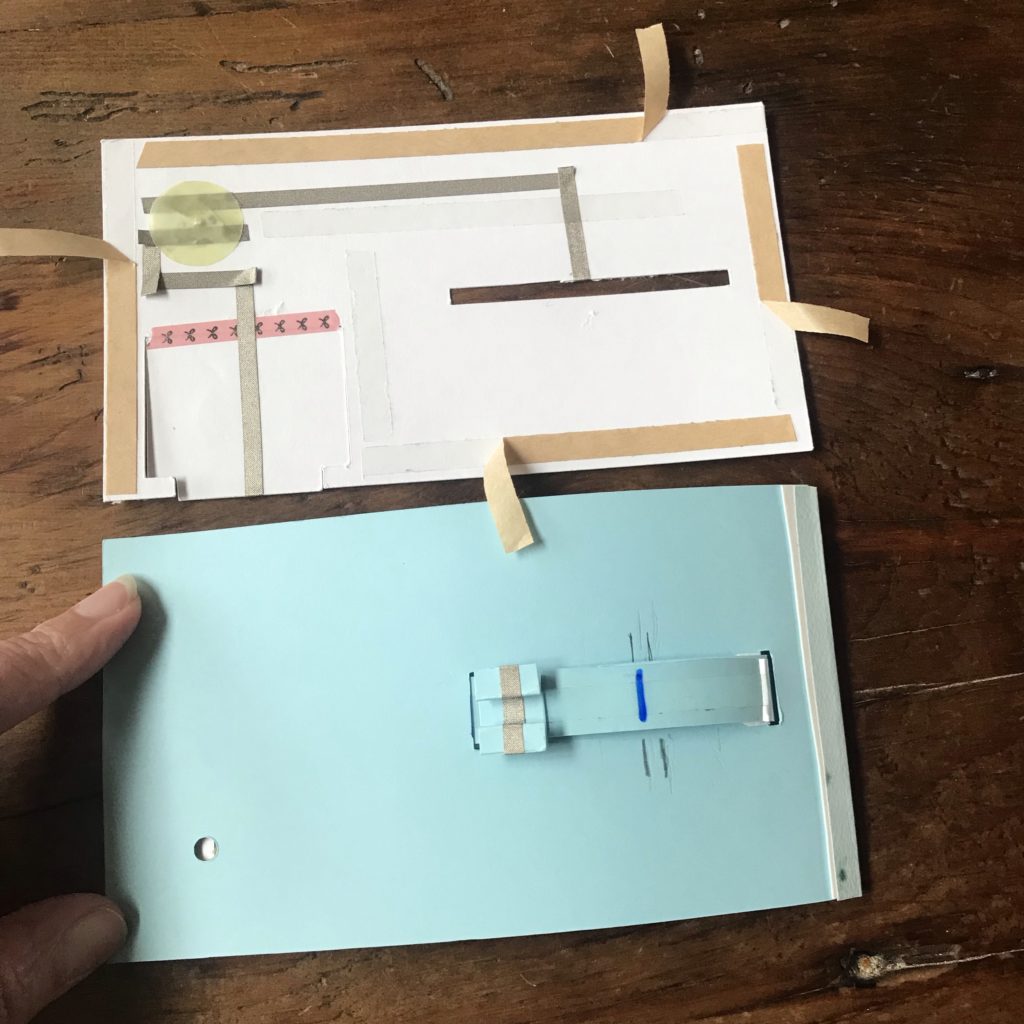
Make your switch piece.
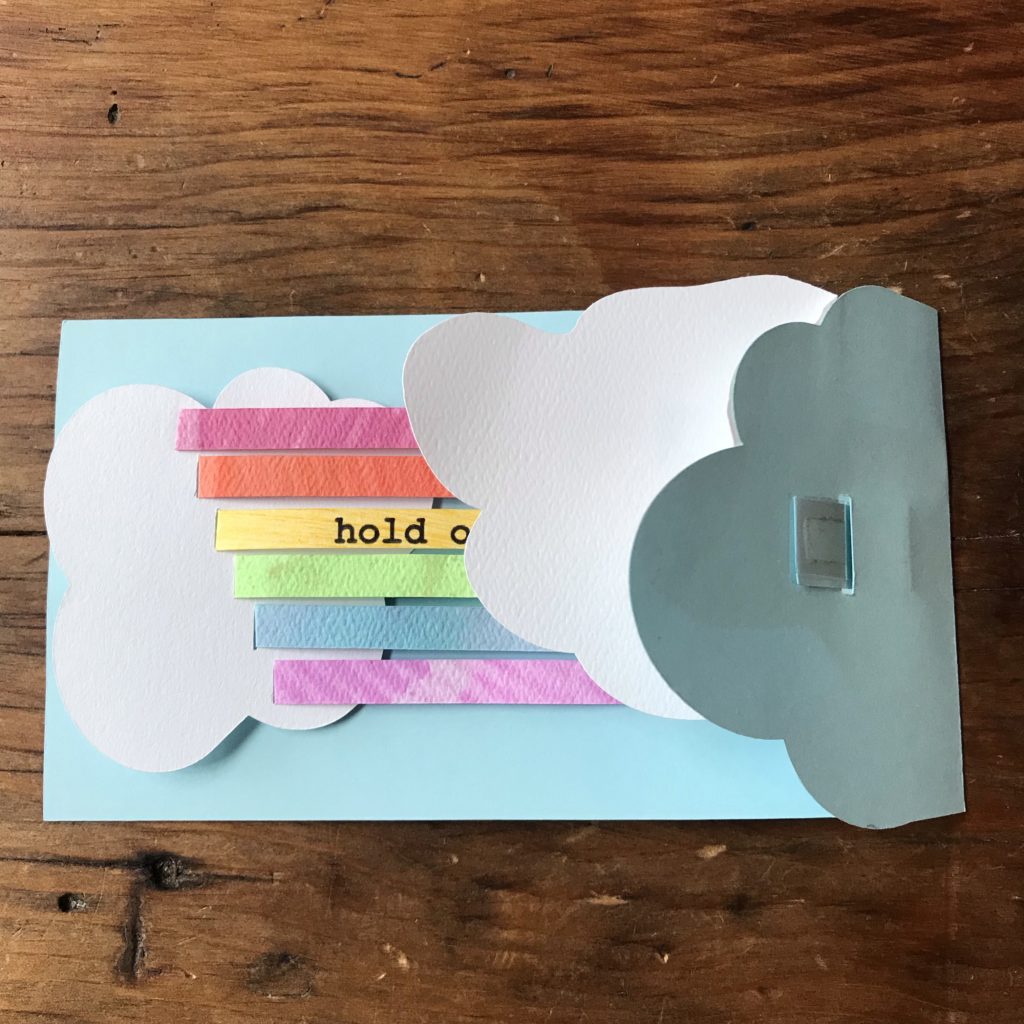
Step 13
Add your switch piece to the backside of your card, so that when your card is open, the switch will move from one end of the slot to almost the center of the card. (You don’t need to mark your card; the marks are for demonstration purposes). When positioned near the center of the pull tab, the switch piece will close the circuit, and the LED will turn on as it comes into contact with the layer below. The circuit will open again, and the LED will turn off, when the switch slides back to the edge of the slot.
Step 14
Test your circuit to ensure that the LED is in the correct spot before pulling the bottom of the switch through the Slider Layer and taping the card pieces together. If desired, add a vellum scrap to diffuse the light from the LED.
Tips, Tricks & Call-outs
If you discover that the pull tab under the big slotted cloud gets snagged on your sun piece, you can either remove and rotate your sun piece or add a piece of paper under the cloud.
This project uses a mechanism similar to one found in the paper engineering reference guide, The Elements of Pop Ups. To learn more about the specific mechanism that has been adapted in this design, see Figure 16, the 180° Arch with a Tube Strap.
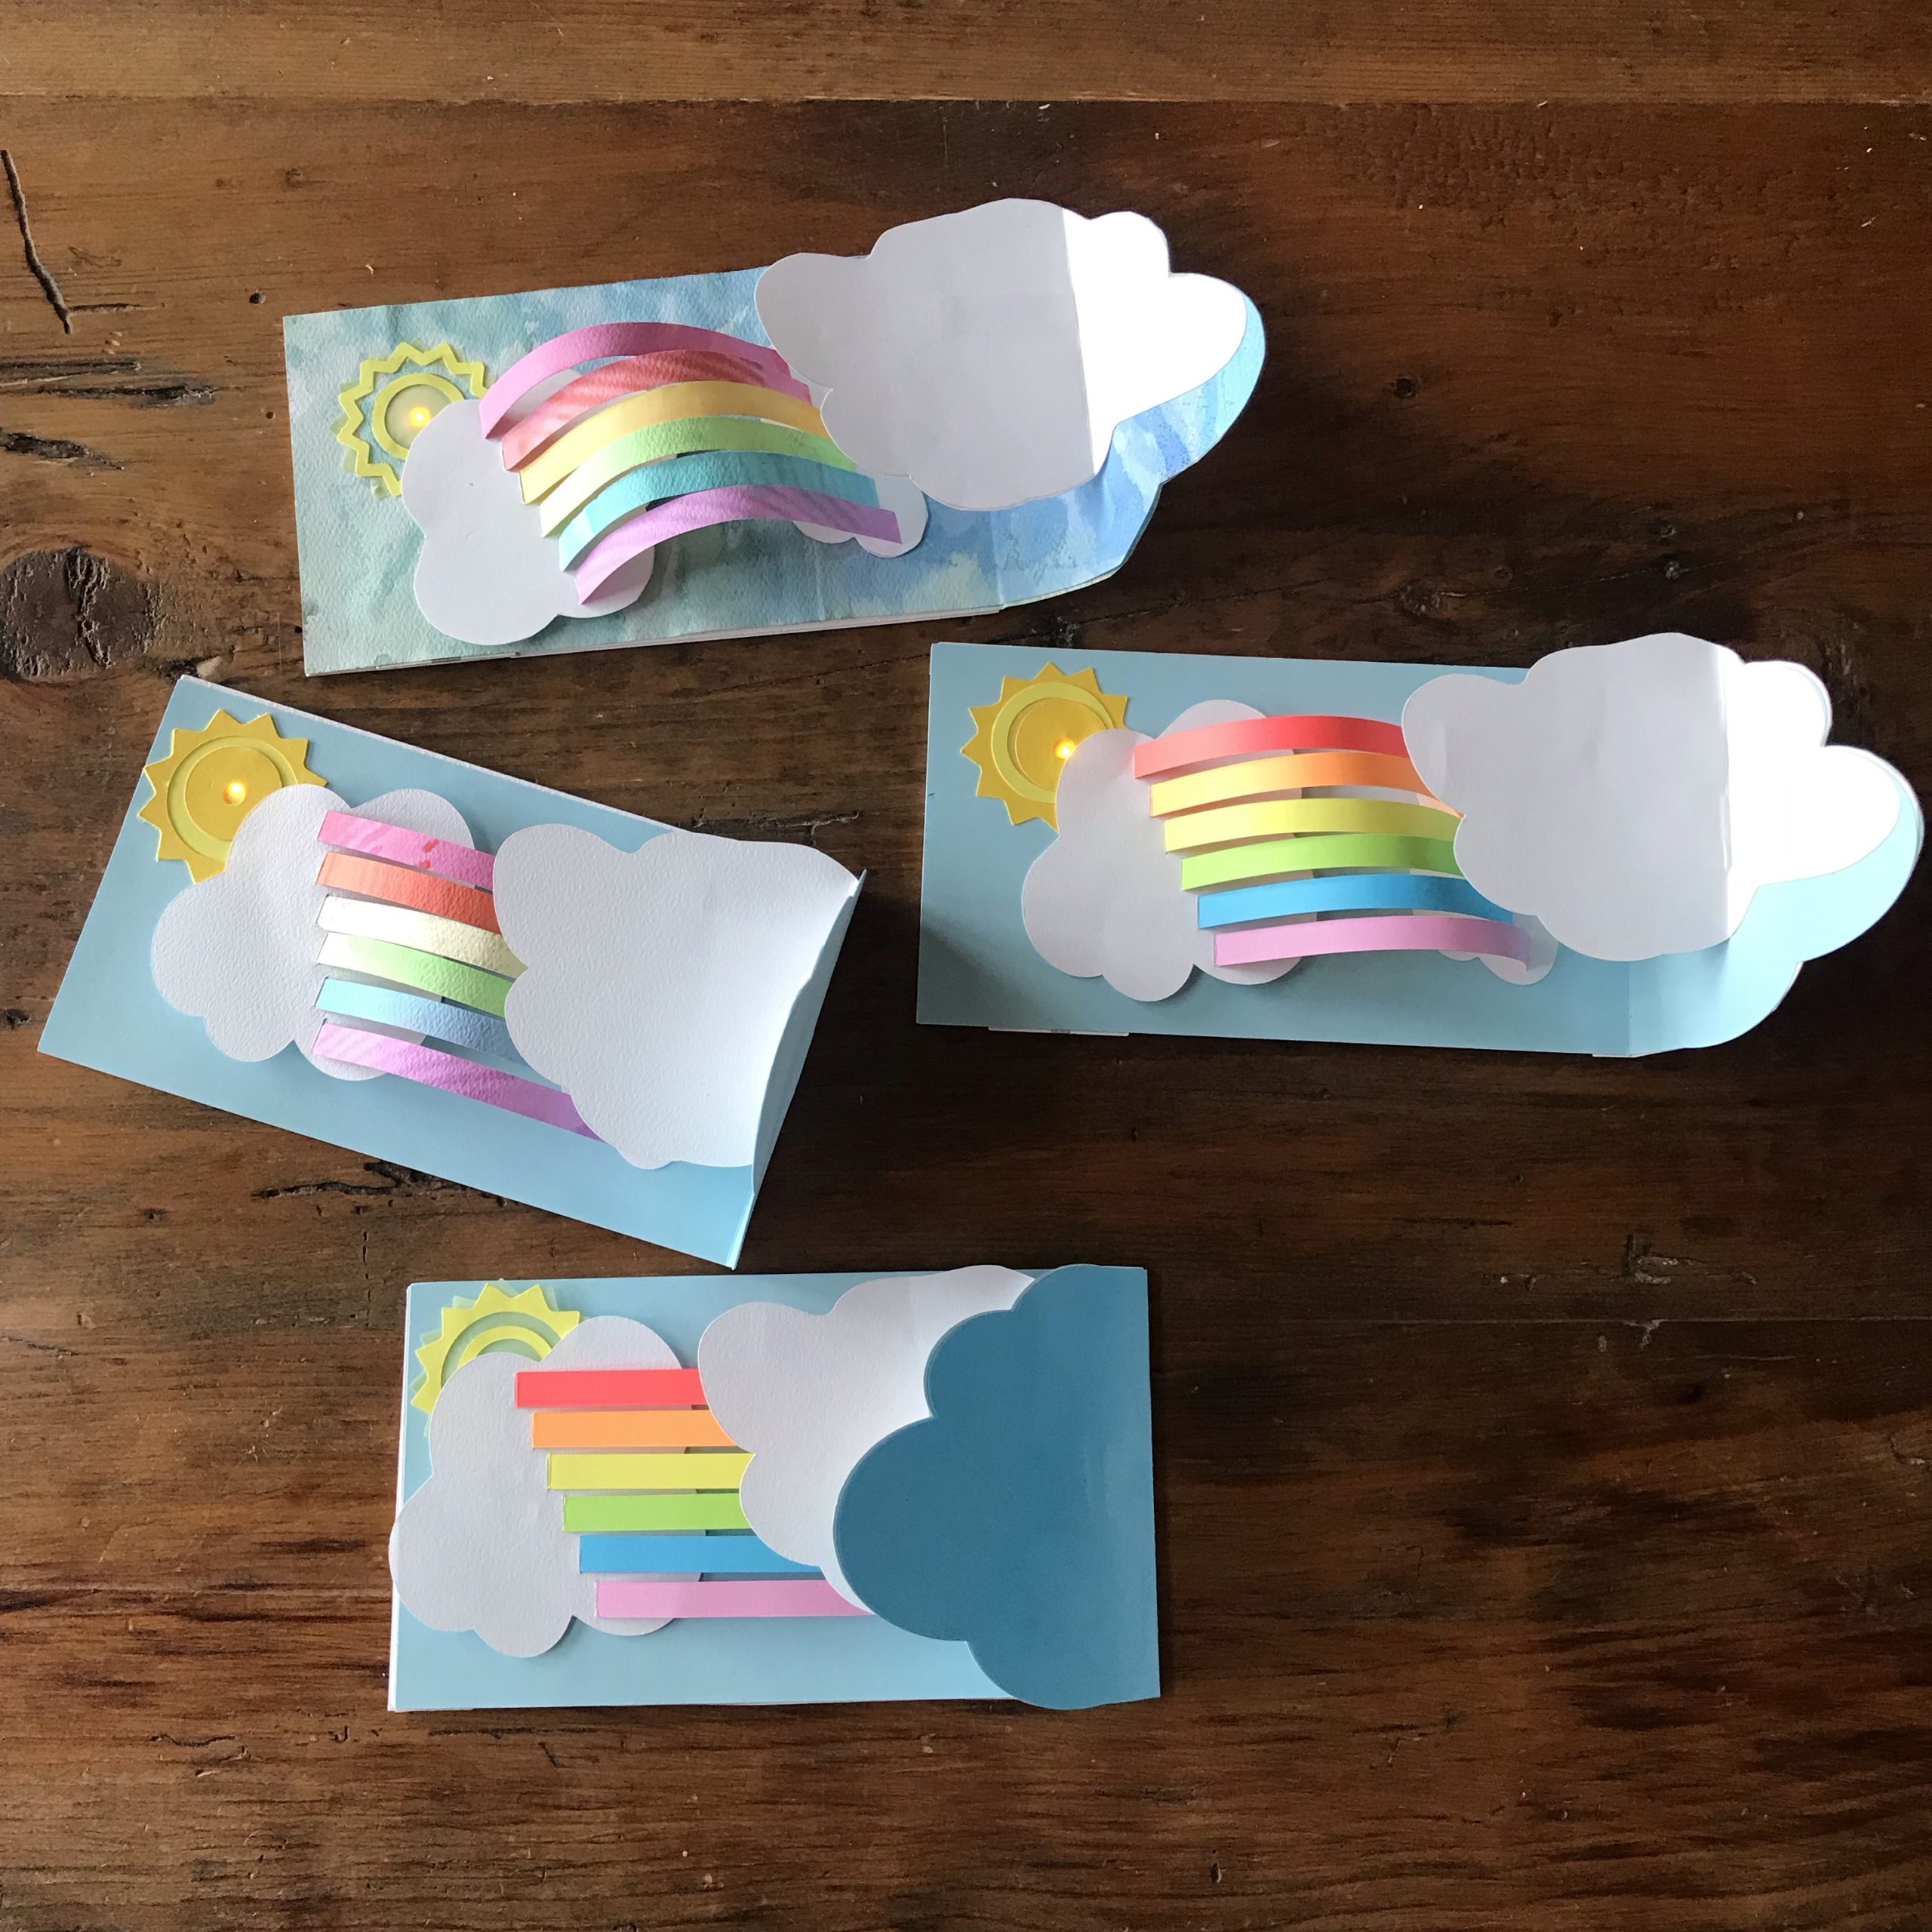
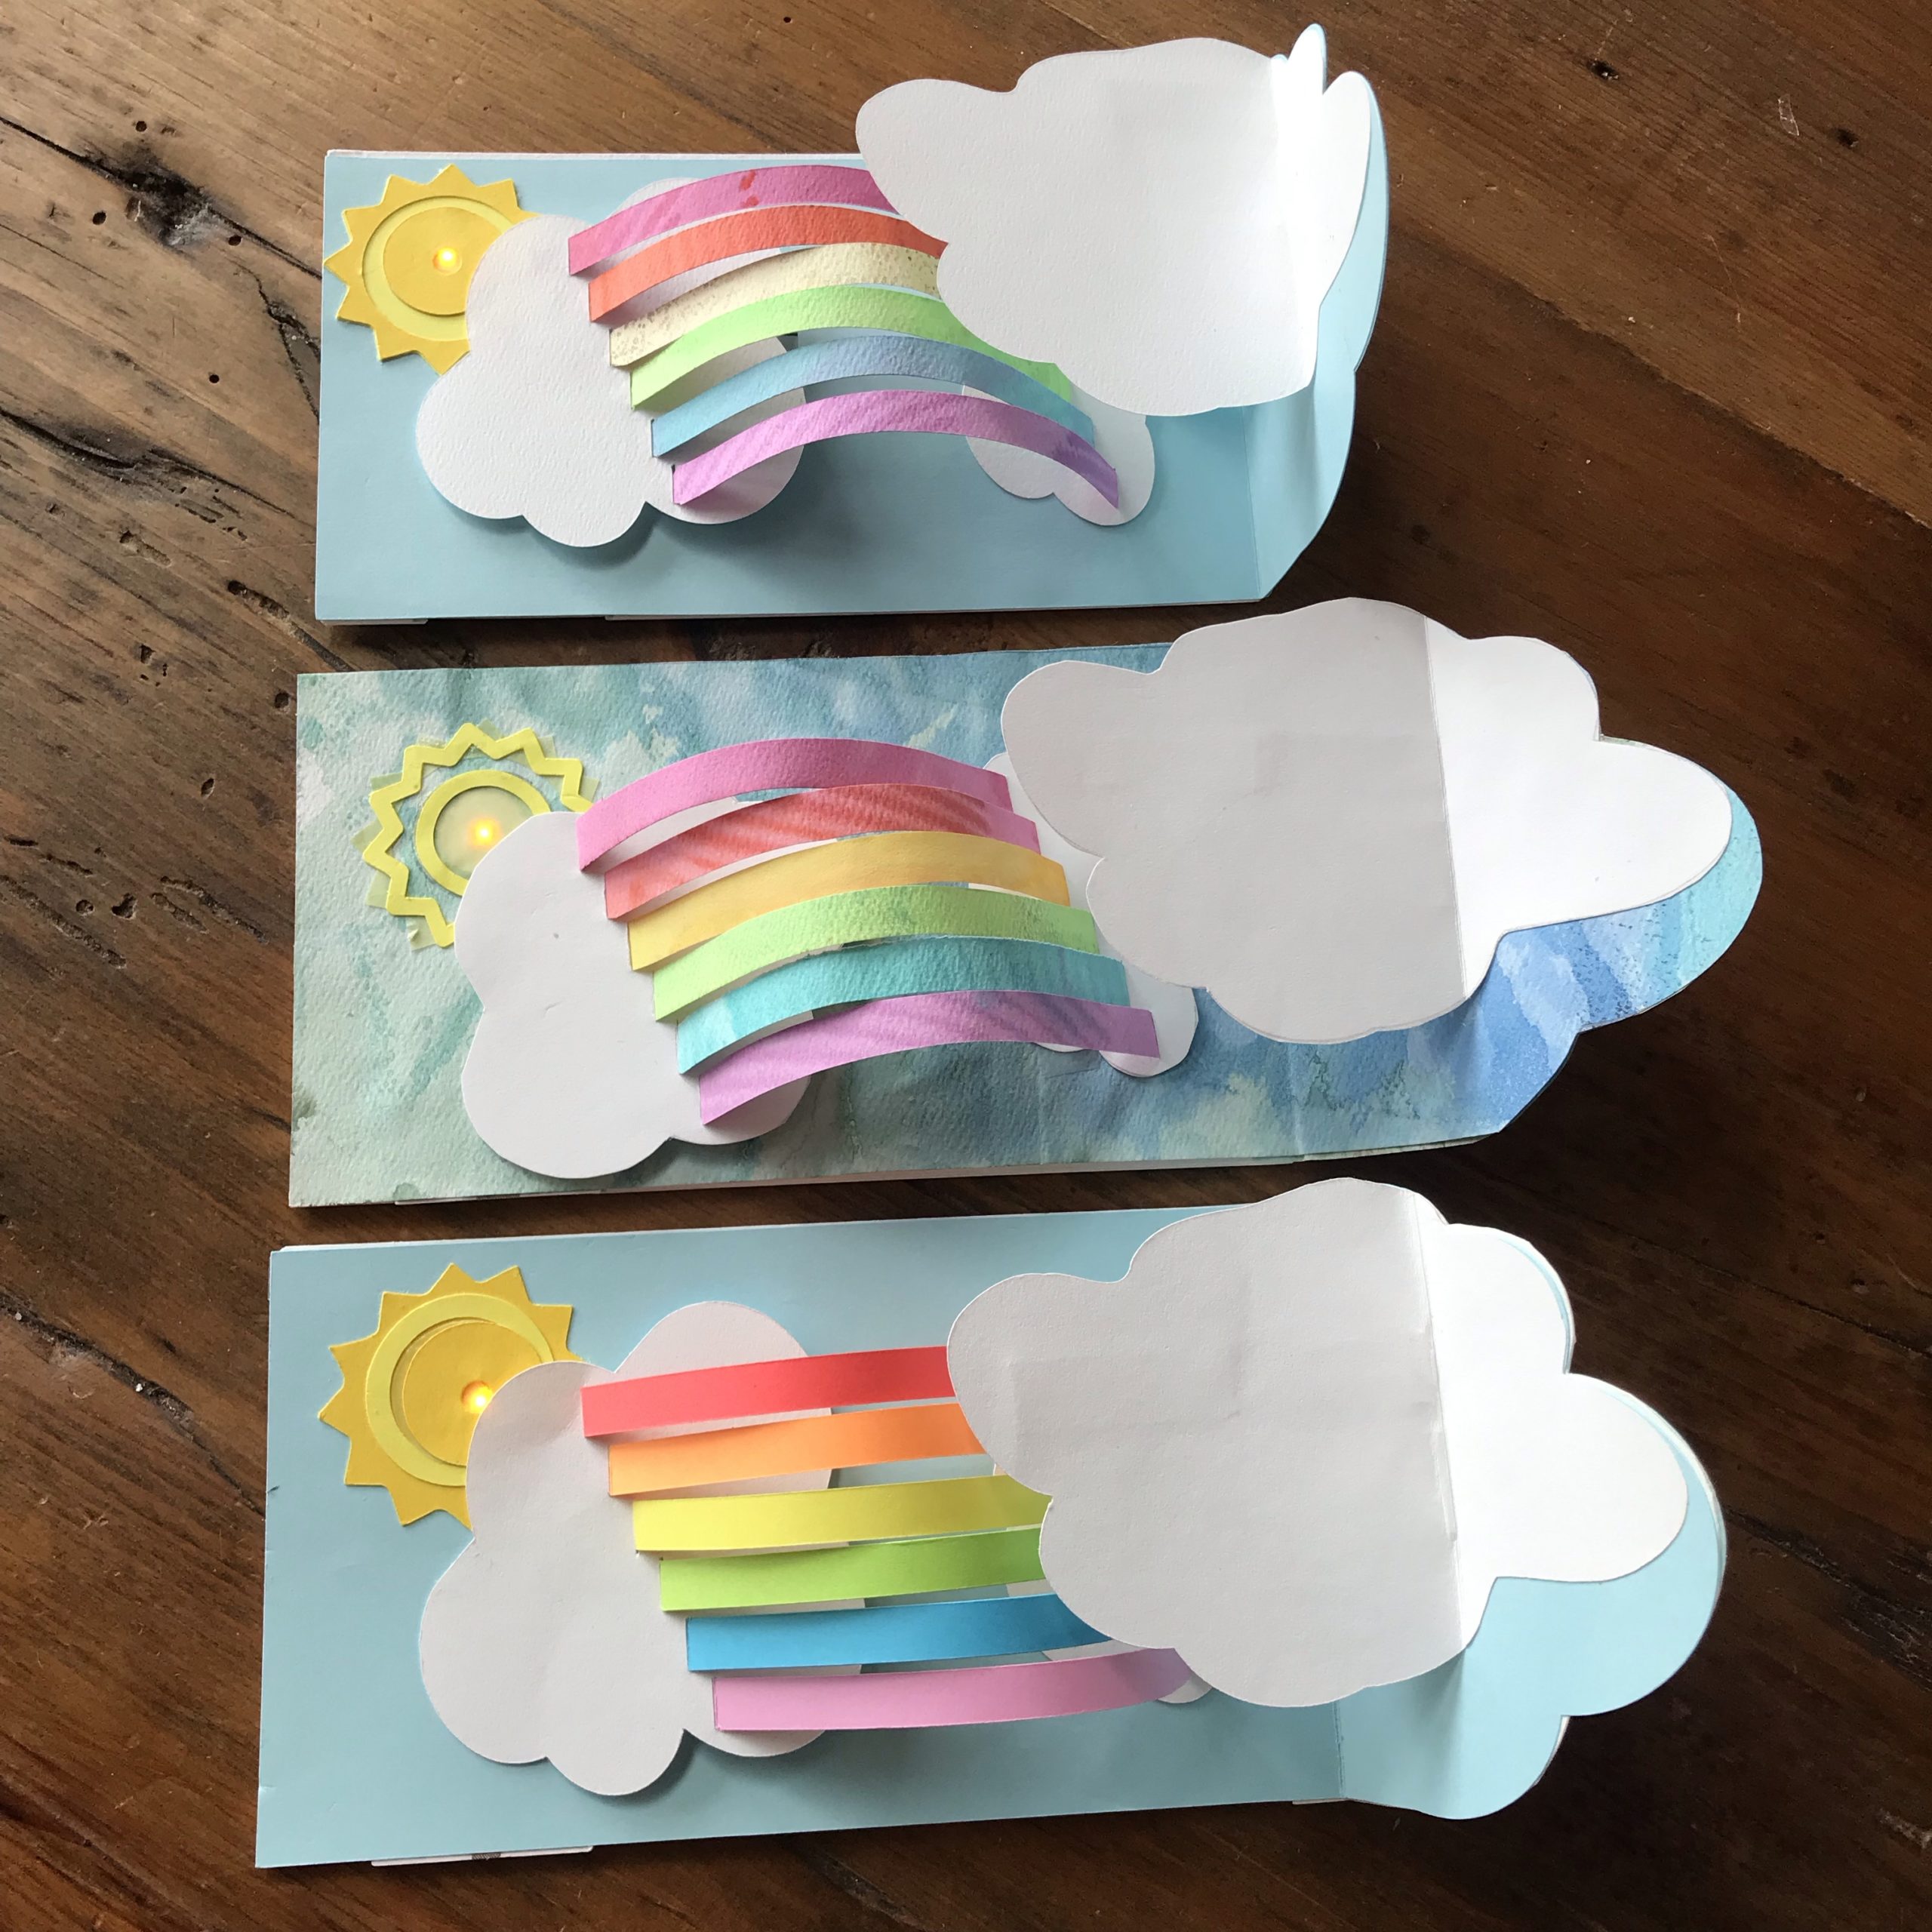
Gallery
Similar Posts You Might Enjoy
Pop Up Backpack

See how Yukiko Inami combines a pop up lever with a pull tab switch to light up an interactive backpack!
Shadow Boxes
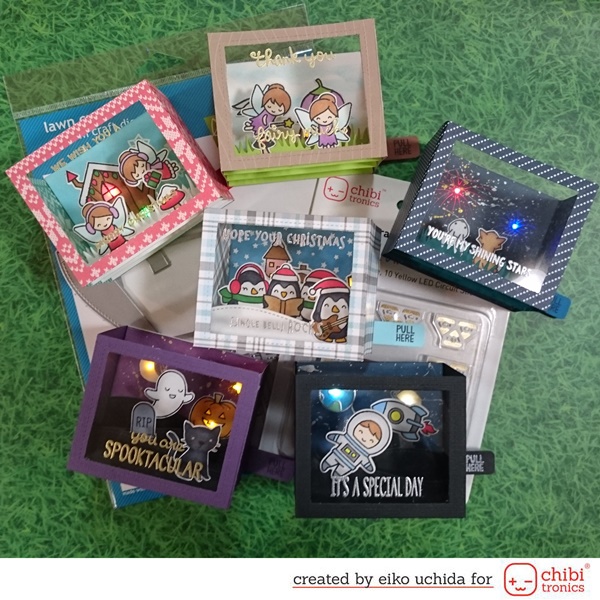
See how Eiko Uchida uses a version of the extended pull tab design to bring shadow boxes to life.
Volcano
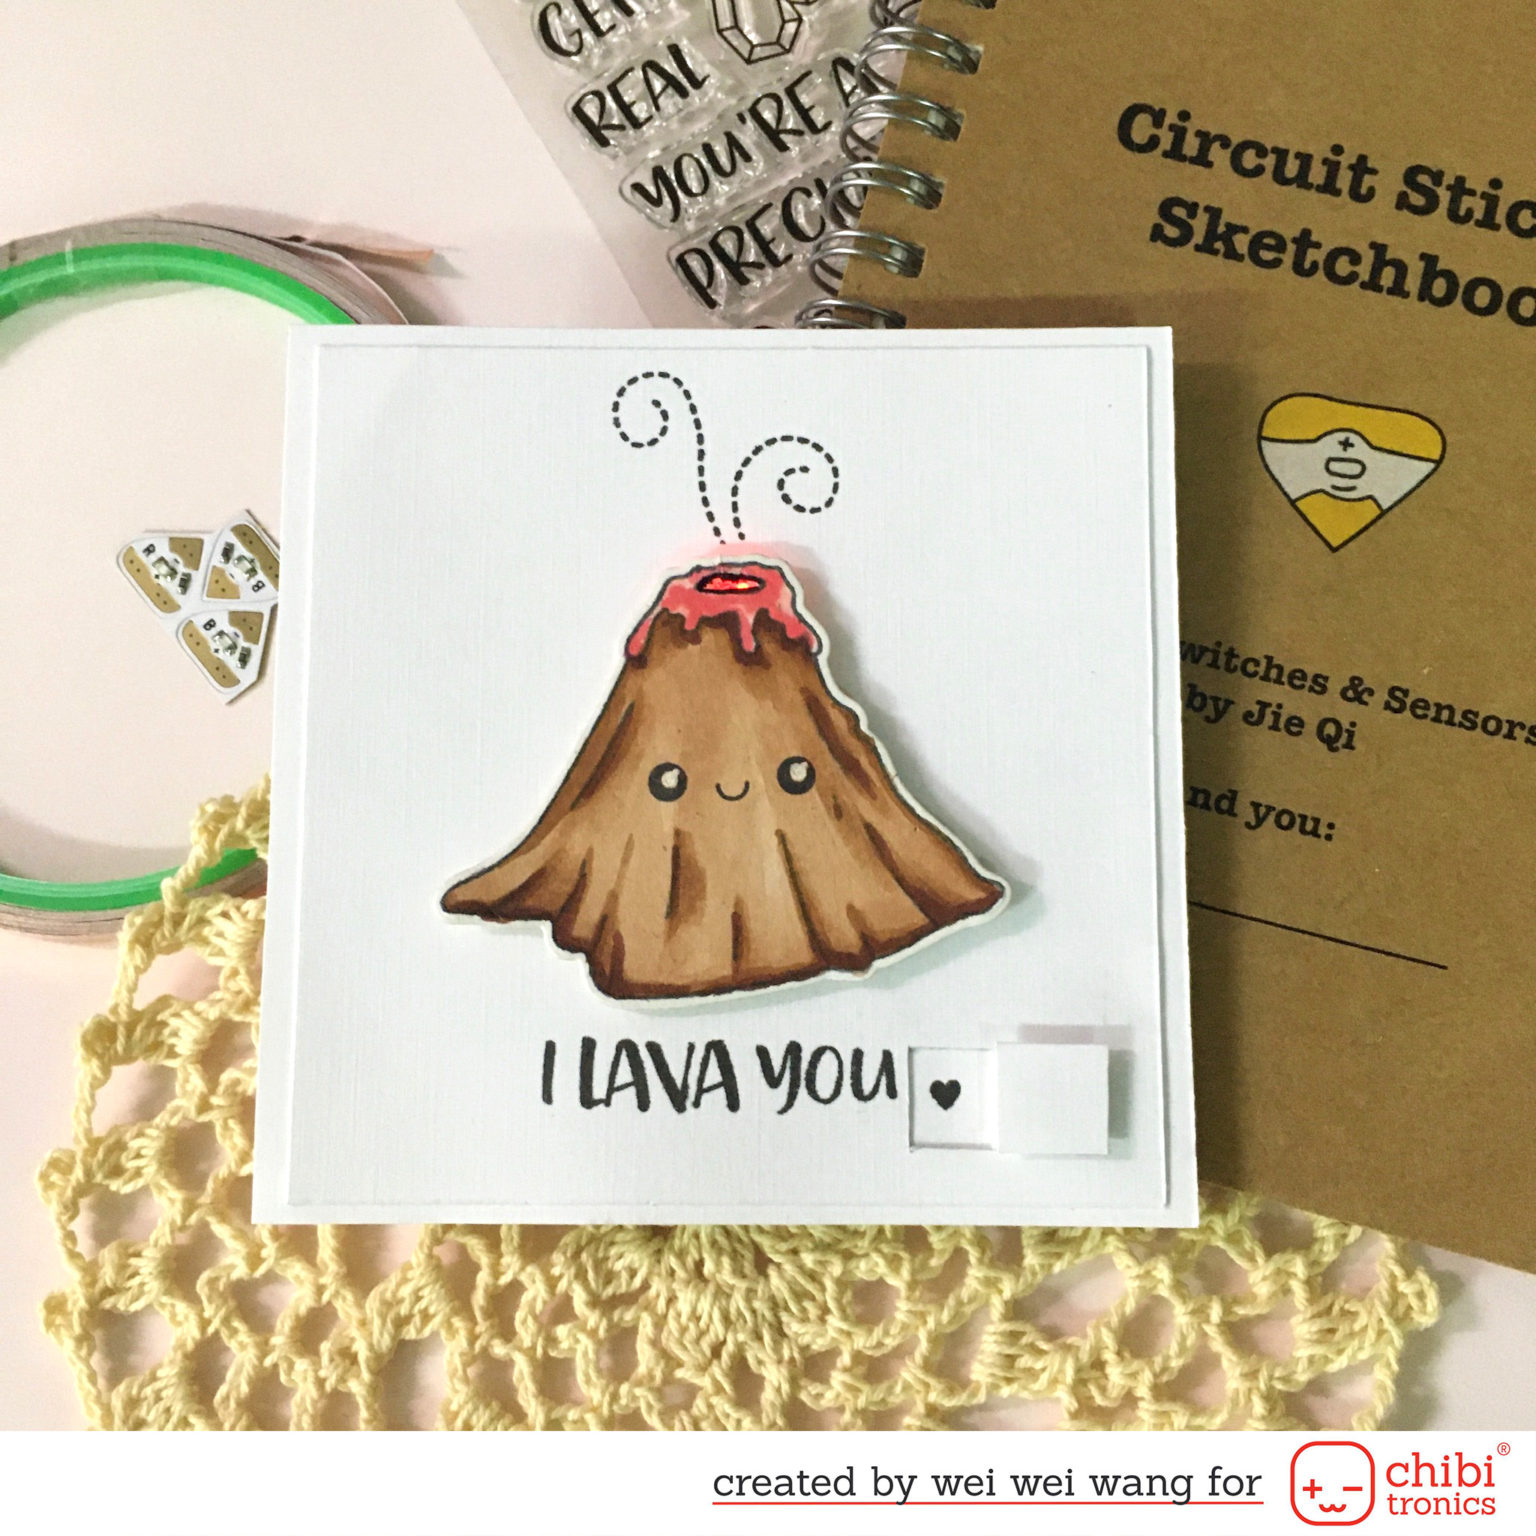
See how WeiWei Wang uses a clever switch design to create an interactive toggle that lights up a volcano!