
Have you ever noticed that the brightness of LEDs change differently when you connect them in different ways? This tutorial explains the differences between series and parallel connections. Series Connections When components are connected to one another in a continuous loop, like beads on a necklace, it is called a series connection. In a series […]
Aslı’s Circuit Sketchbook
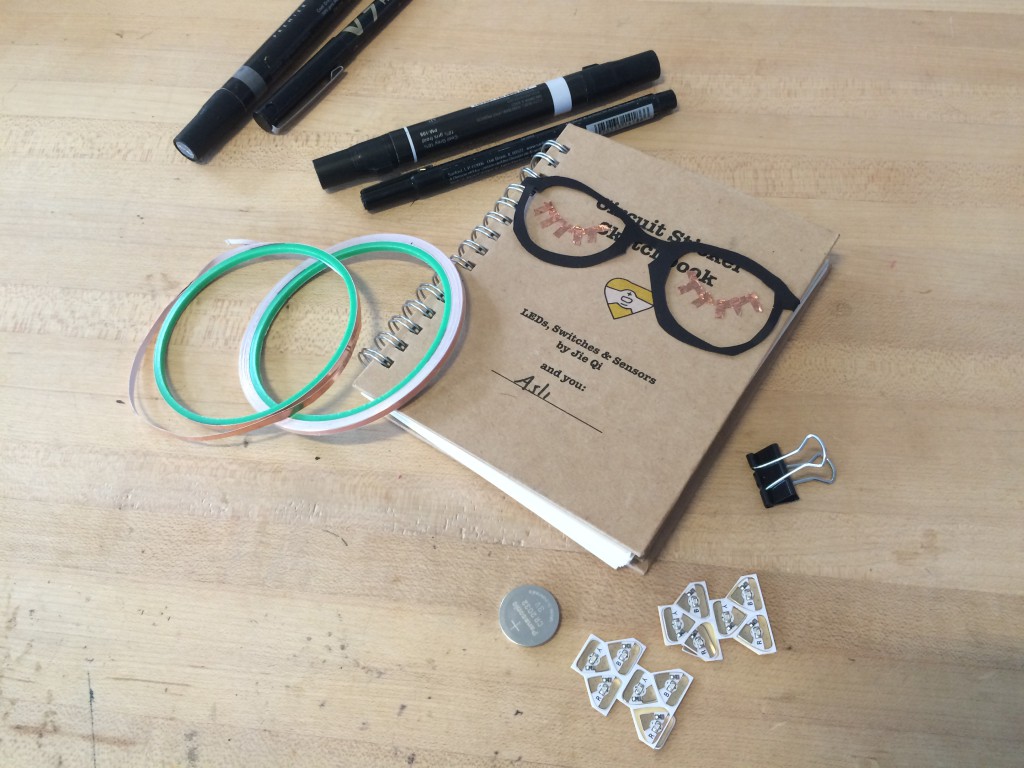
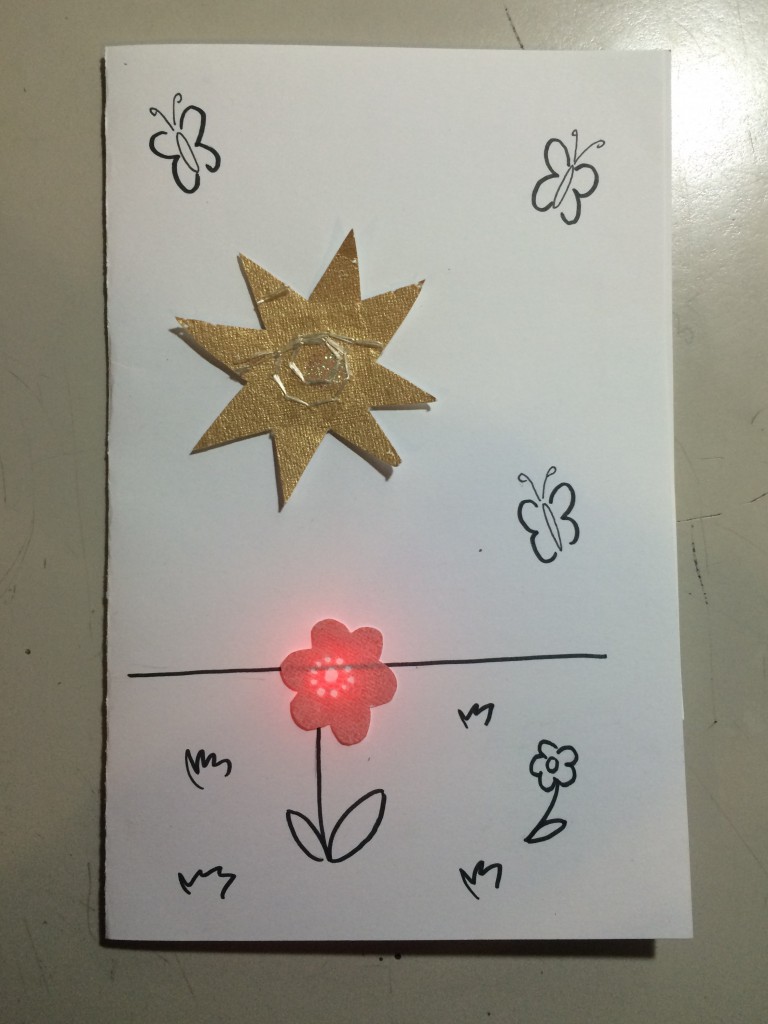
Welcome to Asli’s Sketchbook page! We will be sharing completed scenes created by artist Aslı. Each week she is posting a new page, along with creations by others in their own sketchbooks. Keep updated by checking here or following us on Instagram or Twitter.Please feel free to share your own creations as well! Jie gave […]
Simple Card Template

simpleblanktemplate
Magnetic Switch Tutorial
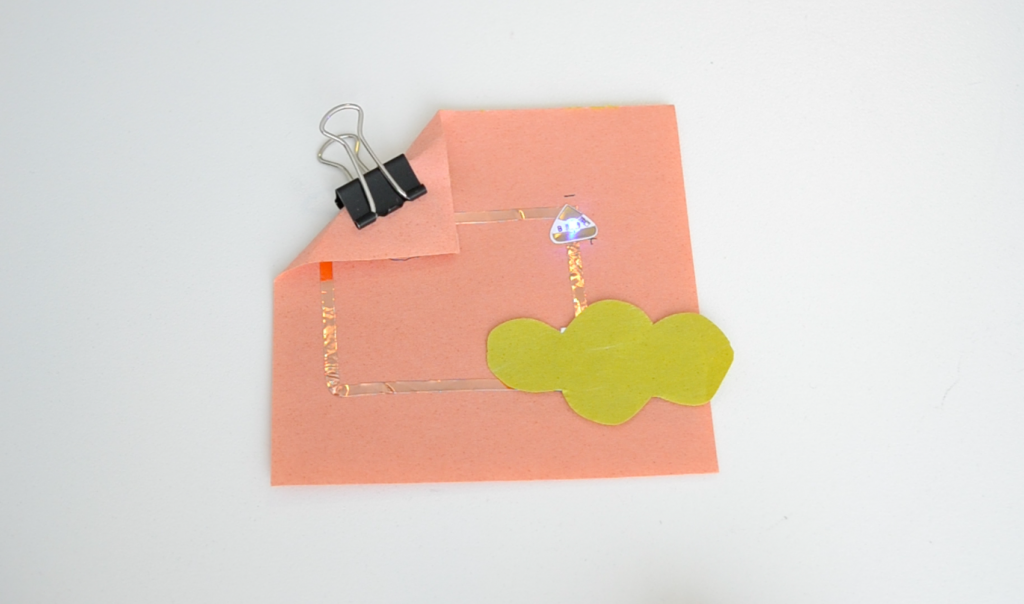
This tutorial shows you how to make a magnetic on/off switch. Materials: glue stick magnetic sheet paper scissors LED sticker battery copper tape Steps: 1. Fold the corner of the paper and trace your battery on both sides. Mark one circle plus and the other one minus. 2. Build a simple circuit using copper tape. Leave […]
Sheet Magnet Battery holder
This tutorial will show you how to make a super-slim battery holder using magnetic sheet. This is great for making decorative battery holders and cards to be sent through the mail! Materials: magnetic sheet scissors glue stick pen paper LED stickers battery copper tape Steps: 1. Cut a rectangle of paper that is twice the size […]
Conductive Fabric Circuit Patches
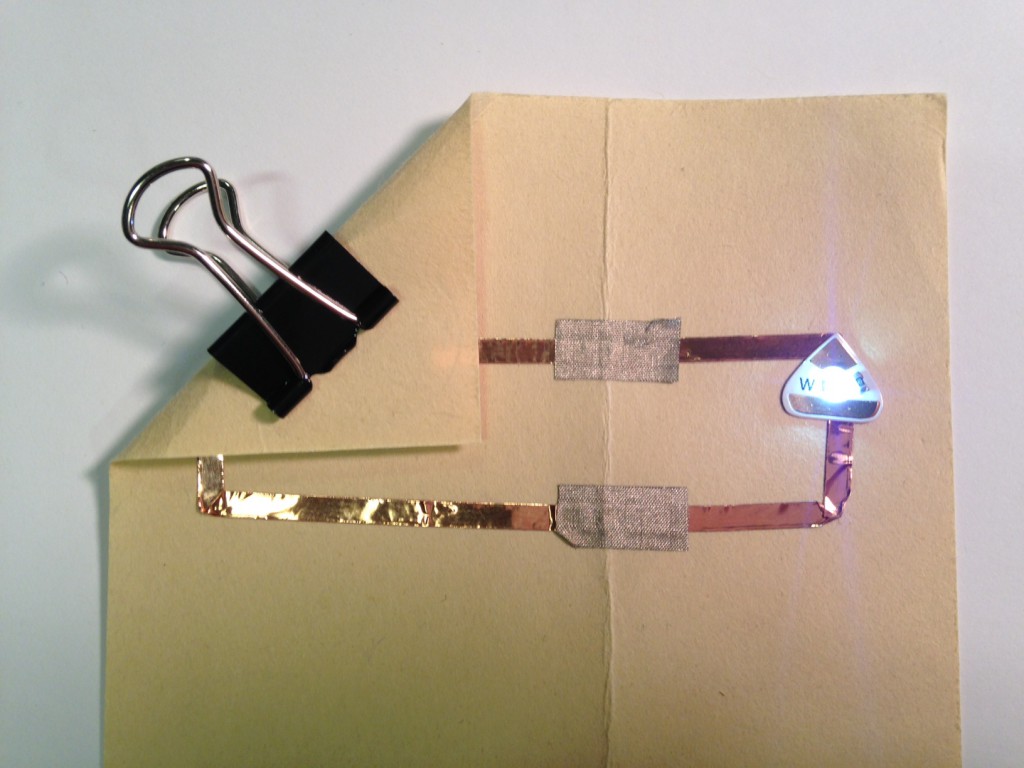
Use conductive fabric patches to fix loose circuit connections and make branches in your copper tape! This tutorial will show you how to make your own conductive fabric tape and apply it in common fixes. Materials: conductive fabric (Adafruit or Sparkfun) z-axis conductive tape (Crowdsupply or Adafruit) Steps: 1. Cut a piece of conductive fabric that […]
Magnetic Switch Tutorial
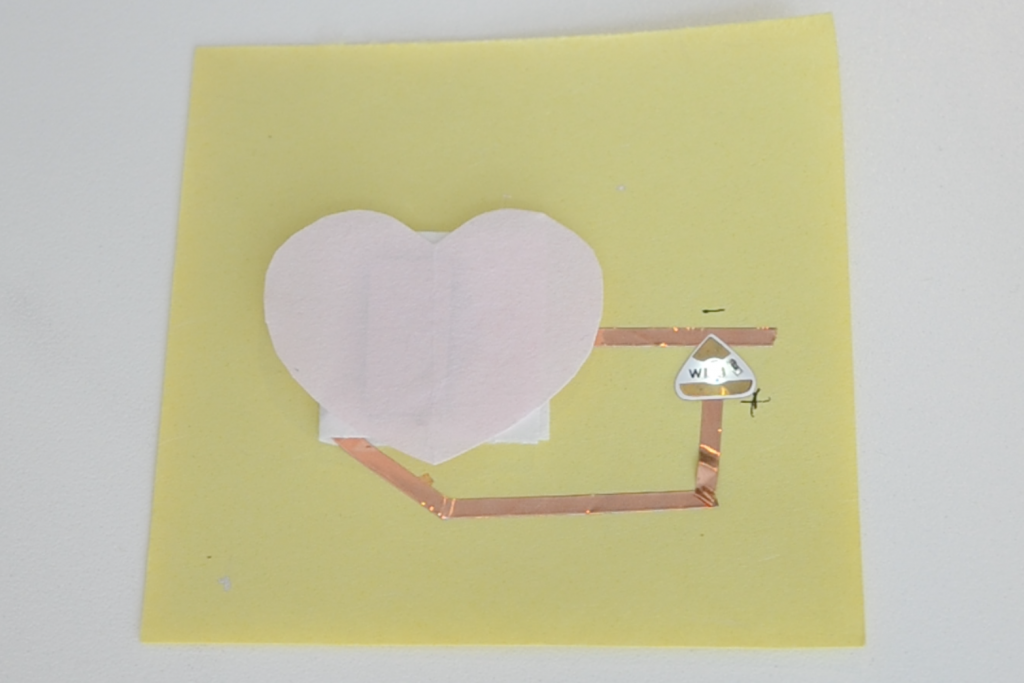
This tutorial shows you how to make a magnetic on/off switch. Materials: Magnetic sheet card stock or blank card copper tape LED sticker battery binder clip (for battery holder) 1. Put down your copper tape, leave one space for the LED and one for our magnetic switch. 2. Stick the LED sticker into its place, […]
USB Power
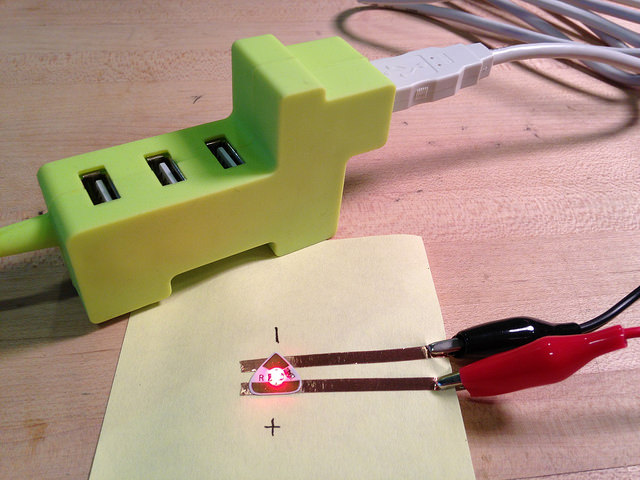
Warning: this tutorial is for advanced electronics users only. Please proceed at your own risk. Do not use LEDs without a resistor as they will burn out. This tutorial shows you how to power your projects with a USB cable rather than a coin cell battery. This allows you to make projects that can stay […]
Paper battery holder with magnets
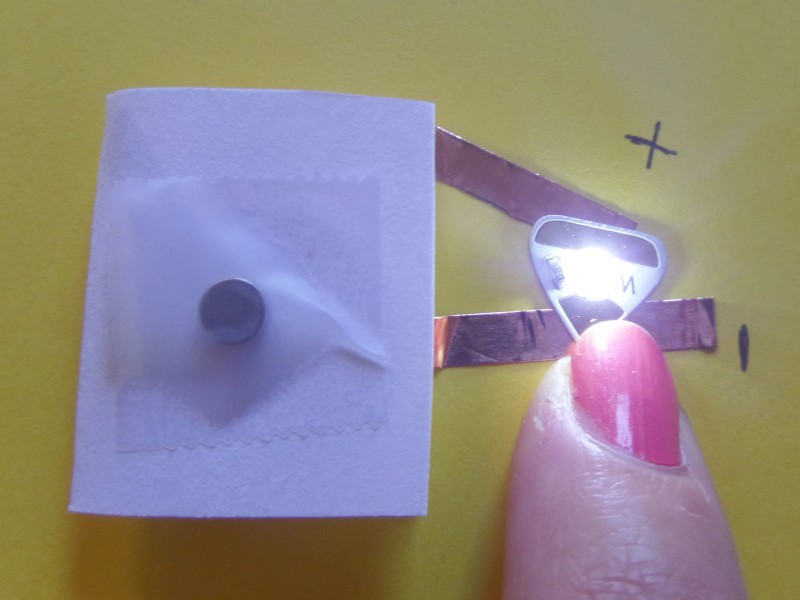
This tutorial shows you how to make a paper battery holder with magnets for coin cell batteries (CR2032). MATERIALS AND TOOLS Paper strip, preferably cardstock (about 2 inches long and 1 inch wide) Copper tape Clear tape Scissors 3V coin cell battery (CR3032) Small disc shaped magnets Step 1: Take the paper strip and fold it […]
How to Create a Paper Battery Holder with Foam Adhesives
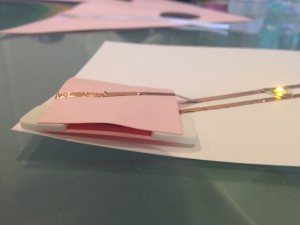
1. Cut a piece of card stock (about 2.5” x 1”). Fold the card stock in half. Trace the battery shape on both halves. Mark the left side as positive (+) and the right side as negative (-). 2. Attach the folded paper on the bottom of your project with glue, tape, adhesive, etc. 3. […]
Other Materials

What can I make with Circuit Stickers? Circuit stickers are light, paper-thin and flexible circuit boards cut into small, fun shapes with anisotropic conductive adhesive on the back. The adhesive sticks to most surfaces and can be used with virtually any conductive materials as “wiring”– such as conductive threads and paints or even wires and […]
How to Solder
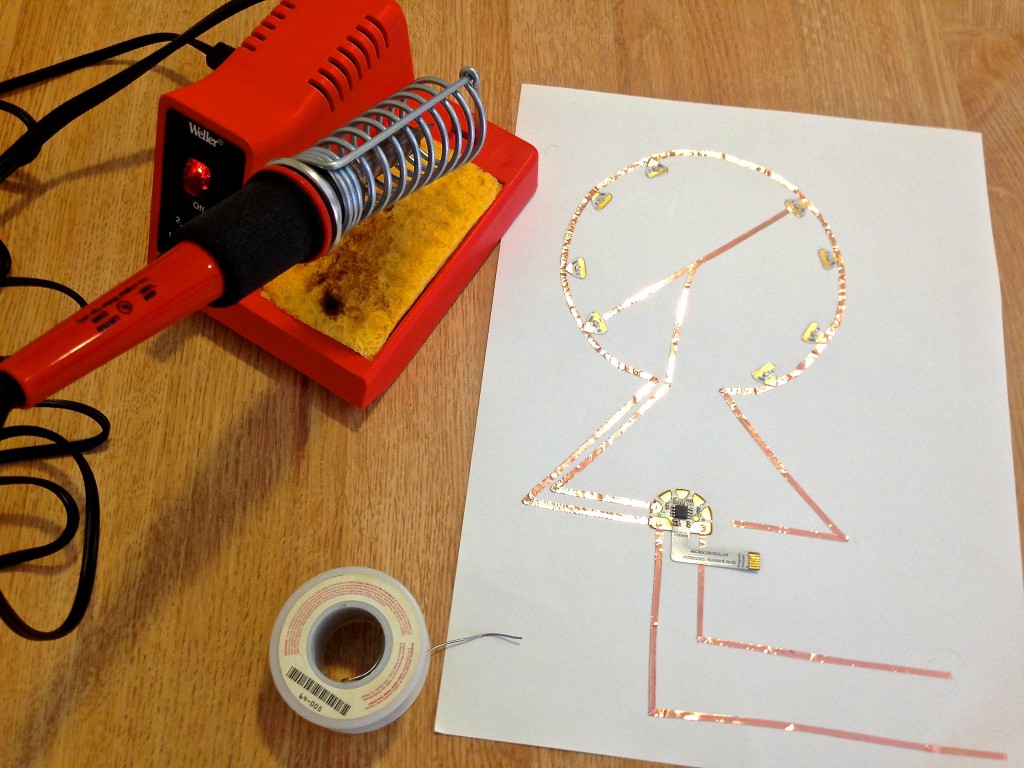
This tutorial will explain how to solder to circuit stickers. You will need: Soldering Iron Solder Copper Tape LED sticker Step 1. Place an LED. Lay down your copper tape so that the tape sits on top of the conductive pads of the LED. Step 2. Heat up your soldering iron. Step 3. Cut a piece of solder, […]